
December 2019.
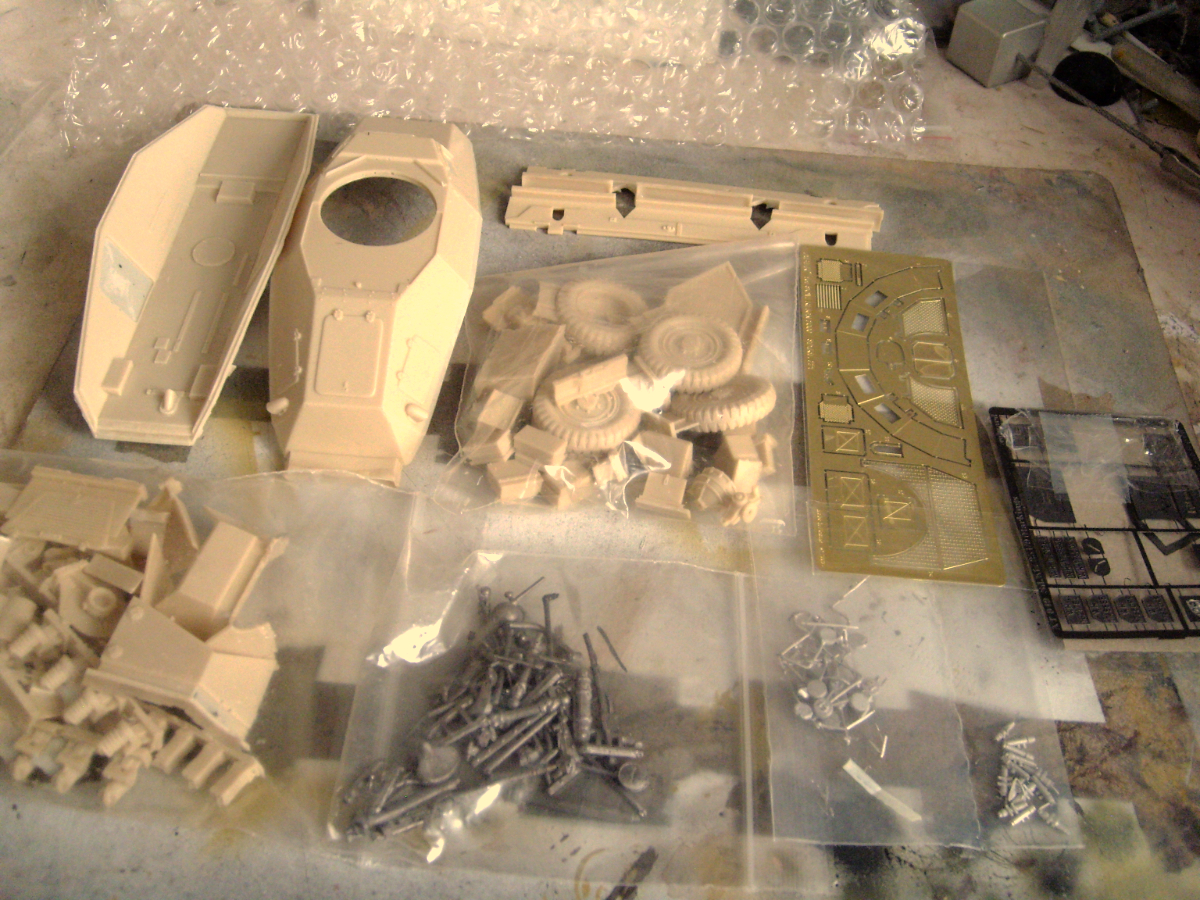
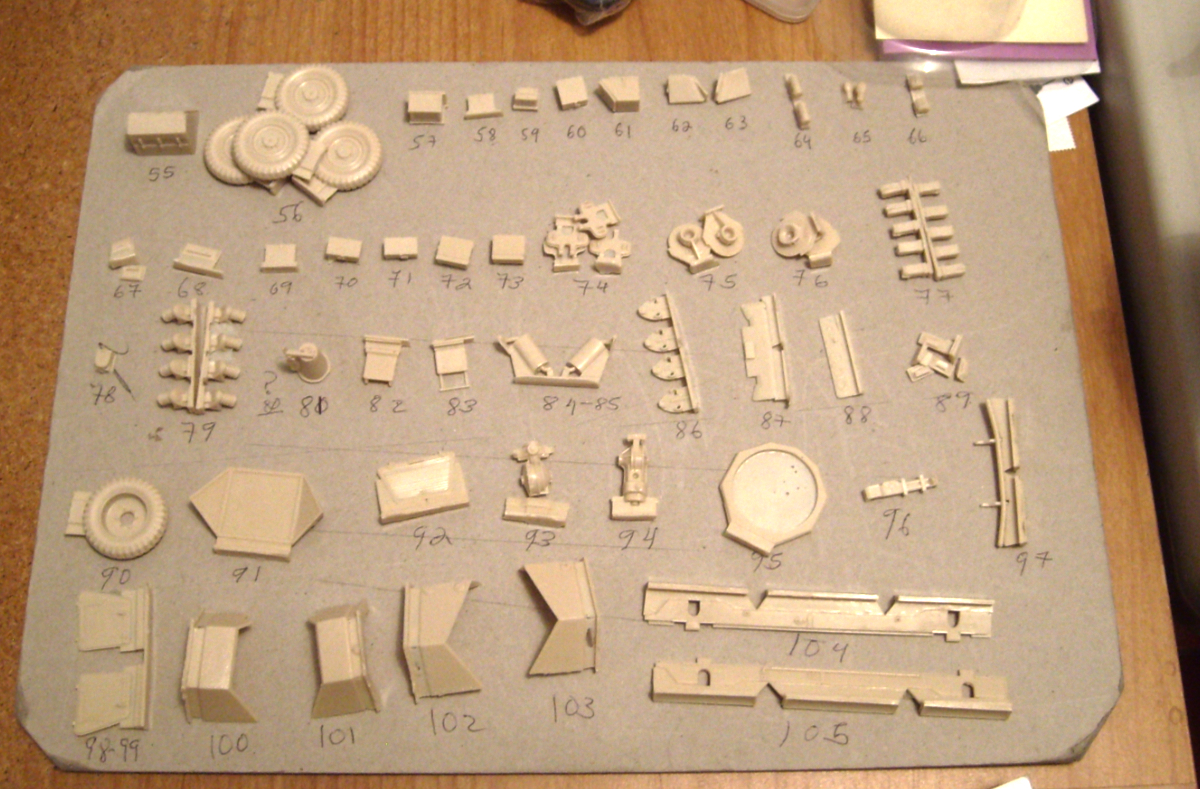
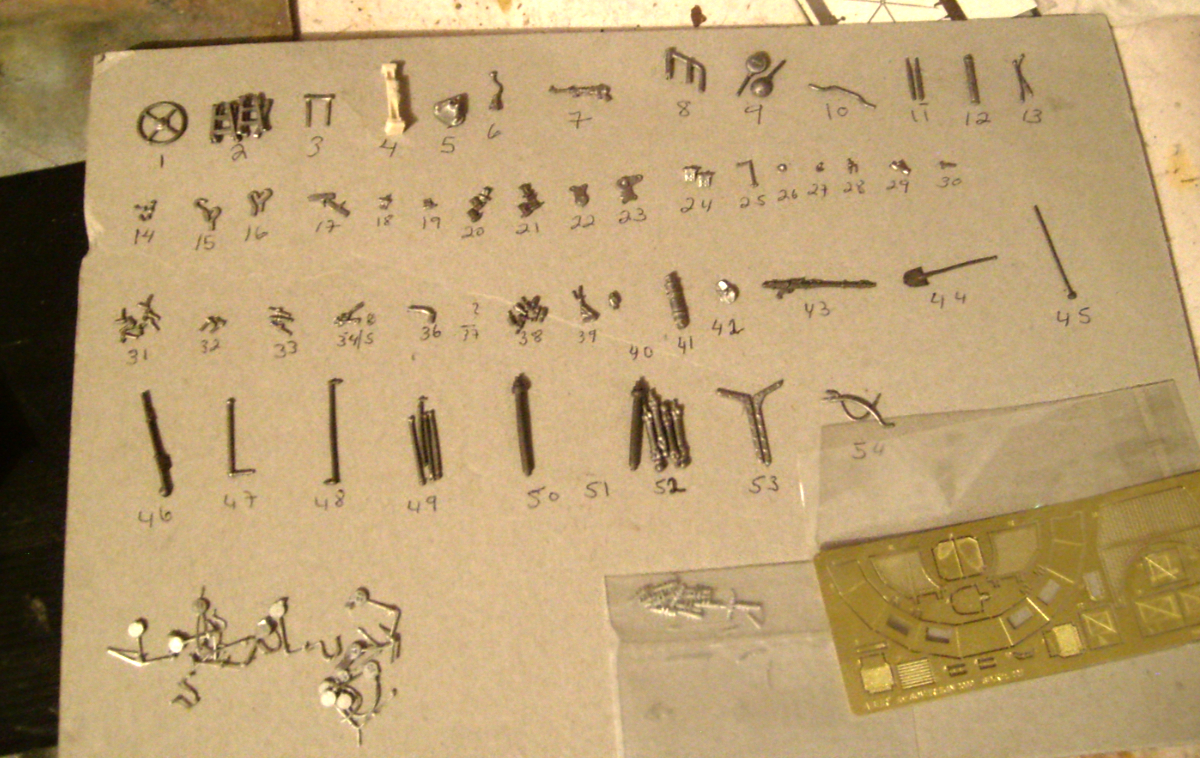
The kit coming with resin, white metal and photoetched all with great quality, but with some little defects; the only negative of this armor is that it not contains marks (decals); some parts will need to add extras as wire and drill carefully. the assembling includes interiors.
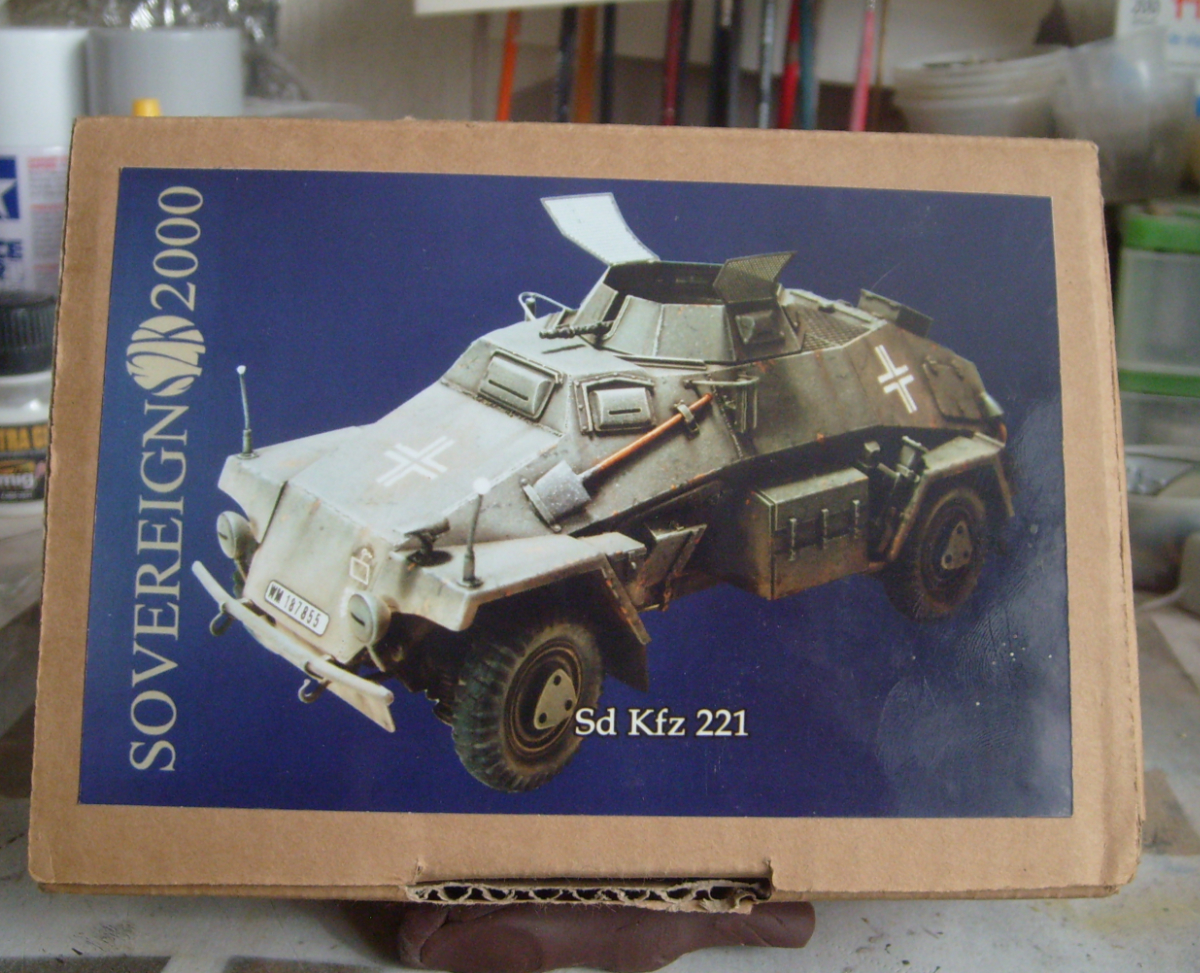
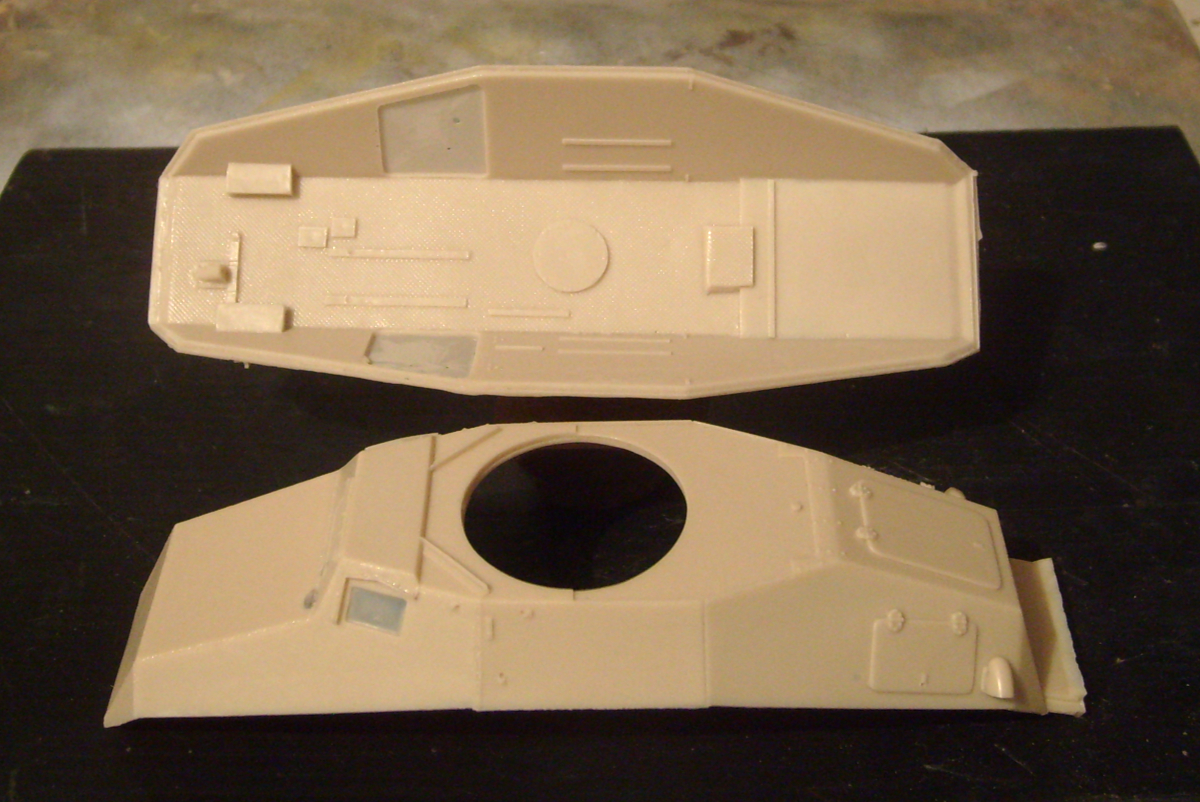
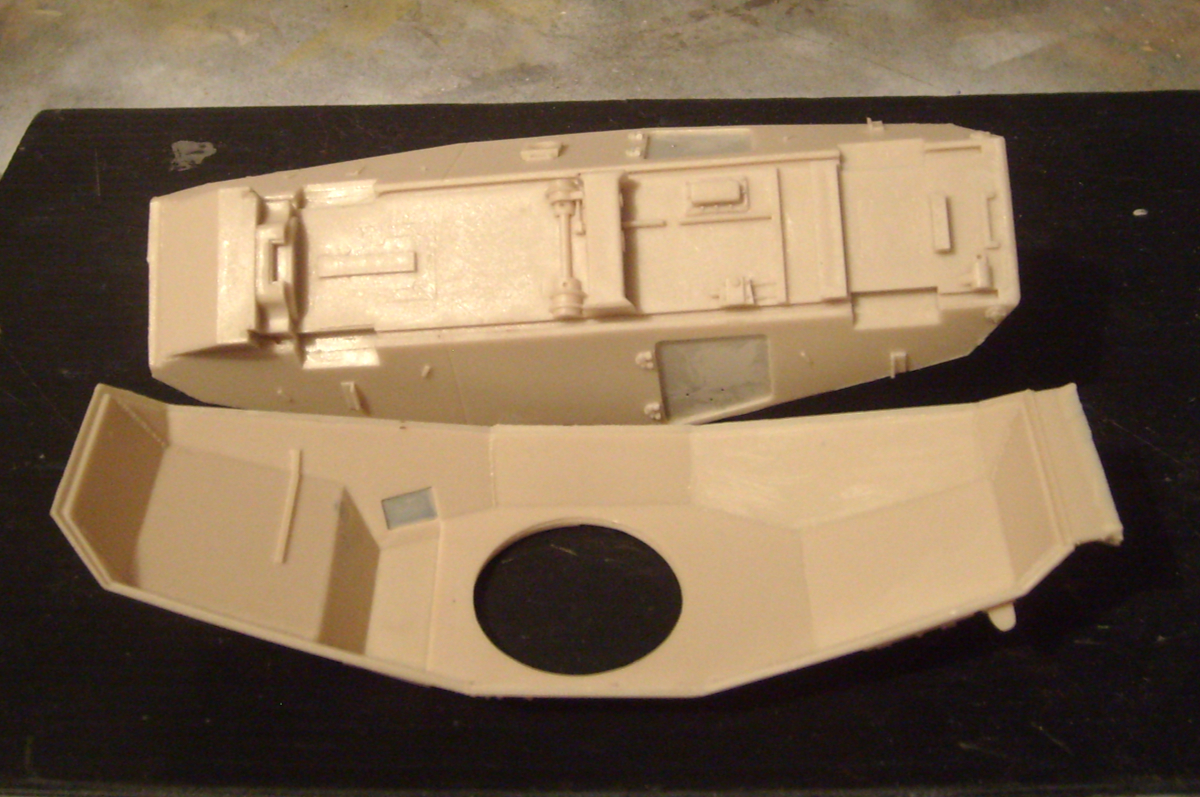
Excellent detail in both (interior and exterior).
I have numbered in order the pieces, one table for resin and another for white metal; the white metal below on the leftin the table is not mentioned in the instruction sheets, they looks as conexions, maybe will be not necesary to use.
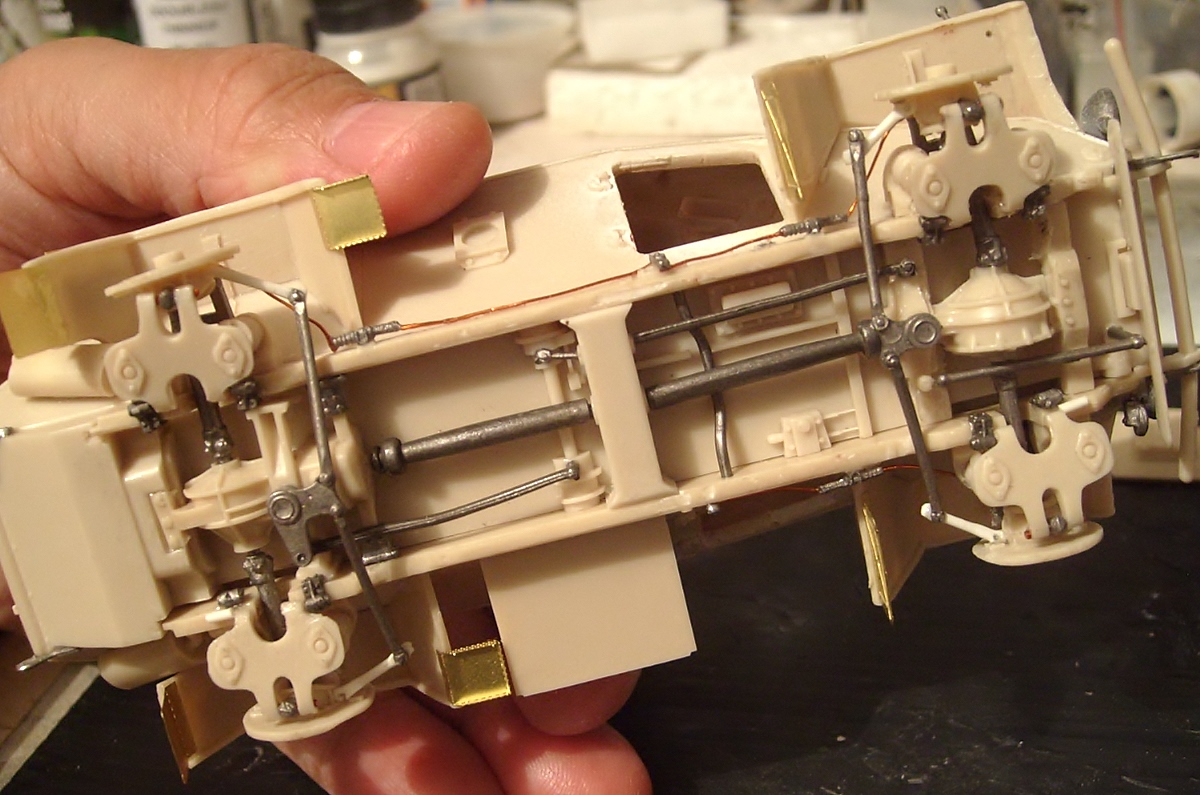
First suspension ready, this is a quite fastidious because the piece are too little and weak, this part it have missing pieces (in the 4 suspensions). I have adjusted a hinge that was badly placed.
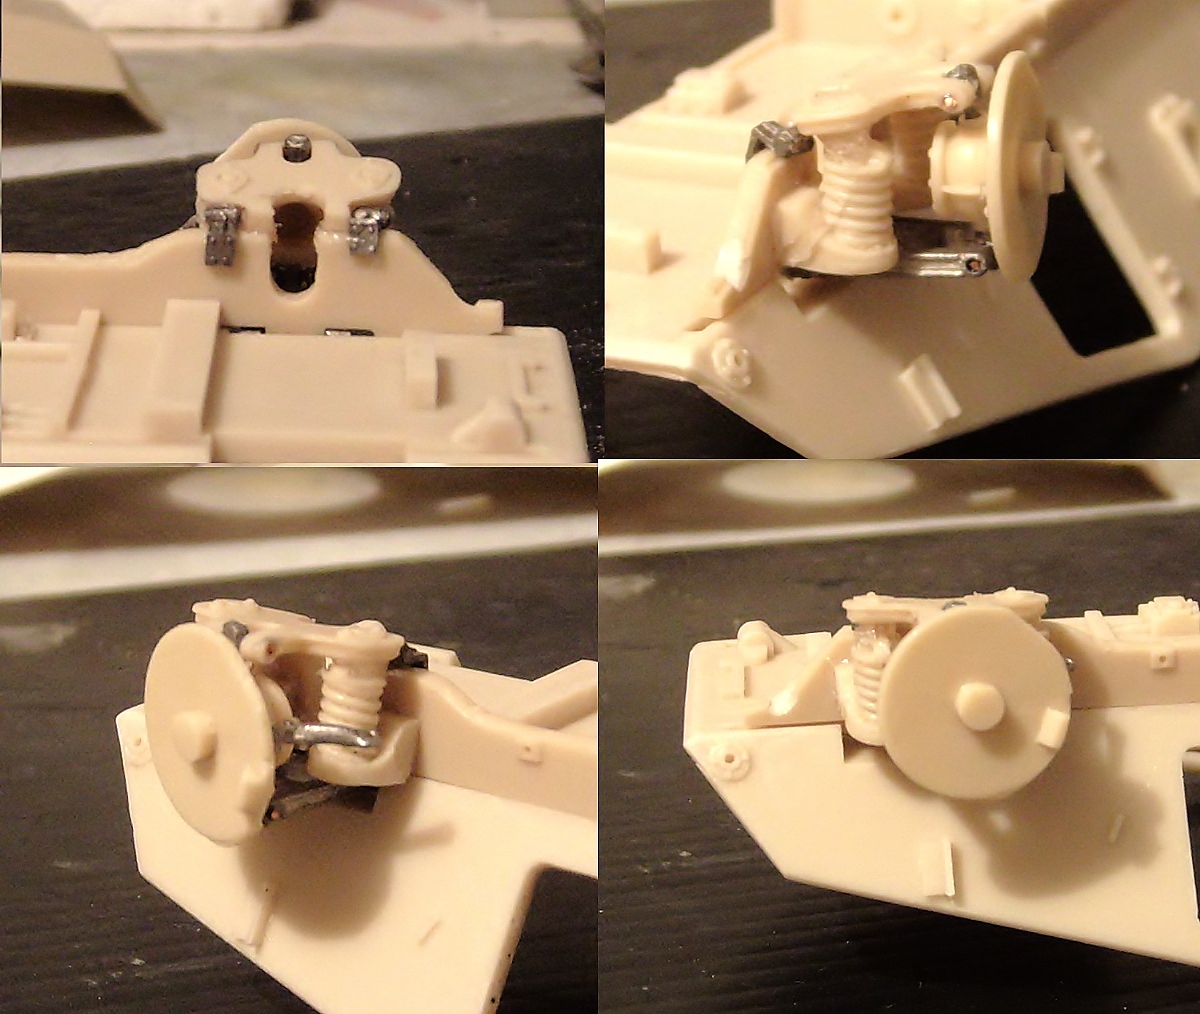
Modellers which has built this type of vehicles know this, but builders with the first vehicle of this type is unknow (me incluided!!!). Now in order to avoid dismount this or destroy, I need use my imagination for add the arms suspension into the holes of the discs.
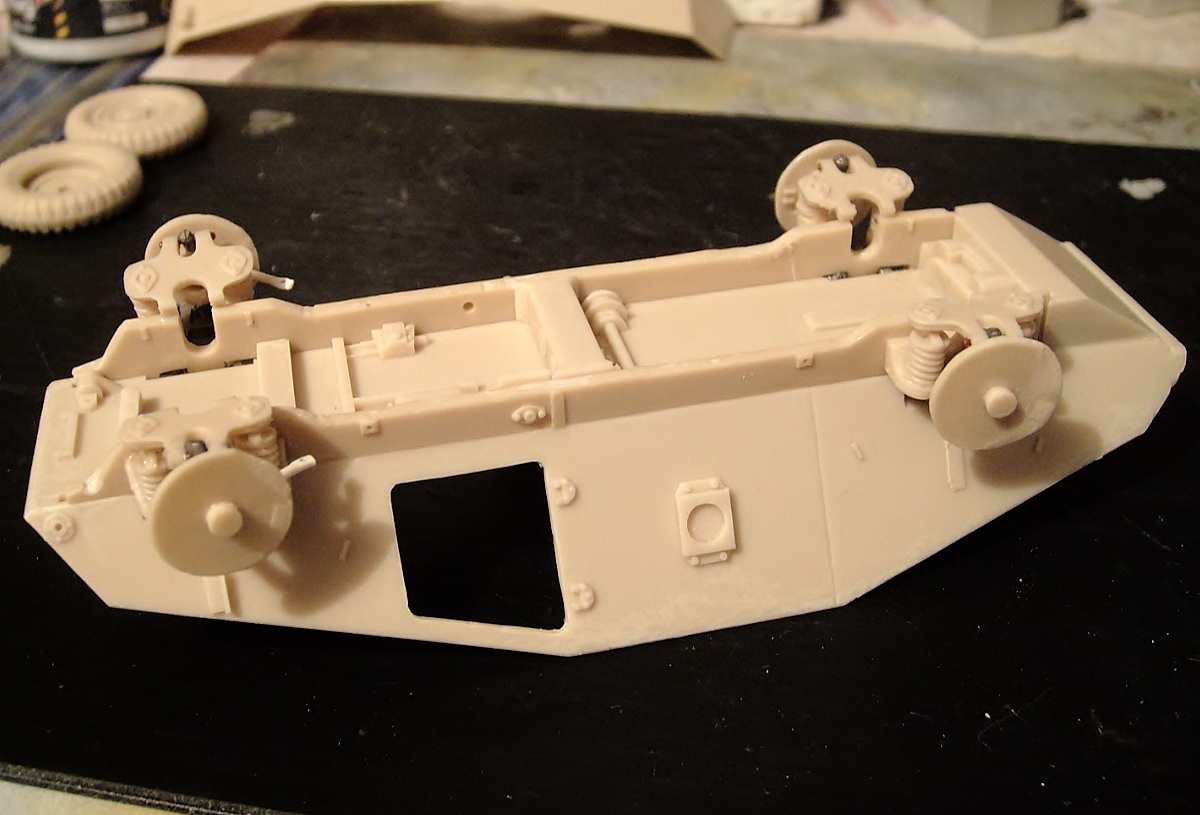
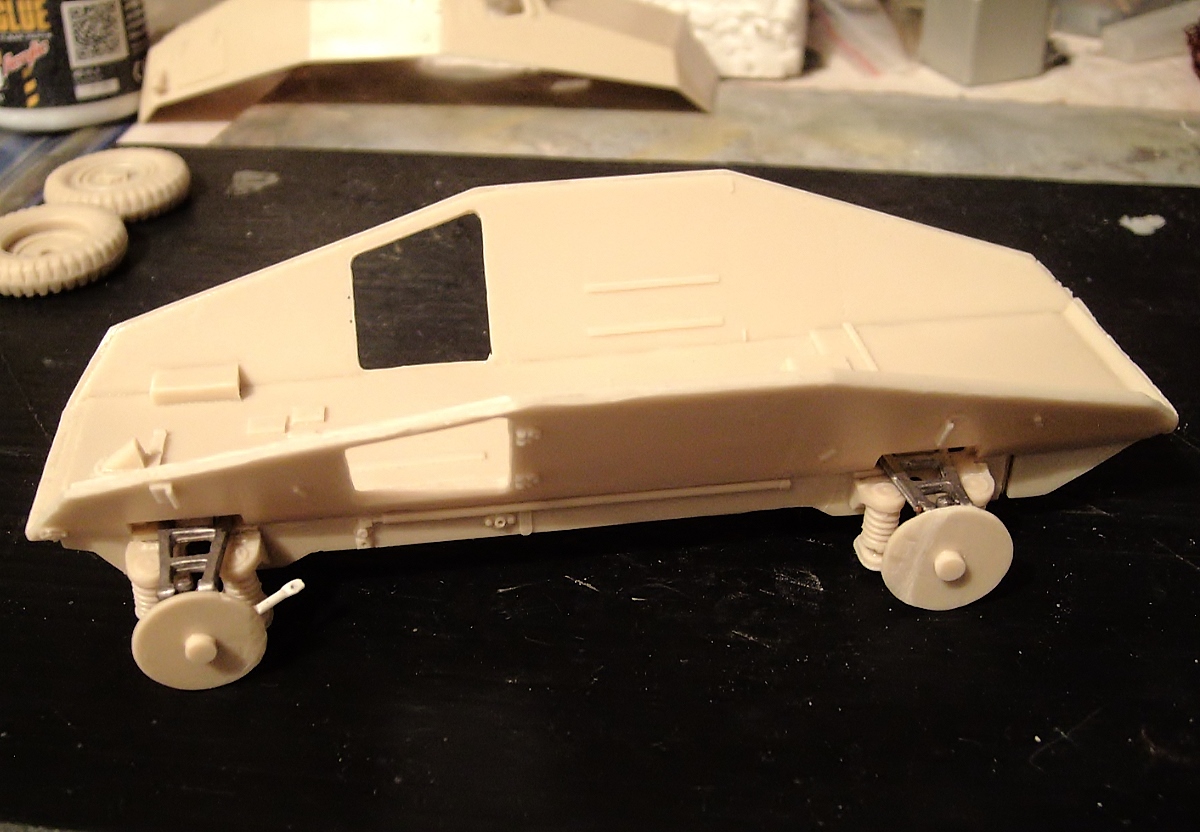
Finally the arms suspension were placed, was necessary to cut the pin of bars in for adjust them.
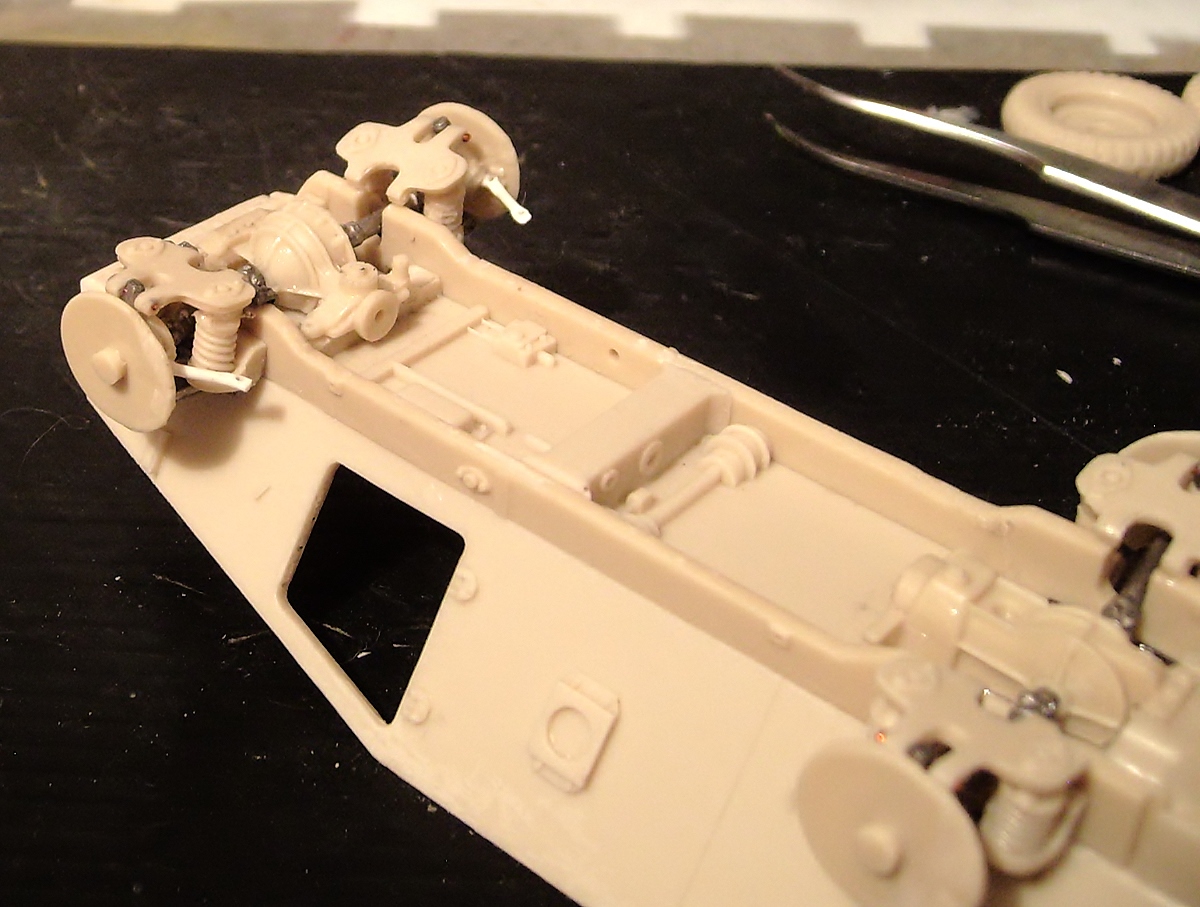
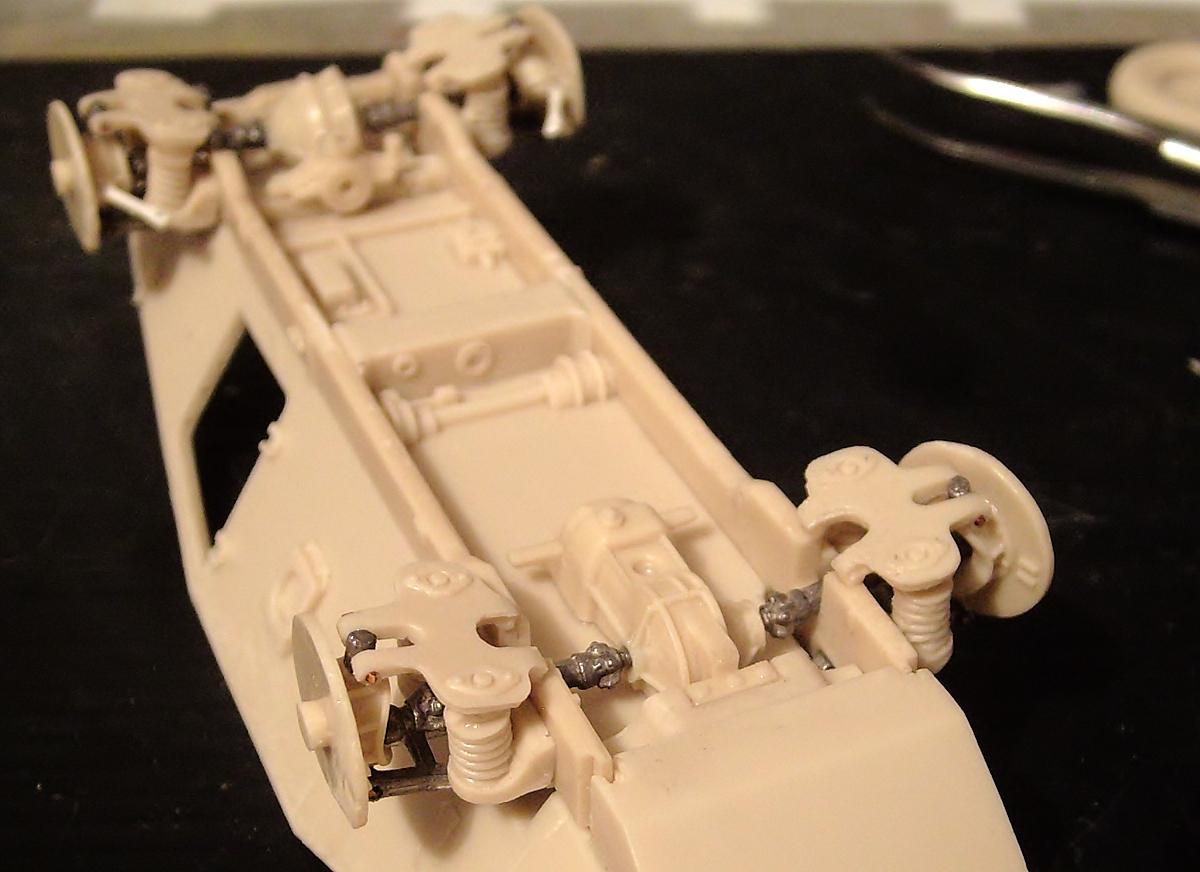
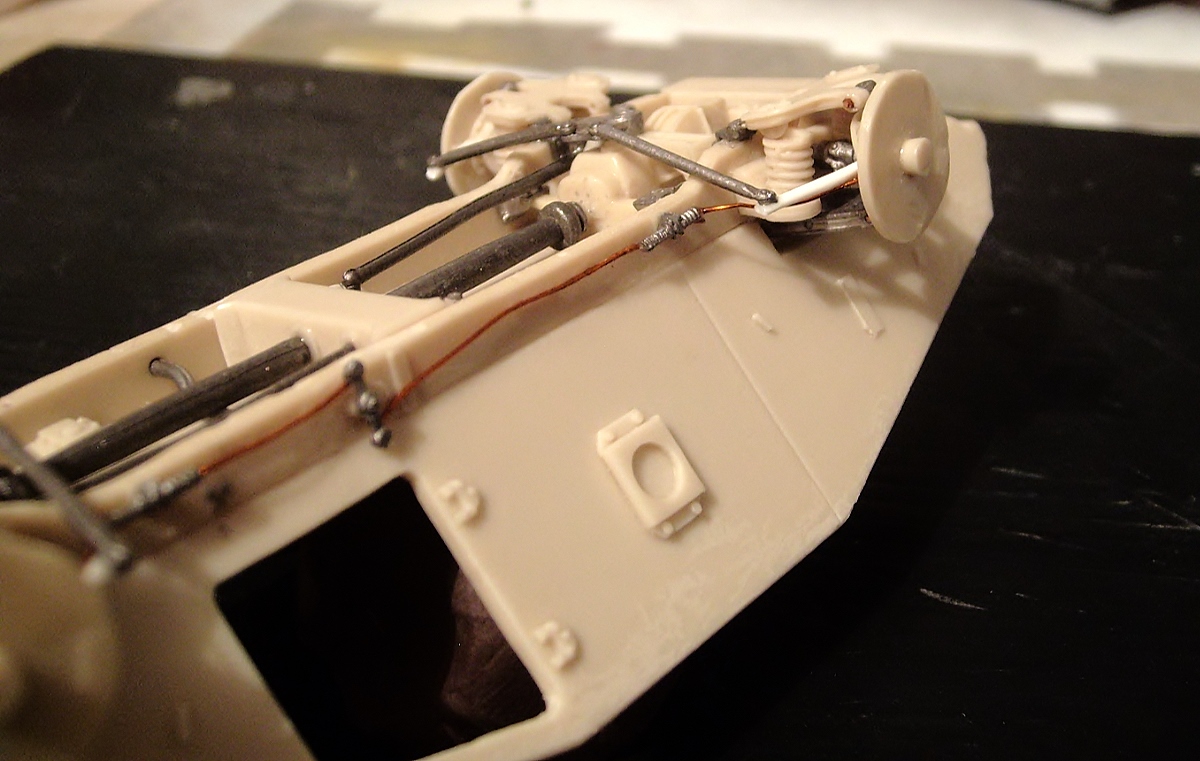
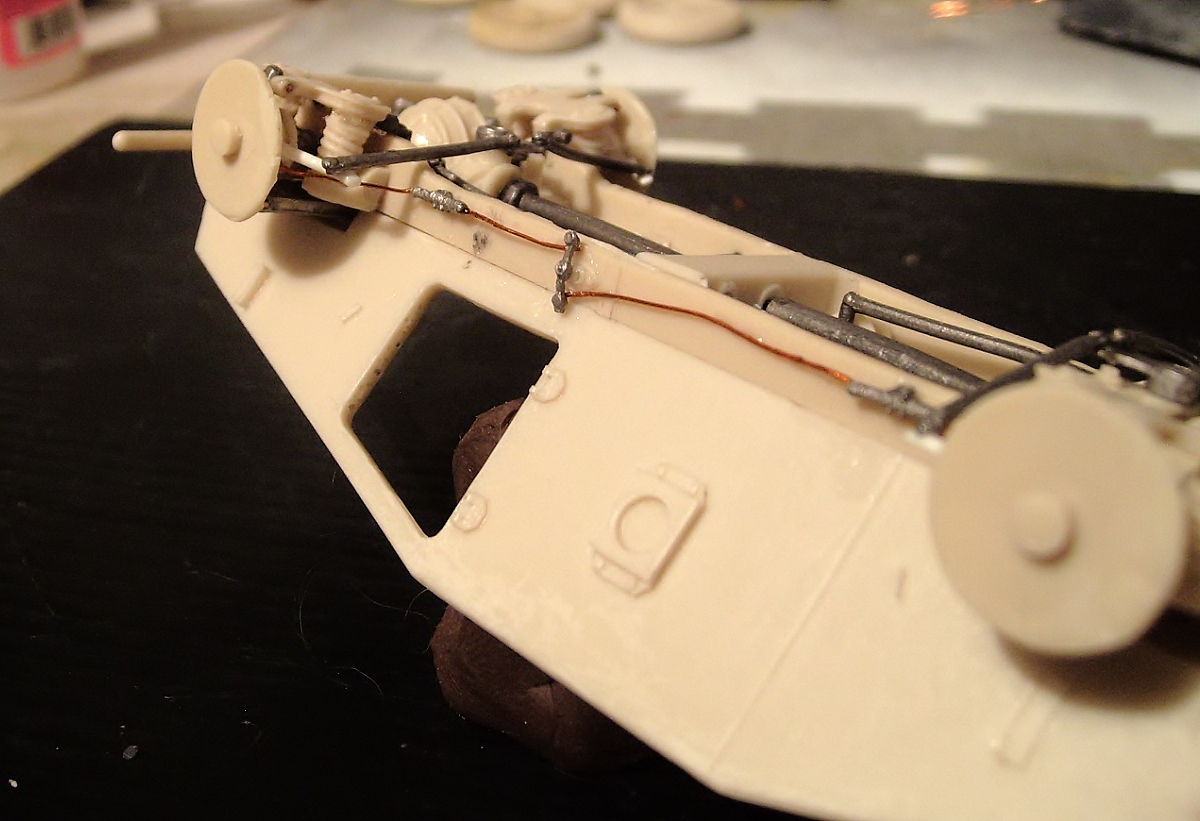
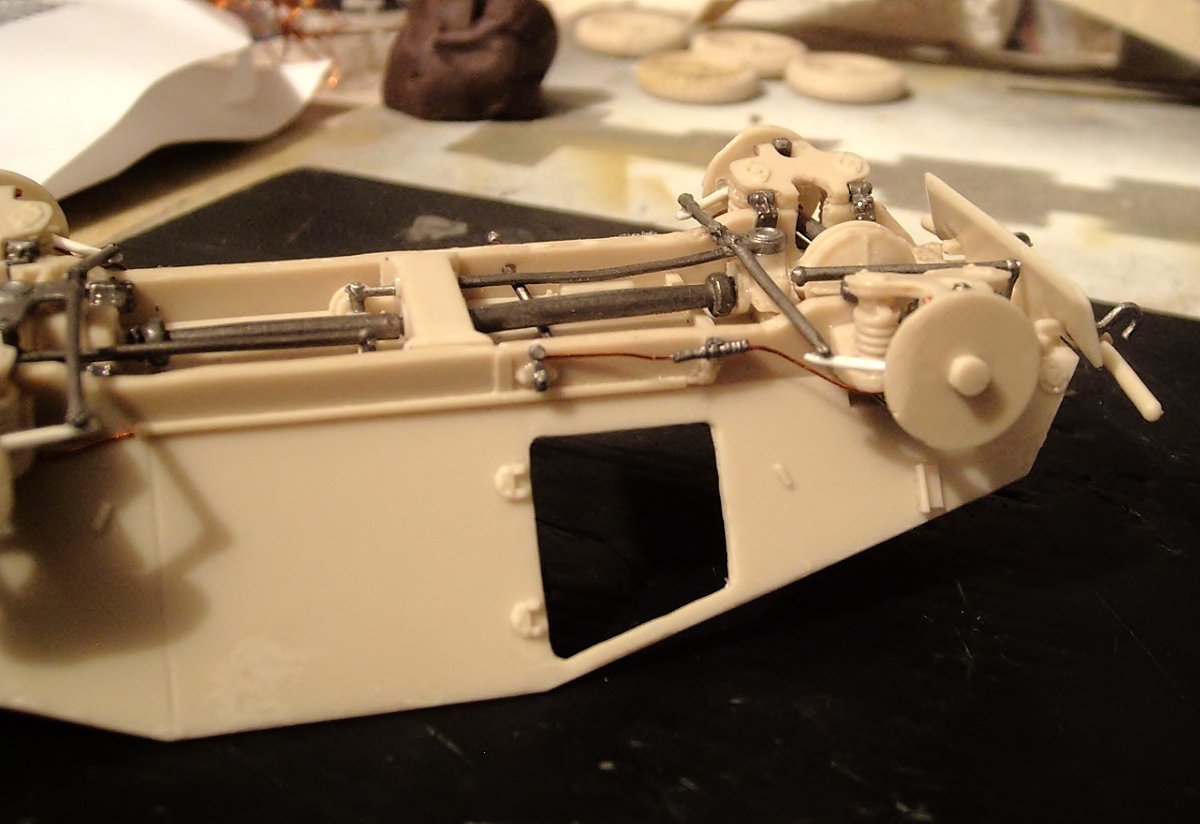
Suspensions and traction system are ready!, I only need to add some conectors (cables).
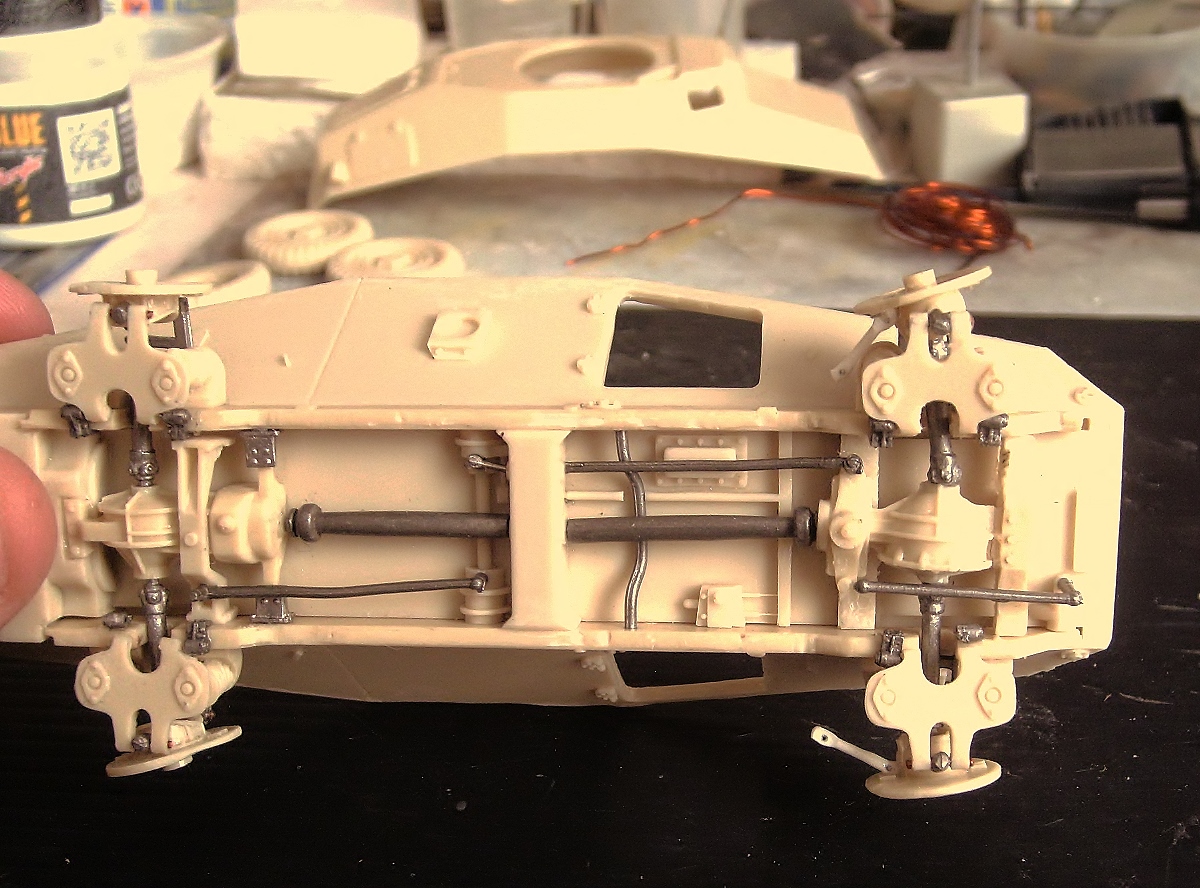
The conectors are ready, but the kit not have them, I used cooper wire and conectors for wheels and arms (missing in the kit too), hinges incompletes and some pieces are broken that I will replace with styrene

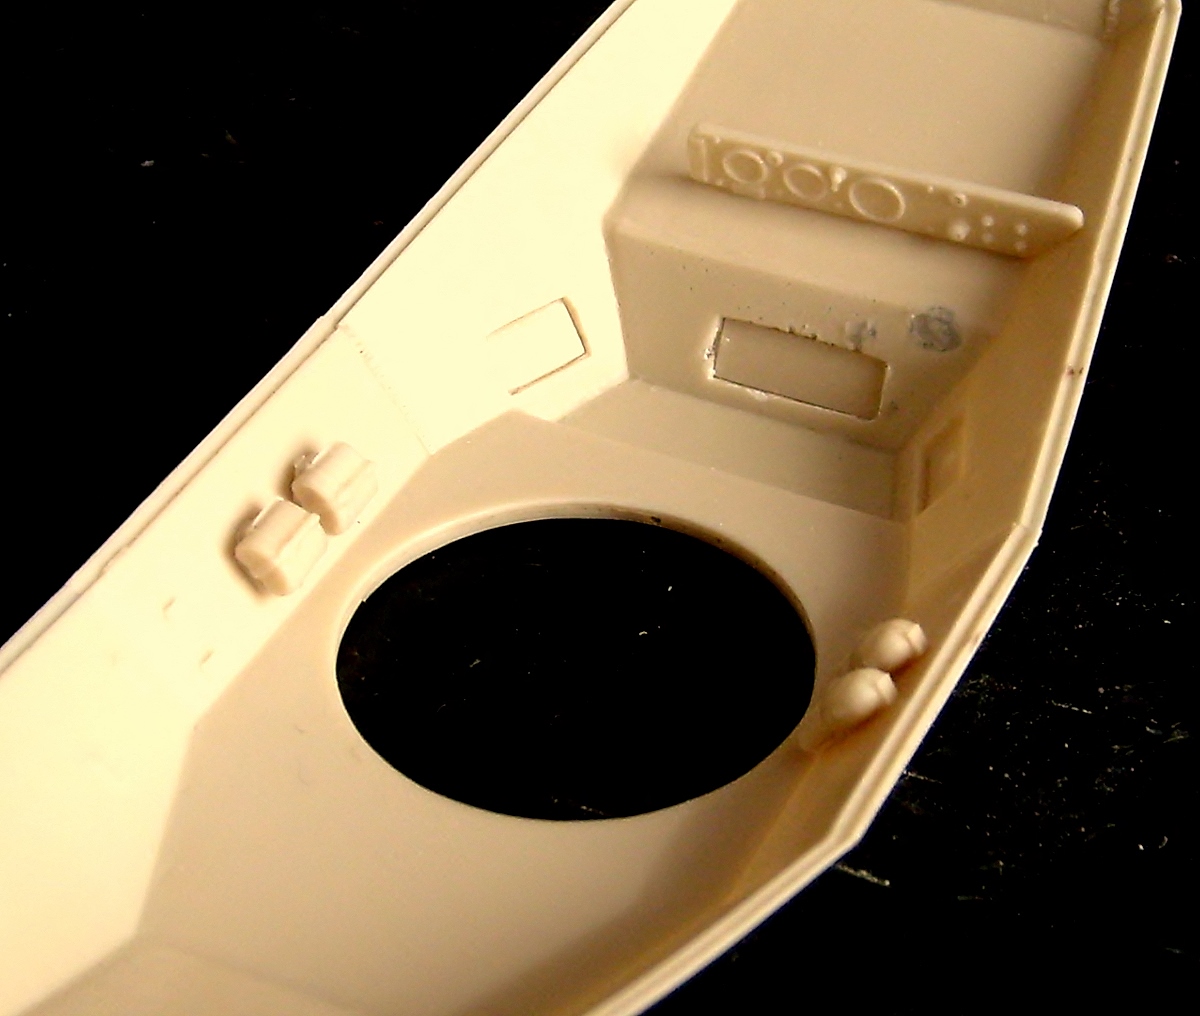
Interior upper: a single control table and two accessories in each side, the bad: you can see an great air bubble in a side of the principal driver viewer.
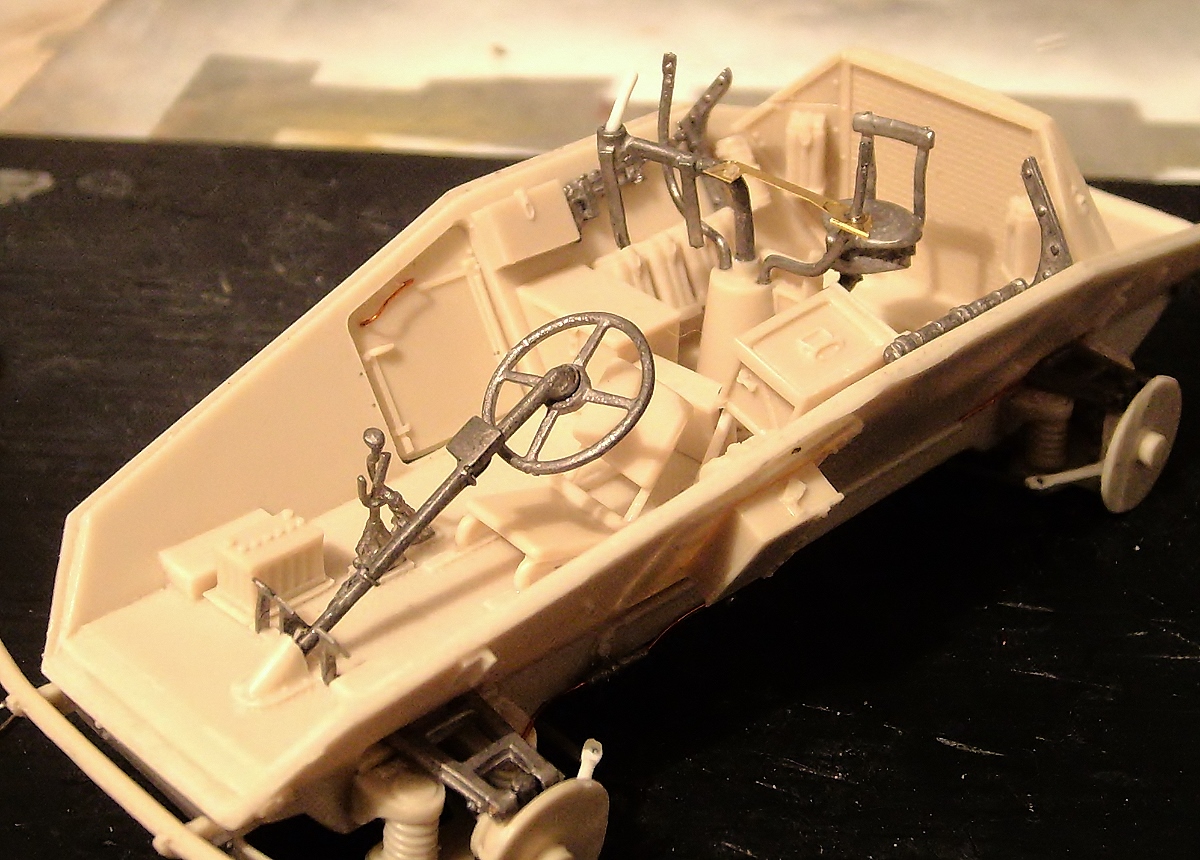
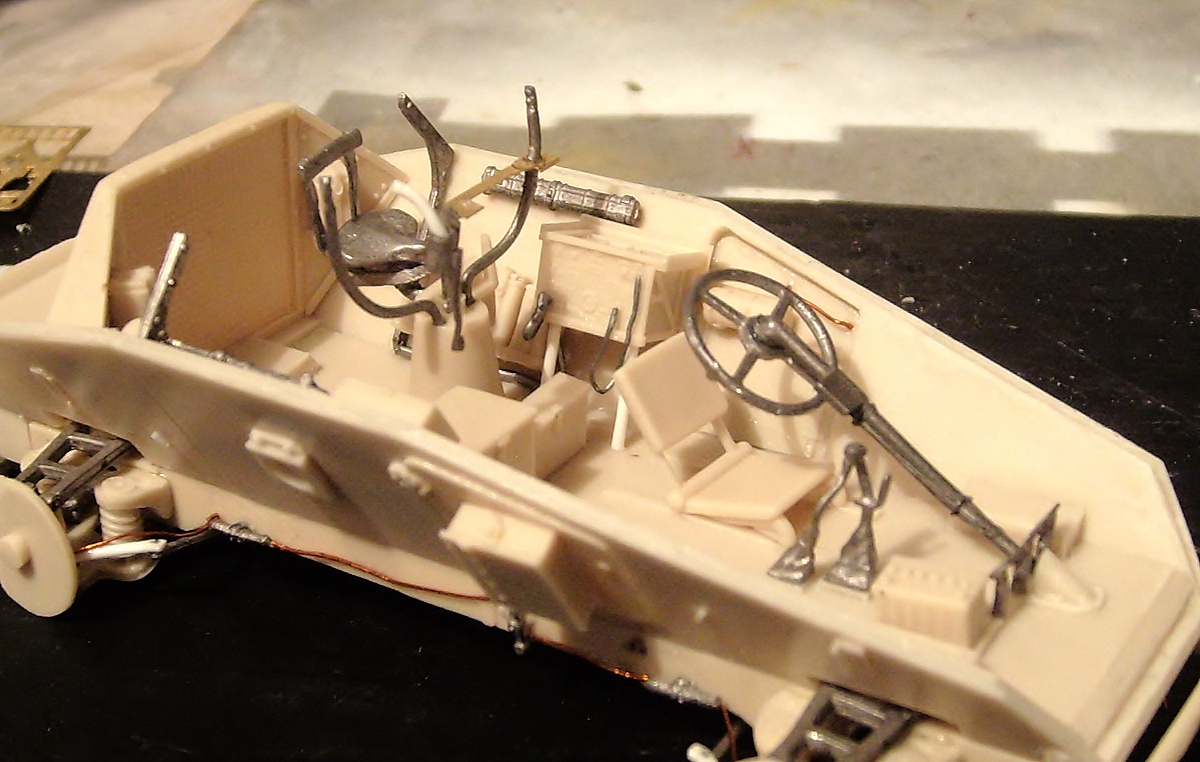
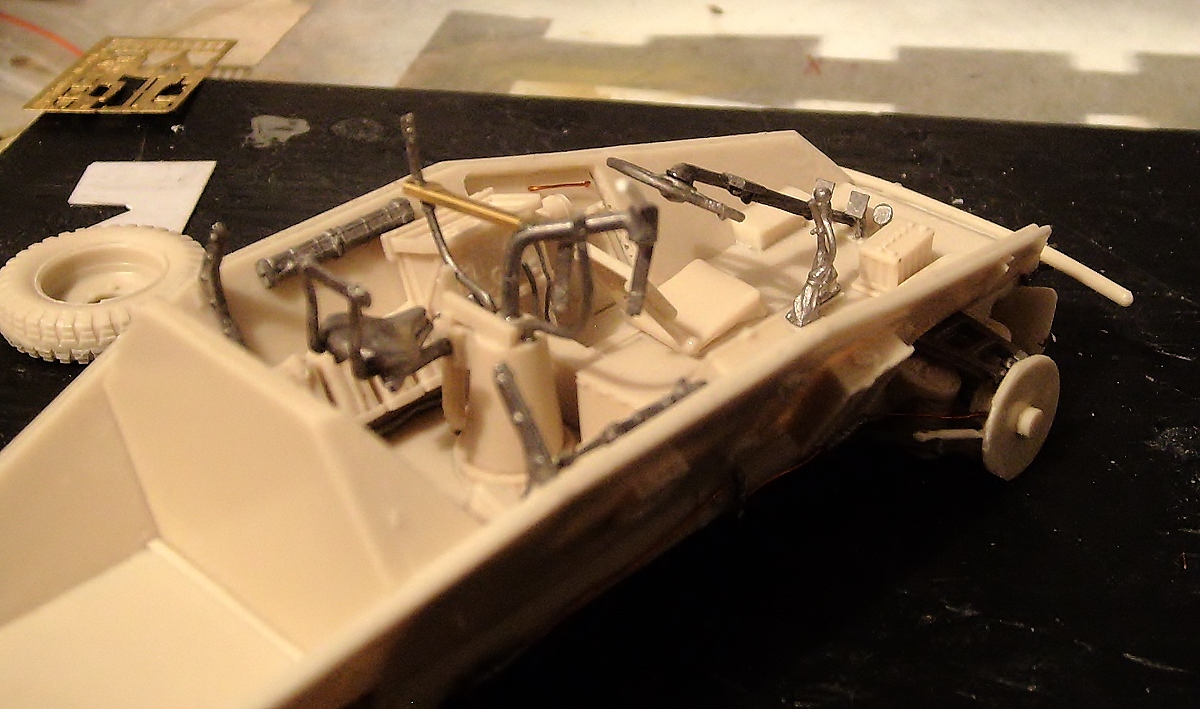
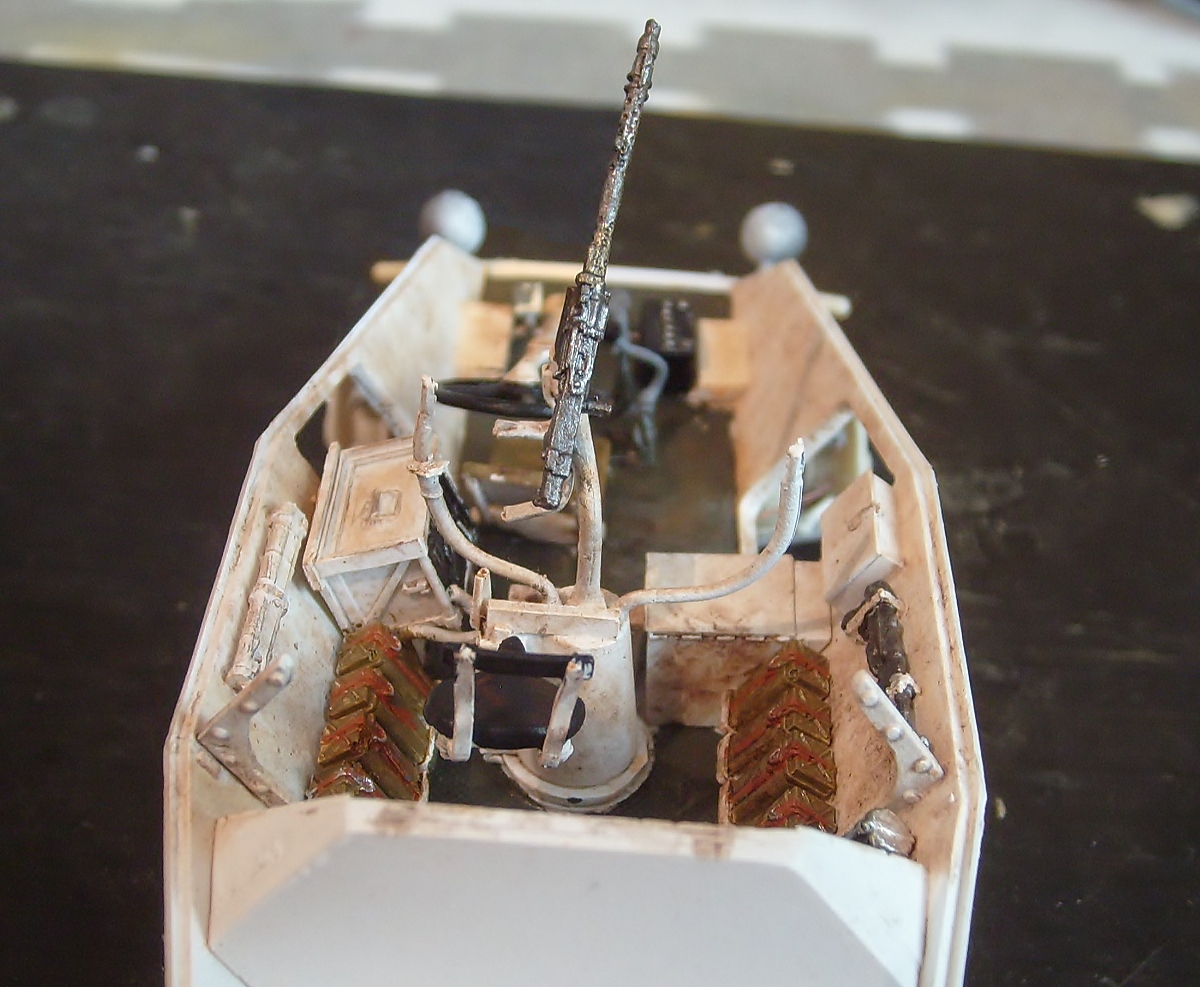
In the instructions you can see more space to place the accessories, but the reality is different, the interior is much narrower and has less space; the pieces are a bit tight. I added cables and support for the radio.
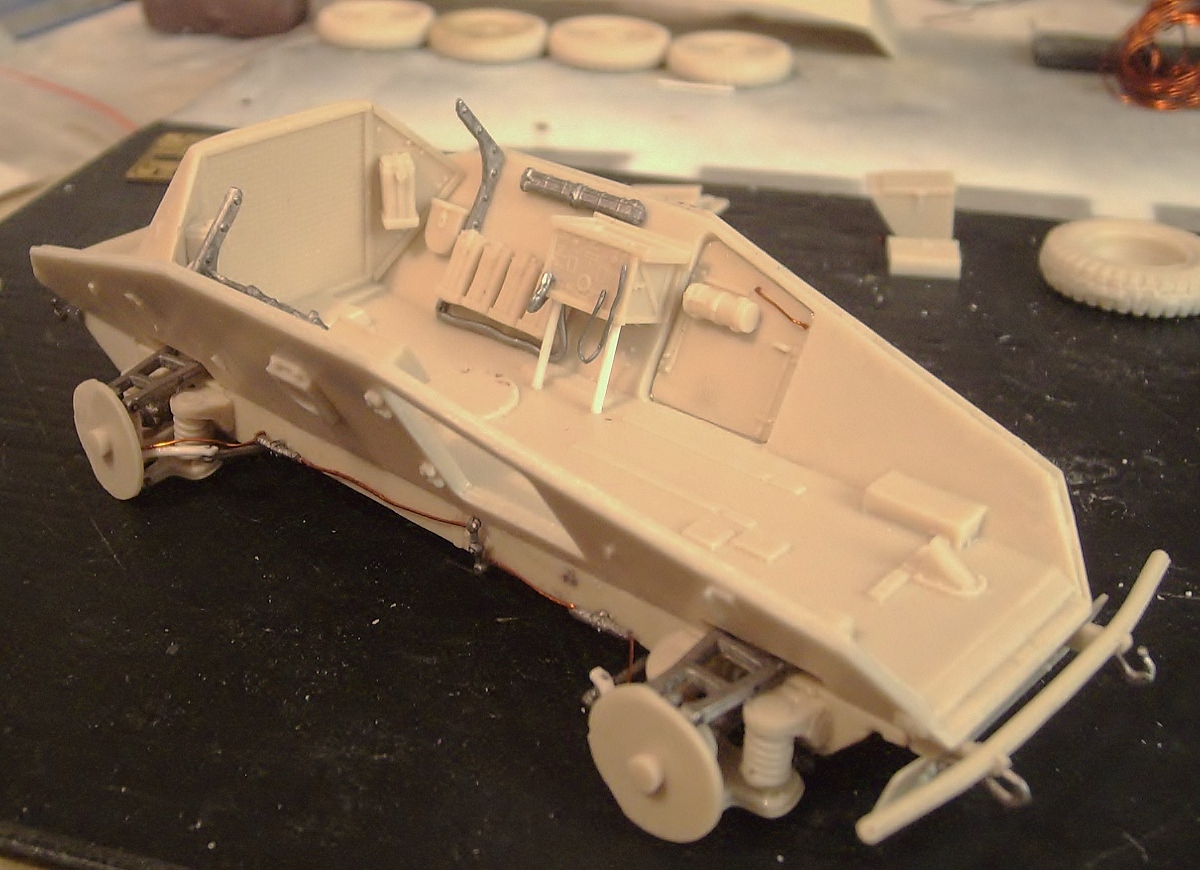
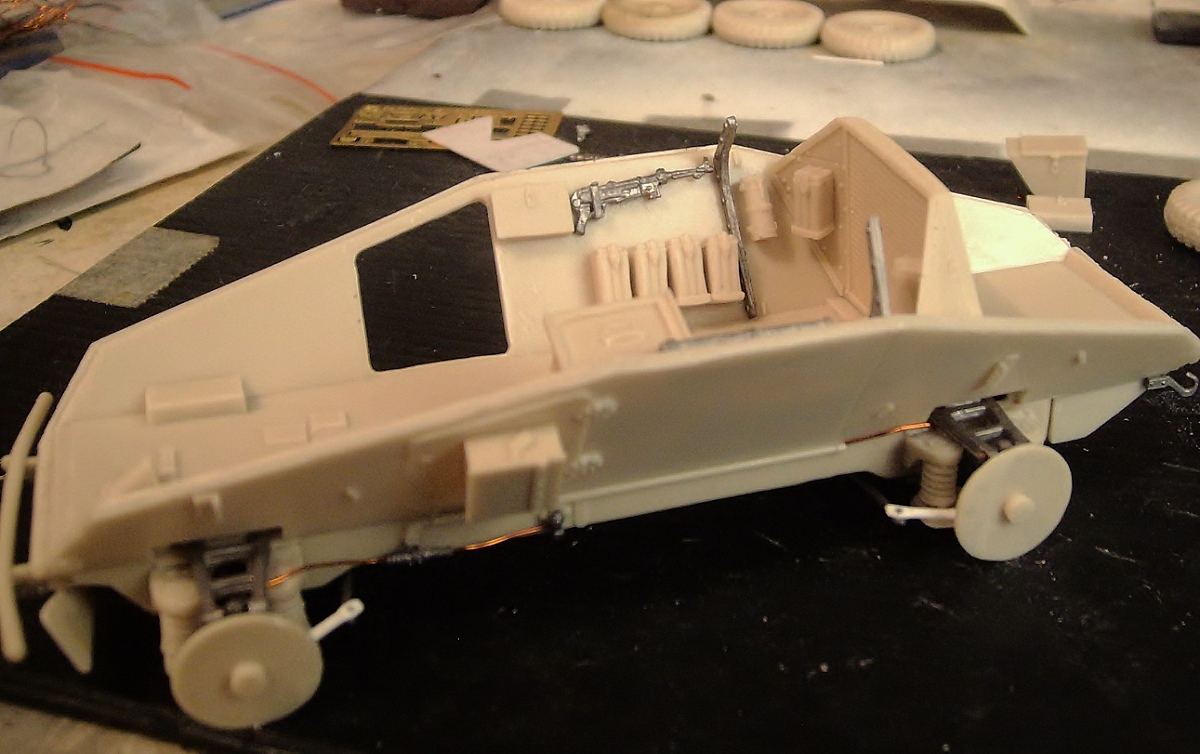
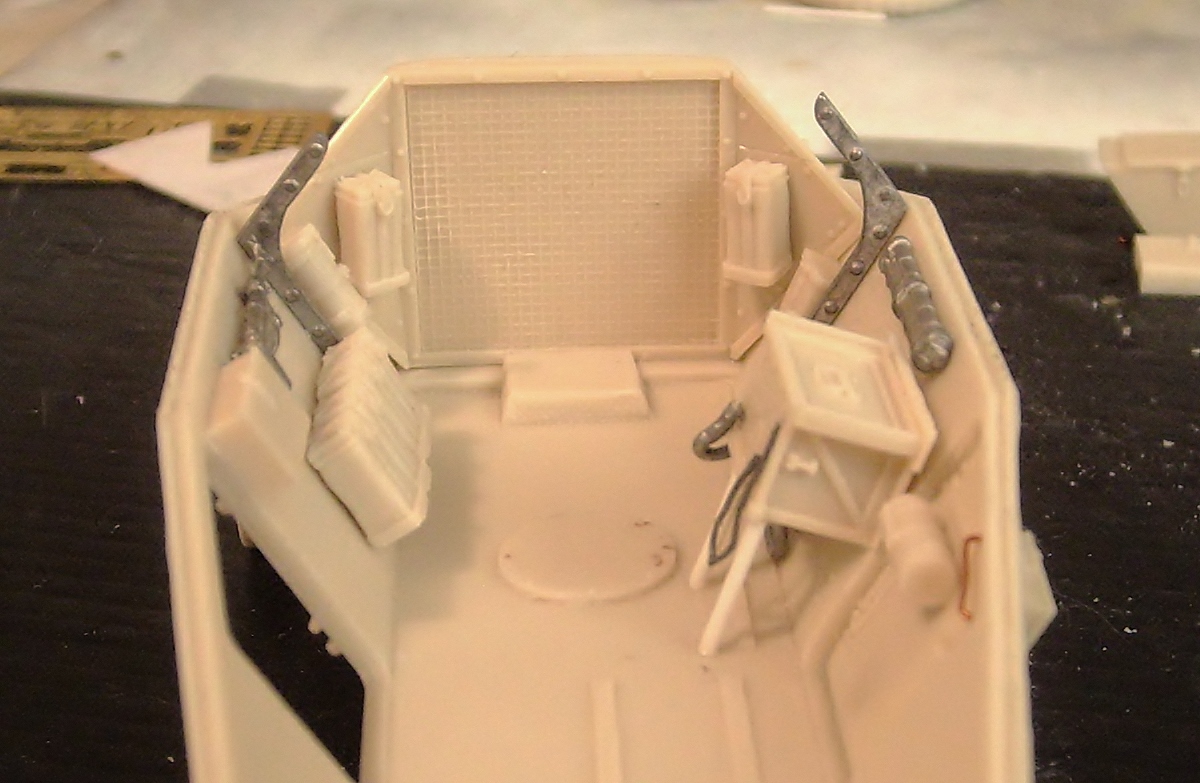
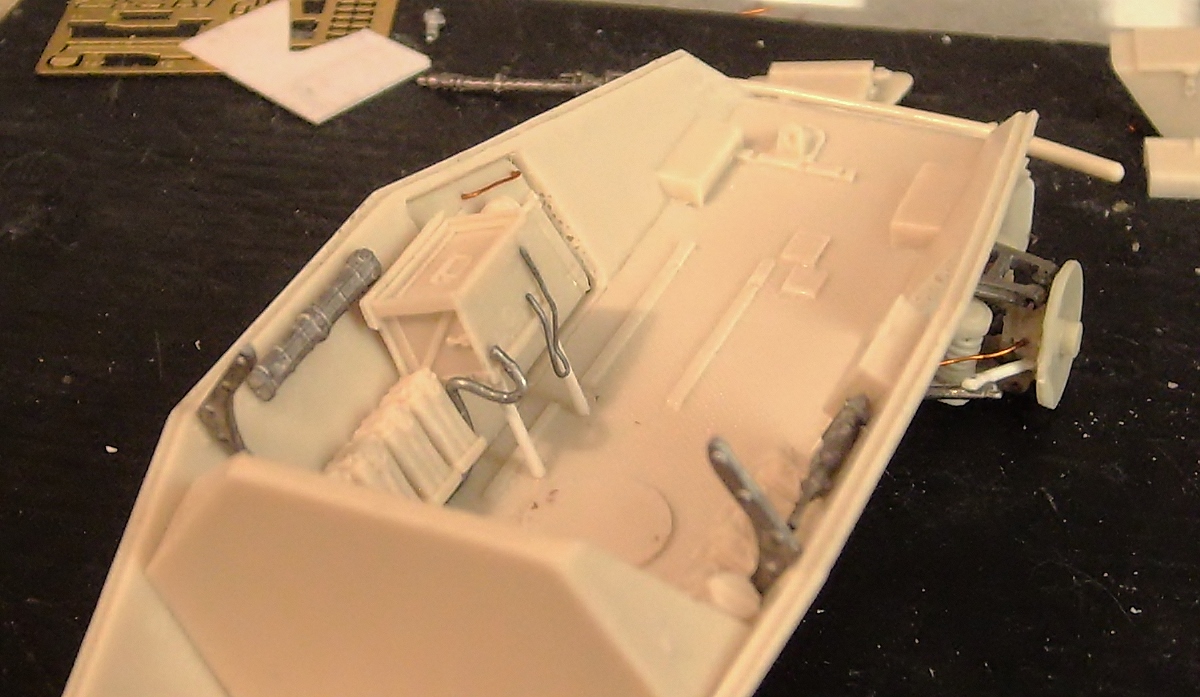
Interiors are ready!, I had to make a little modification in the machine gun mount because it was not accurate.
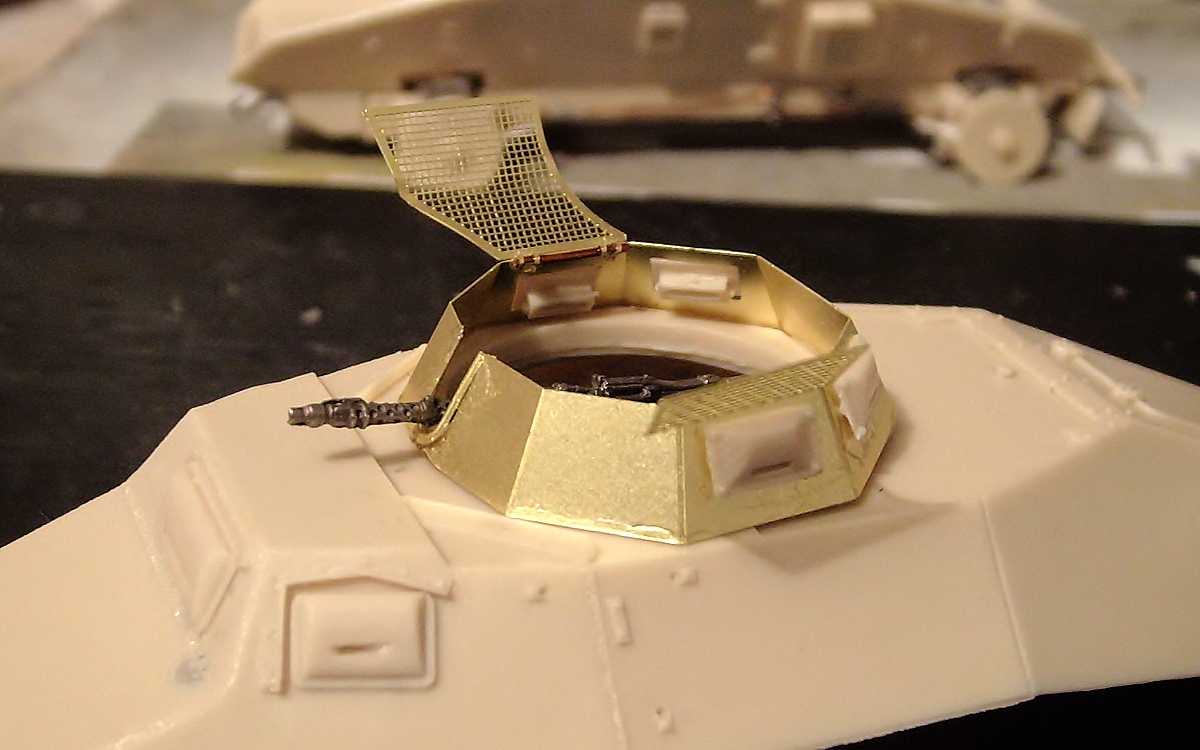
The photoetched was glued in the resina turret, but I had to make another modification; I glued the machine gun in order to can open the upper part for exhibition.
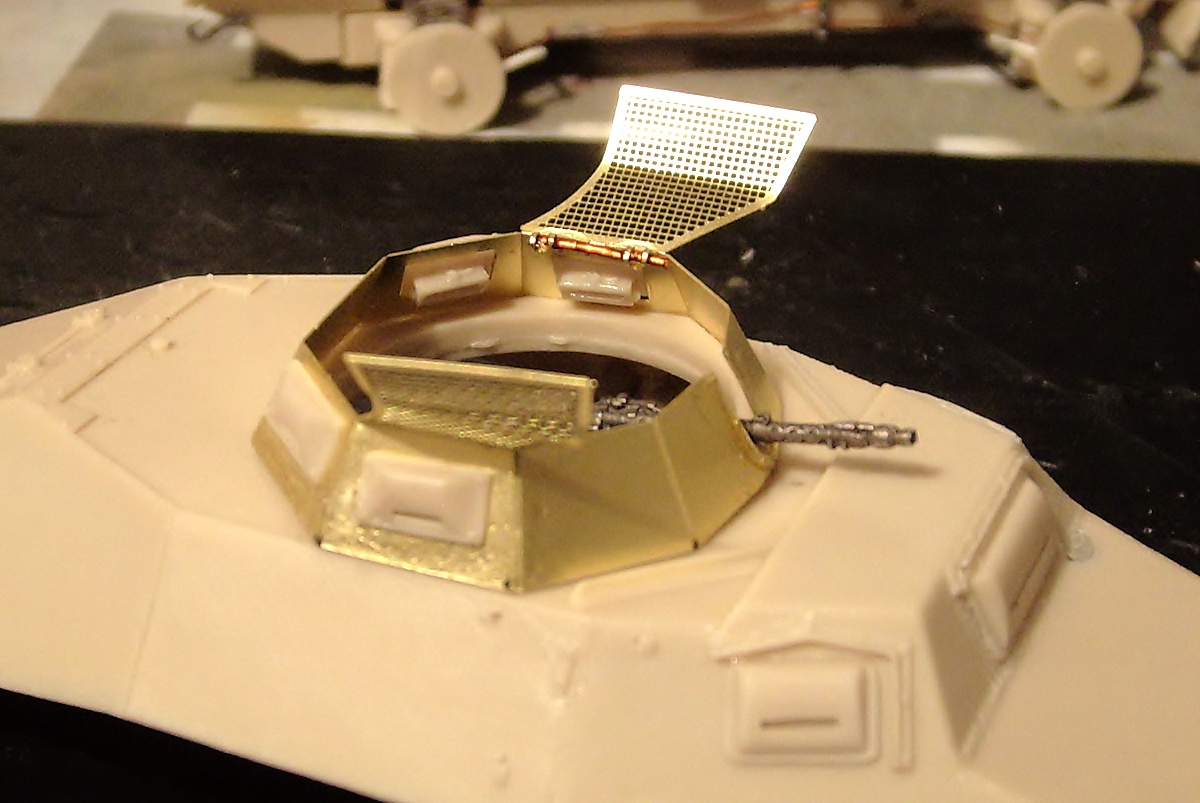
Unfortunatelly I need to close the interiors beauseis impossible to exhibit it with the mudguards added, for this reason I used my airbrush with Vallejo/White-Primer for continue the assambling exterior.
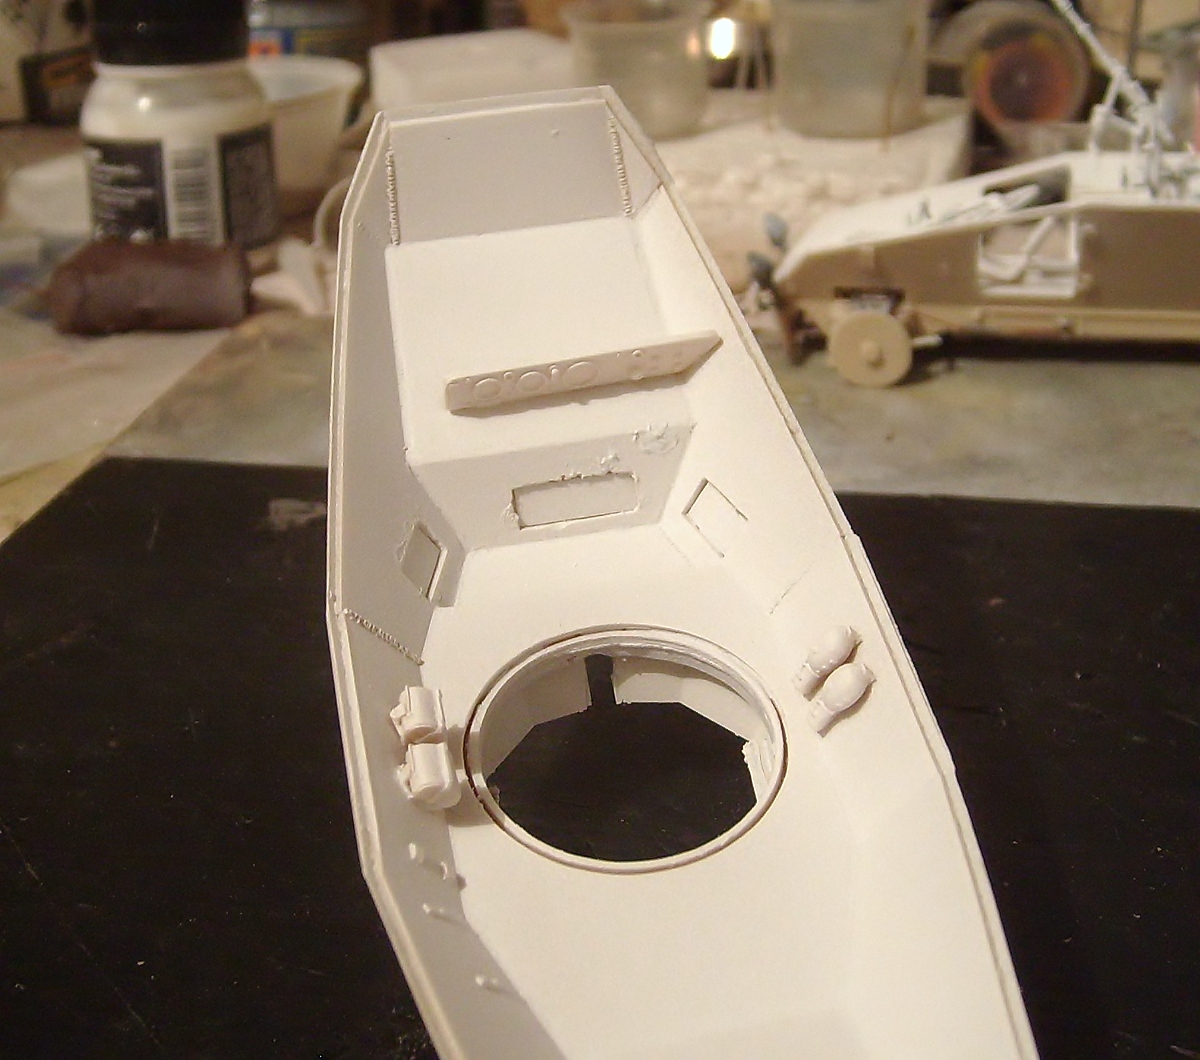
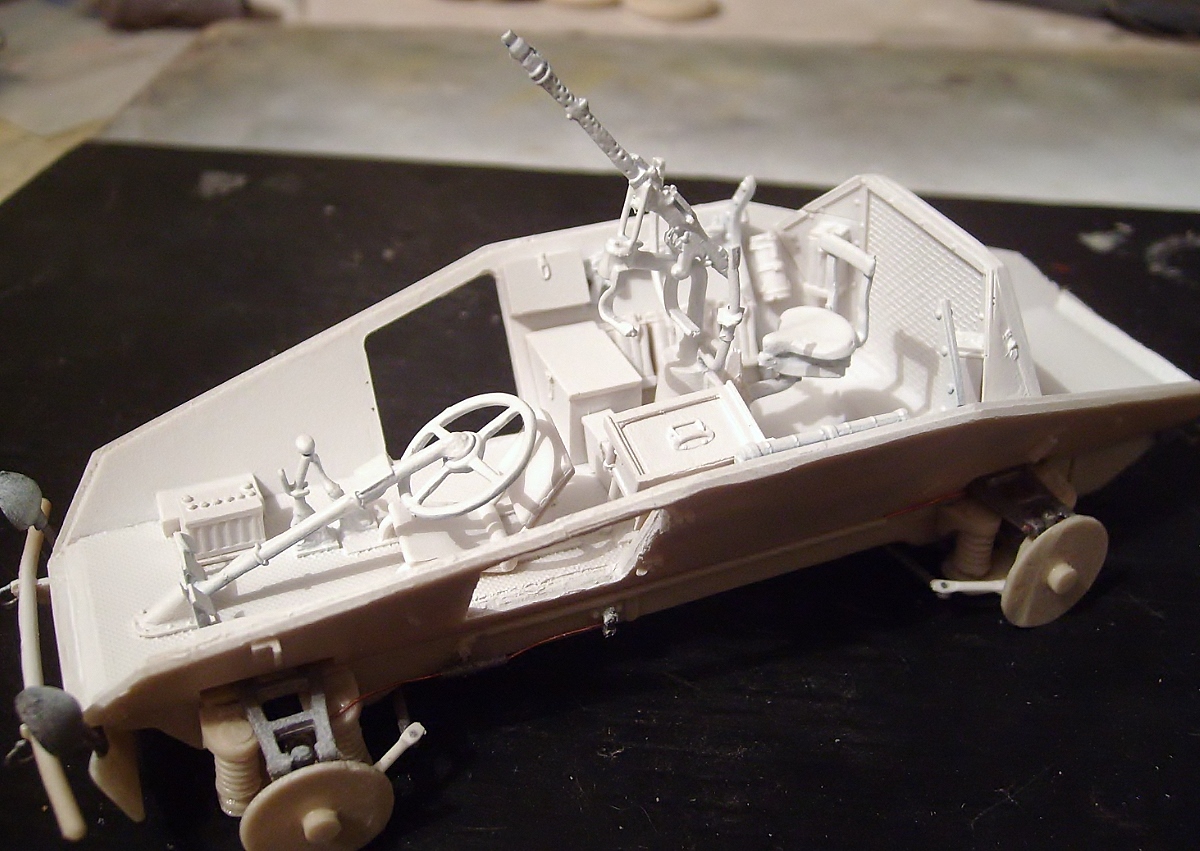
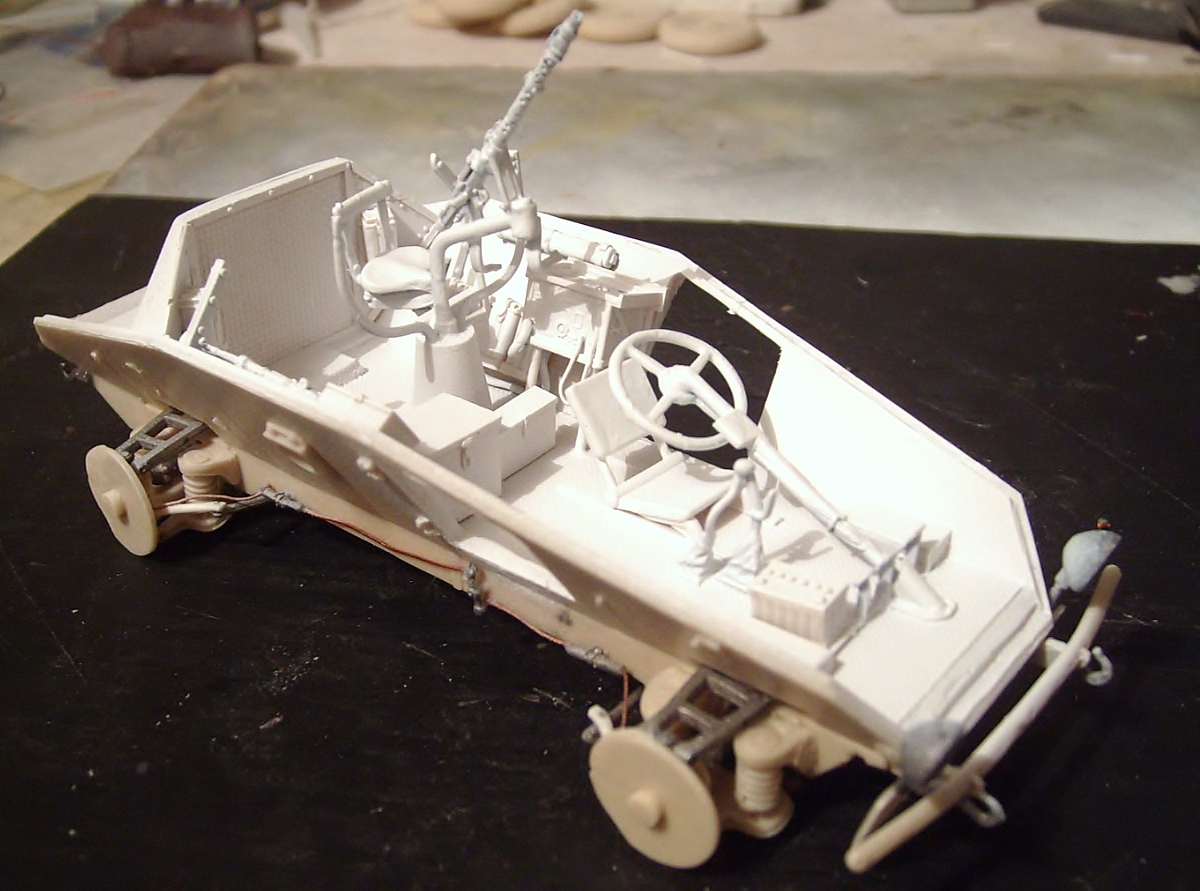
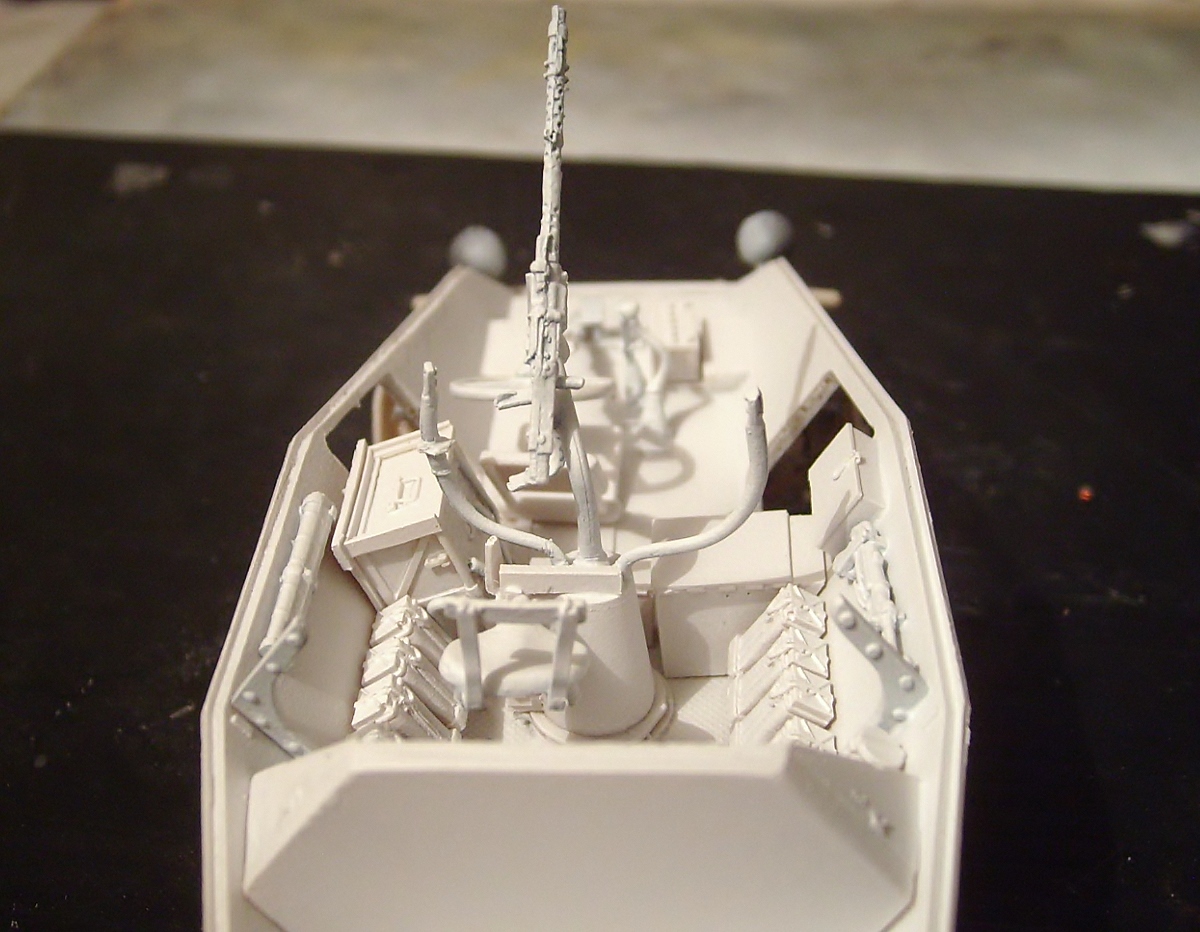
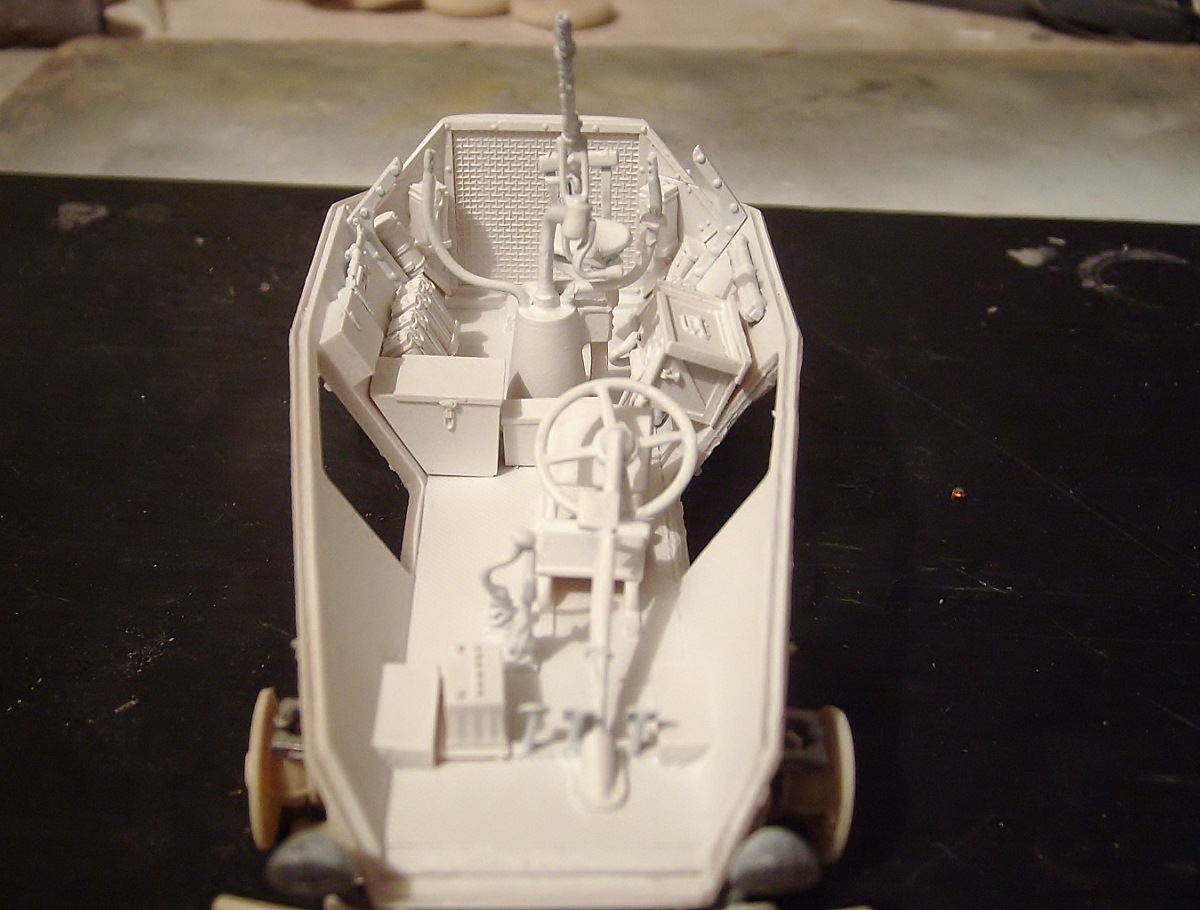
After of paint the interior, I will add a small weathering with MIG - Oilbrusher, Rodin - brown pigments and MIG - Enamel Odourless Thiner.
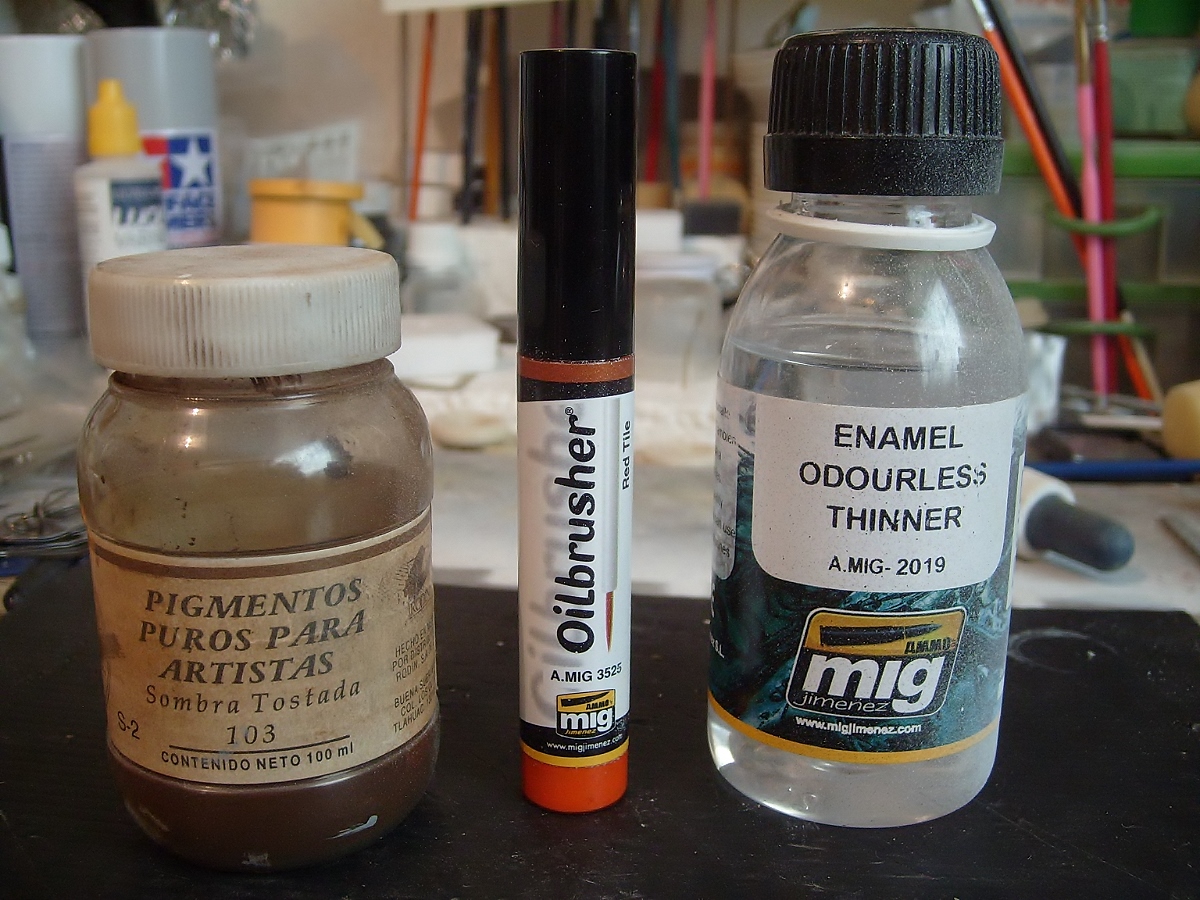
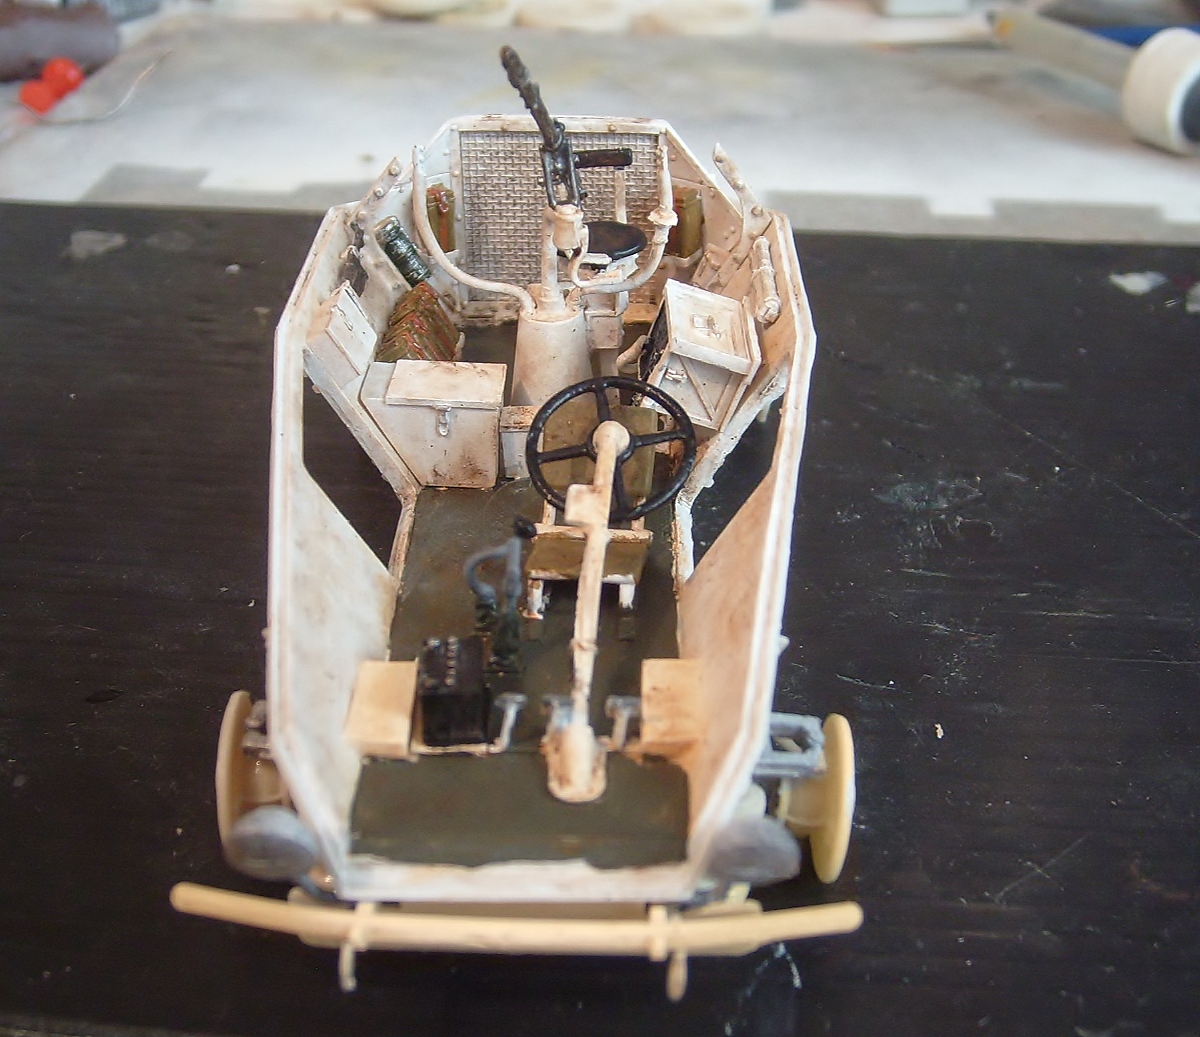
Weathering into iterior are ready!, unfortunatellu I need to close this part because this kit it is not was make for exhibith it, bad point for Sovereign! Only the hatches will remains open to try to see some parts of the interior and the upper part of the turret is another possibility to see into it too.


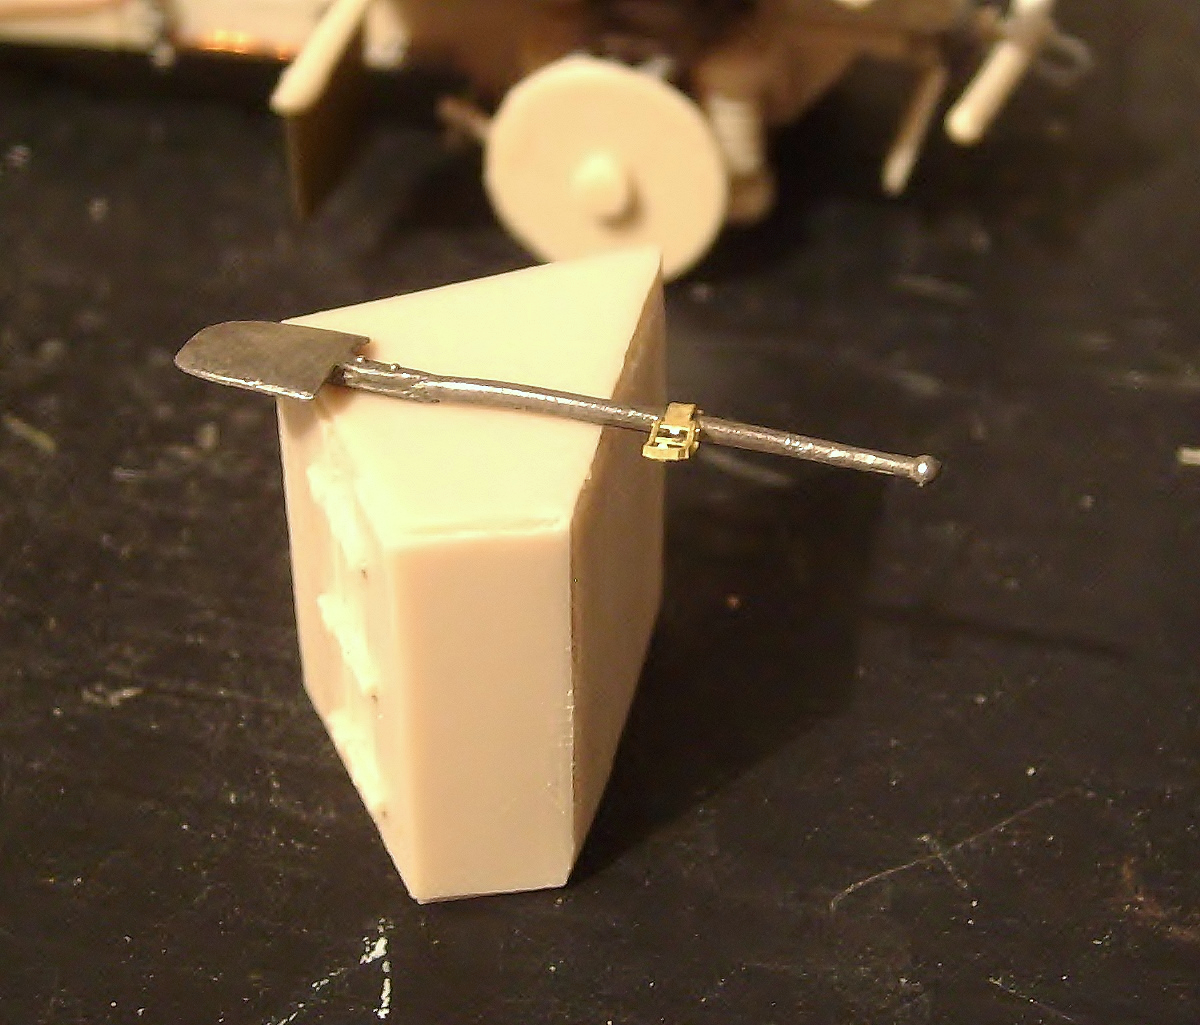
Added handle in the shovel with photoetched.
Vehicle finished with resin, white metal, Photoetched and something of scratch!.

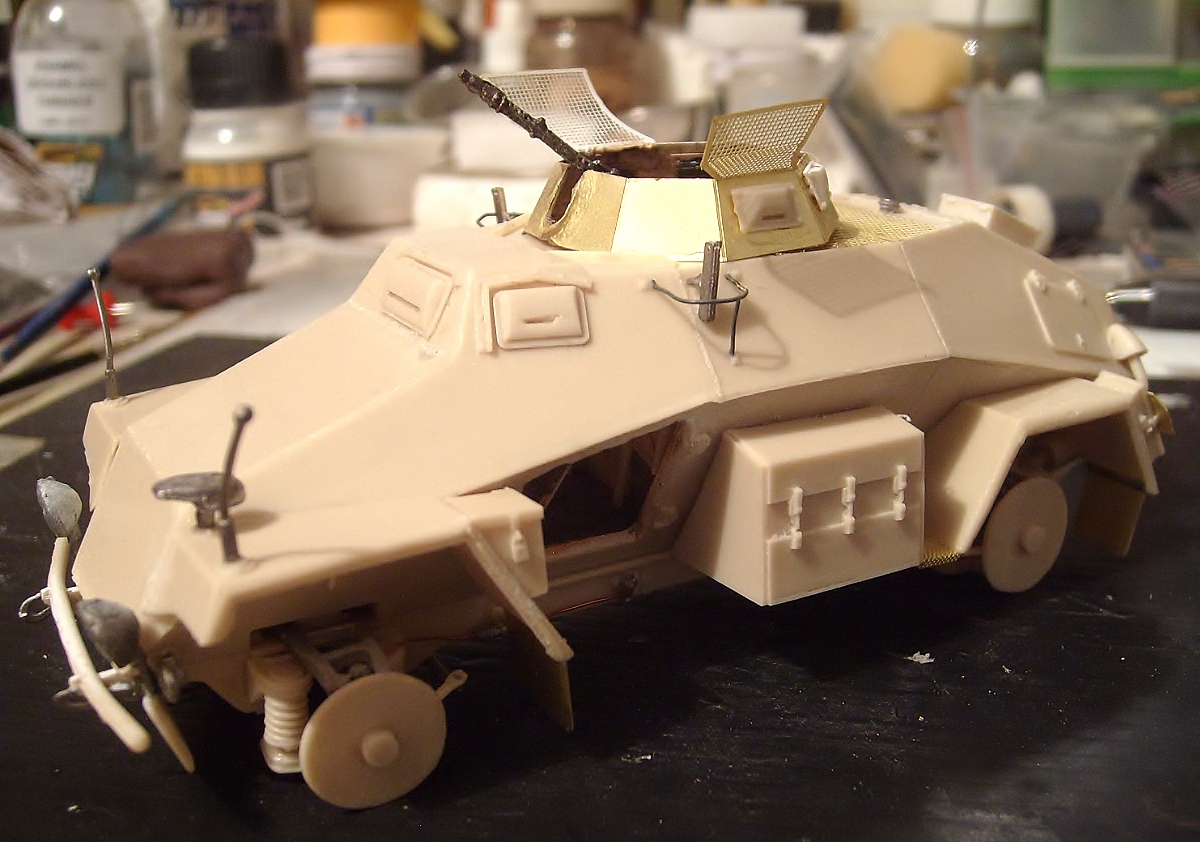
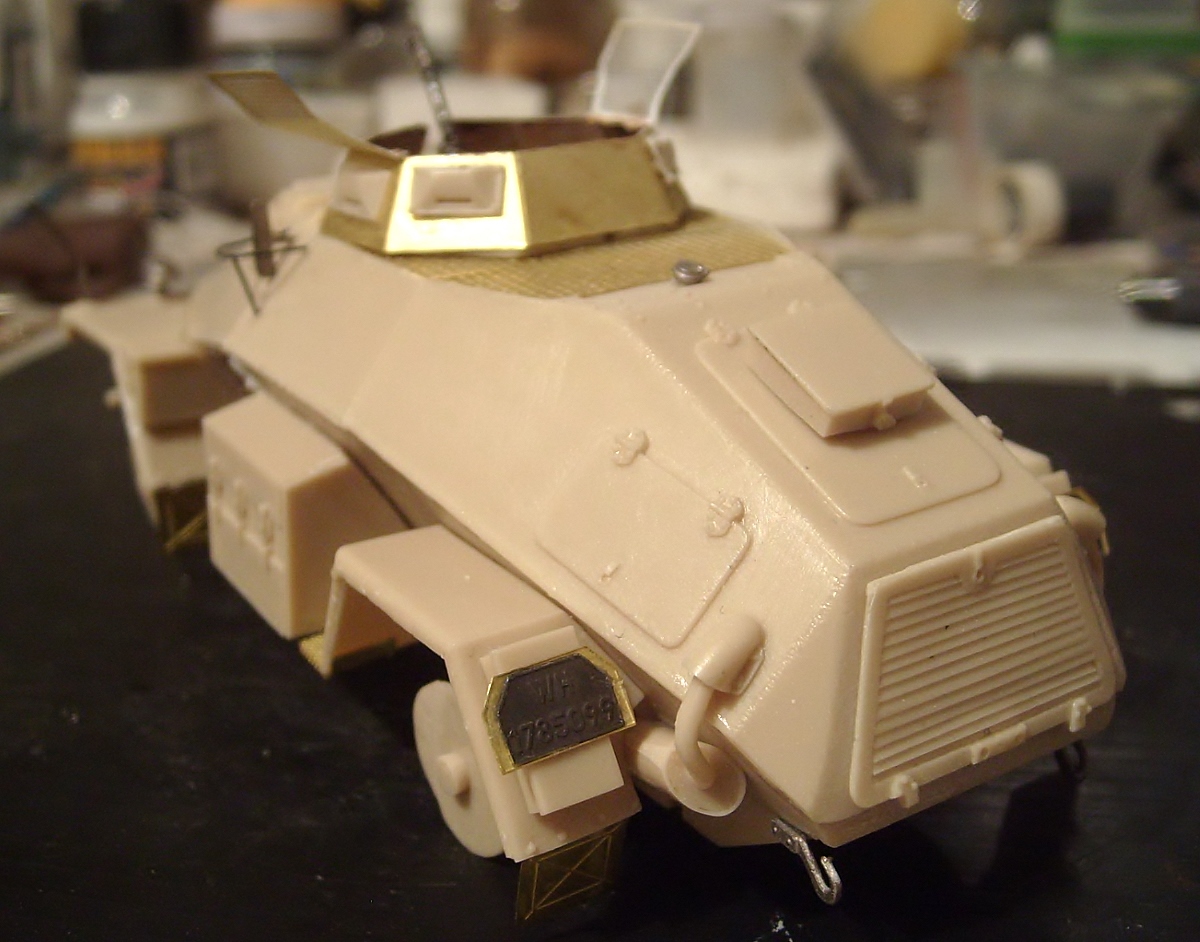
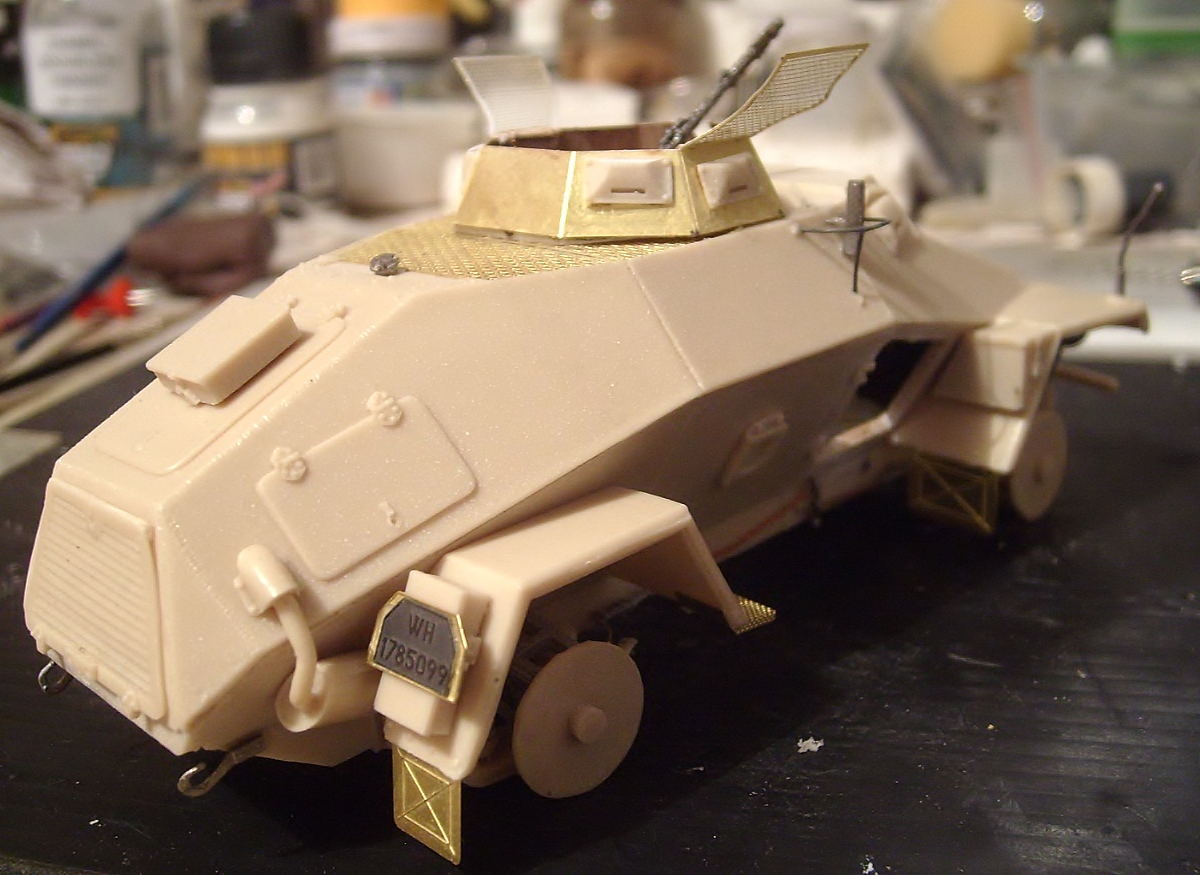
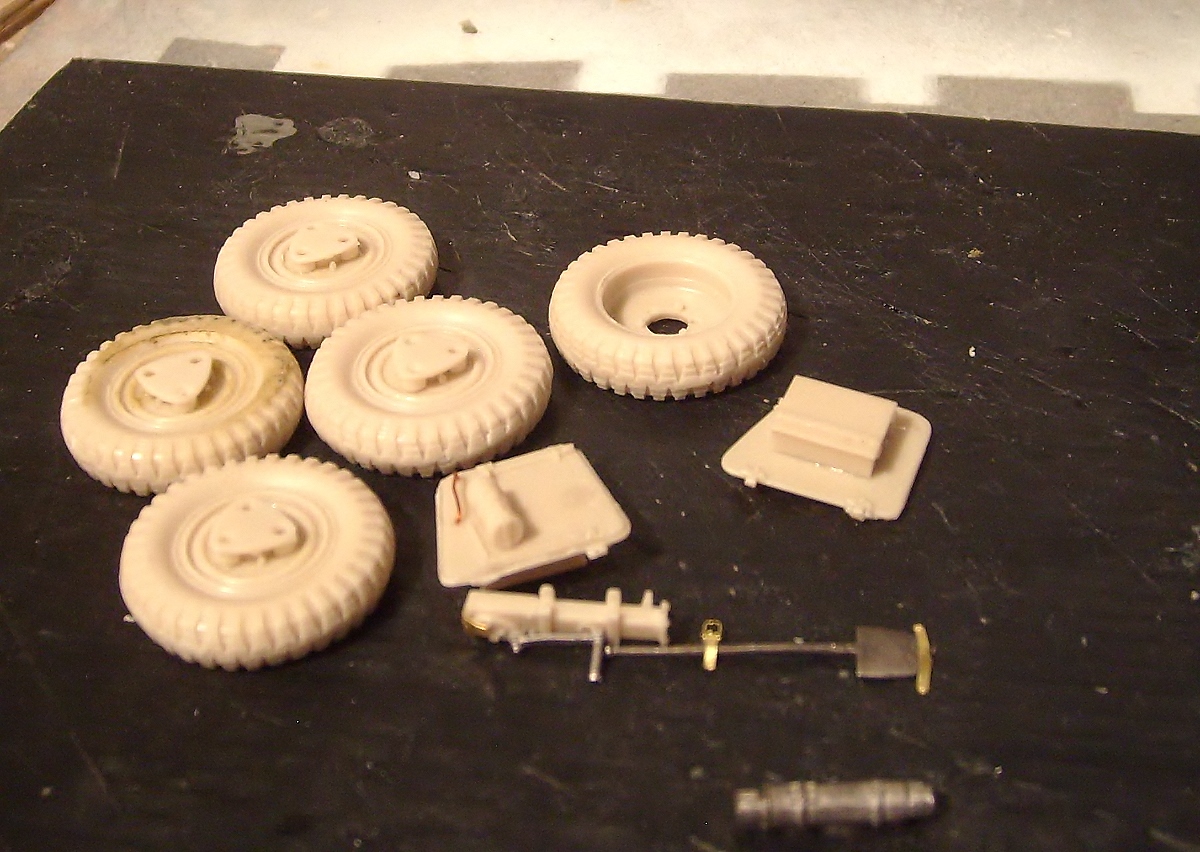
These pieces as wheels, hatches, jack, shovel and extinguisher fire will be mounted after of paint the vehicle!.
AFTER OF A PAUSE OF NEAR 4 MONTHS, I WILL CONTINUE MY WORK!.
Here I added thick sponge cutting it for cover the parts exposed, very maneuverable!

* INTRODUCTION
* CONSTRUCTION
* PAINTING &
* WEATHERING
FINISHED WORK - GALLERY