
October / 2019.
CONSTRUCTION:
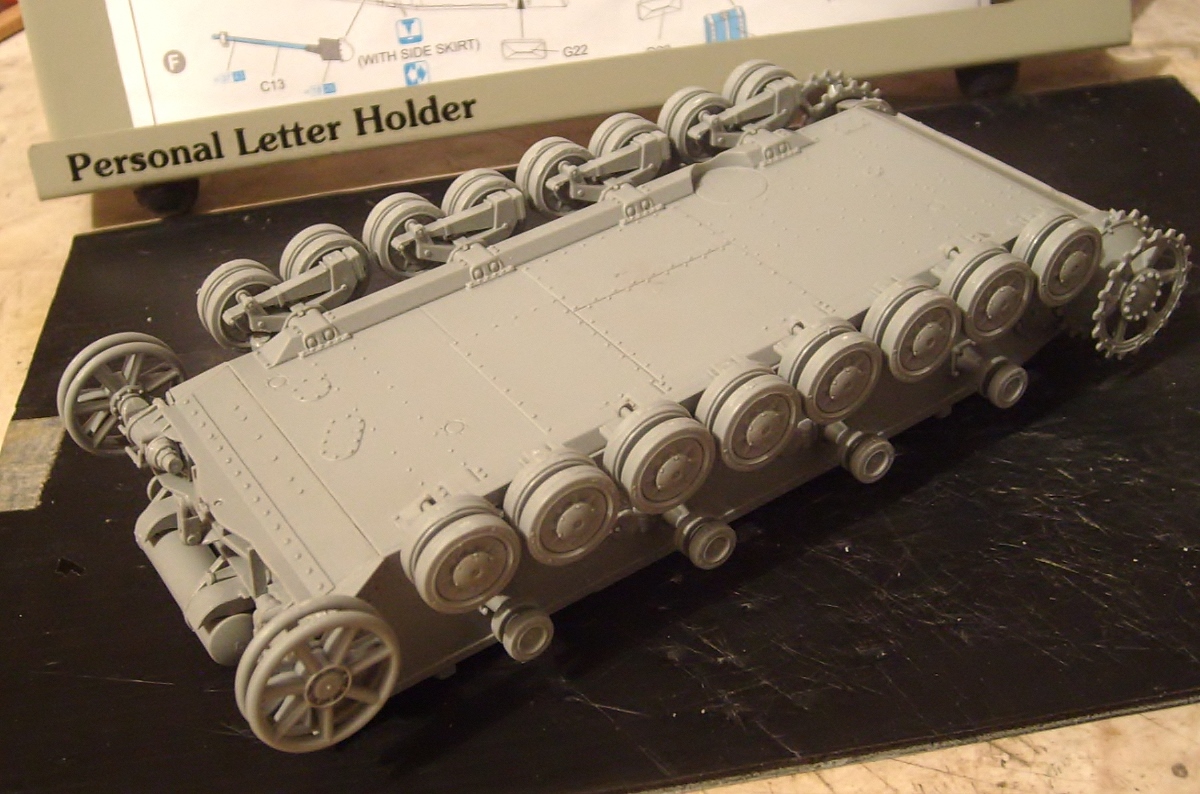
Starting with the chassis, to complete the assembly, the front part comes with 10 pieces and the back part with 4 pieces, all have adjusted perfectly!, really the detail is very nice, but the plastic is it something soft.

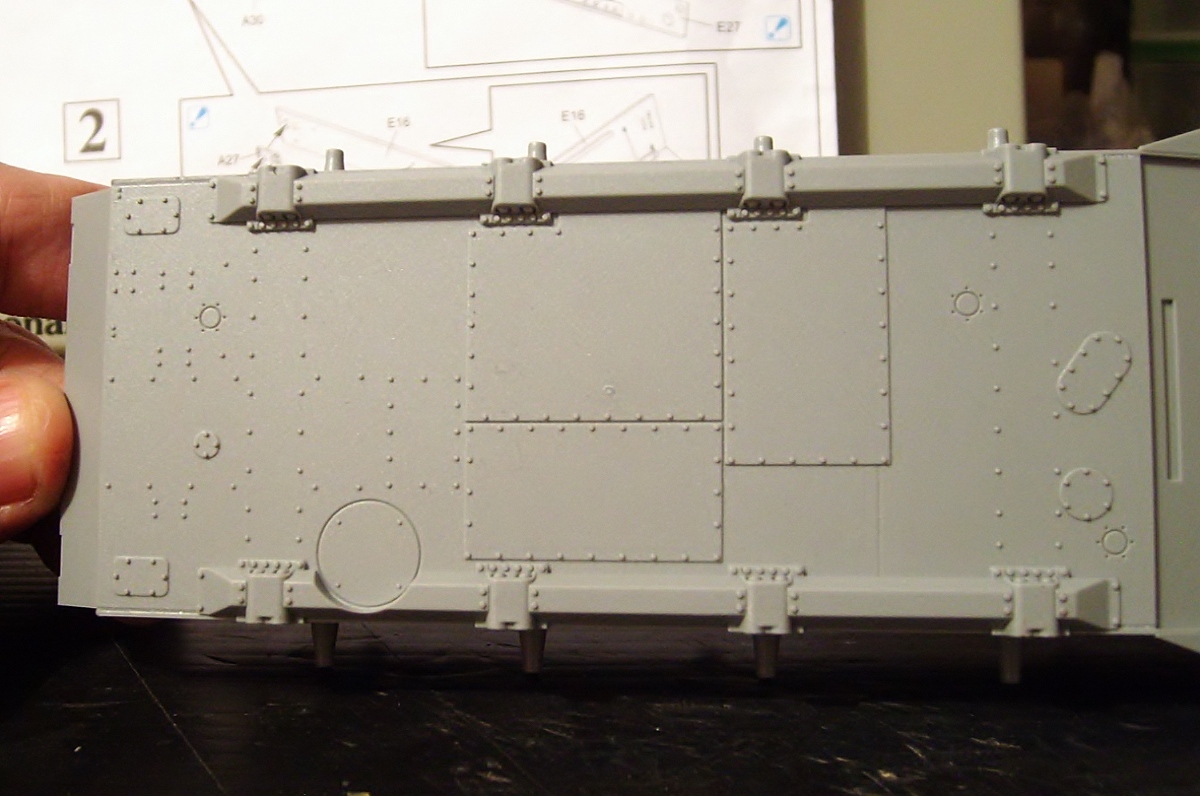
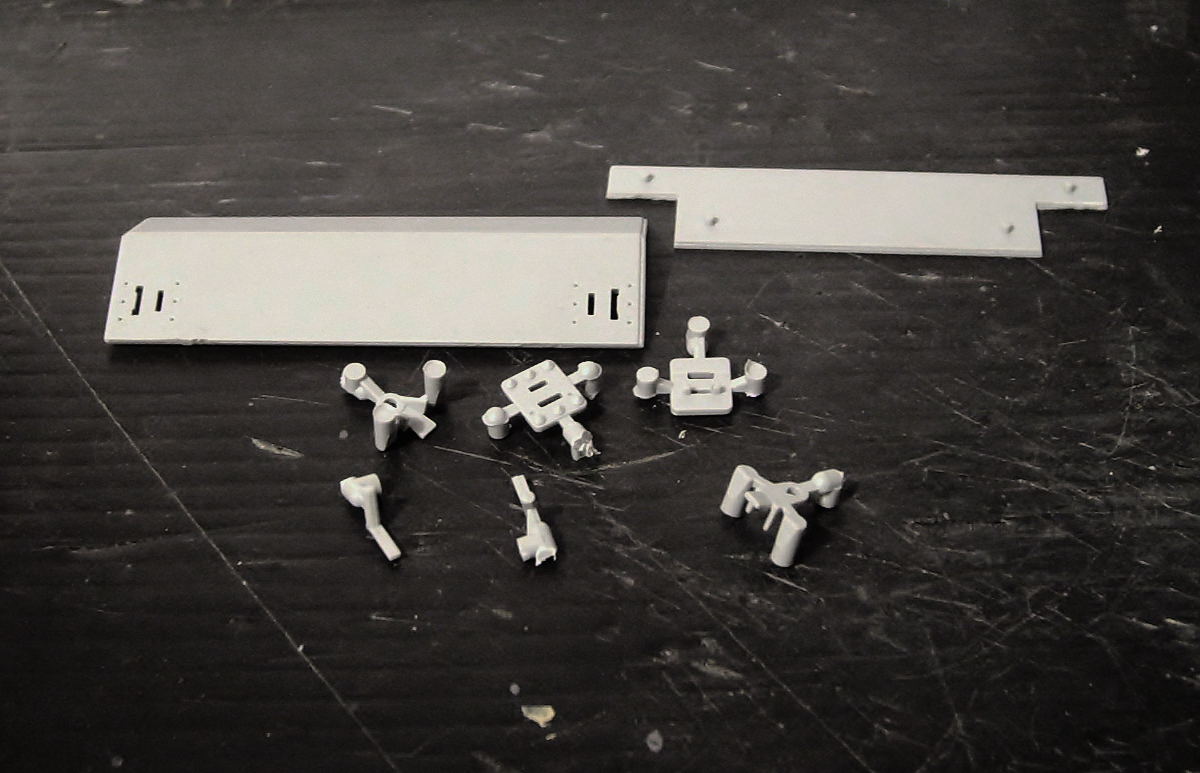
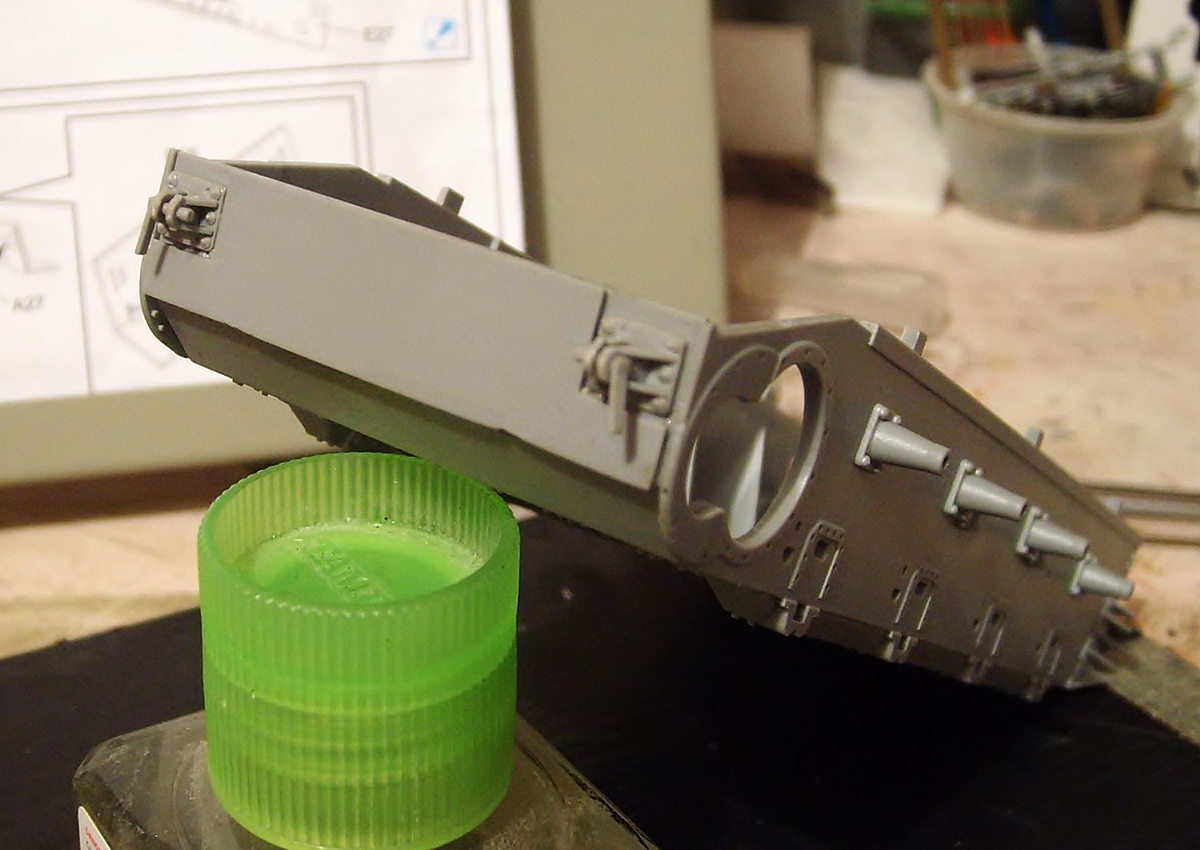
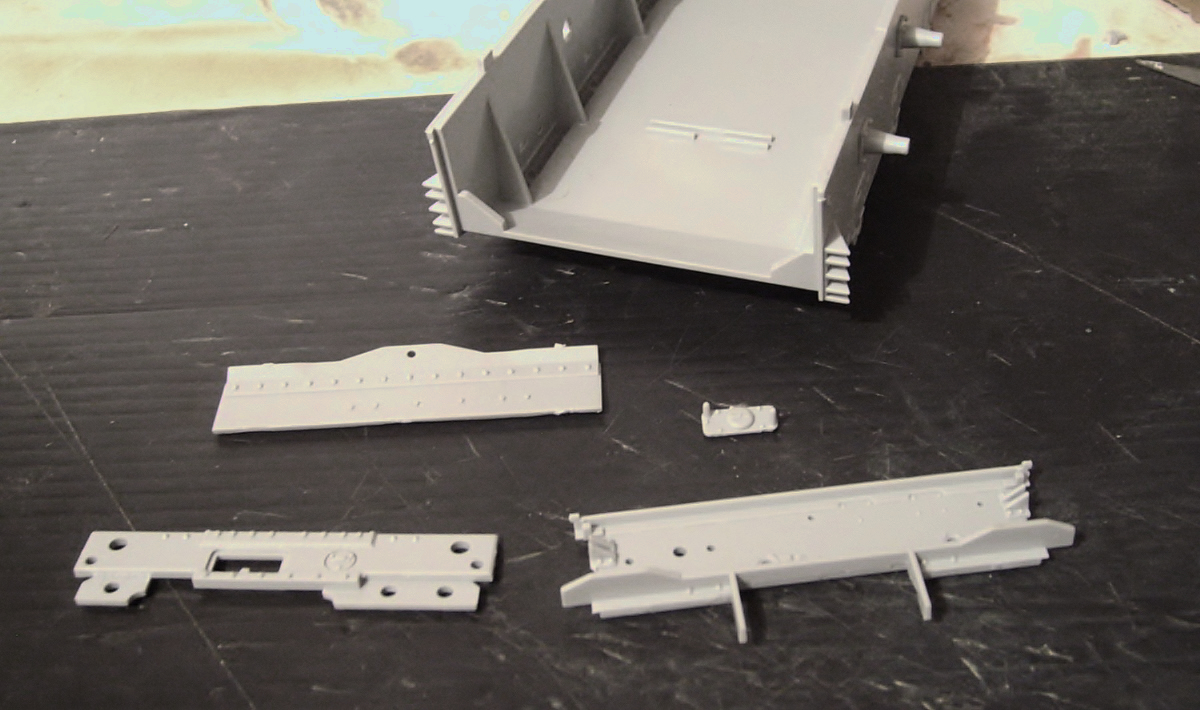
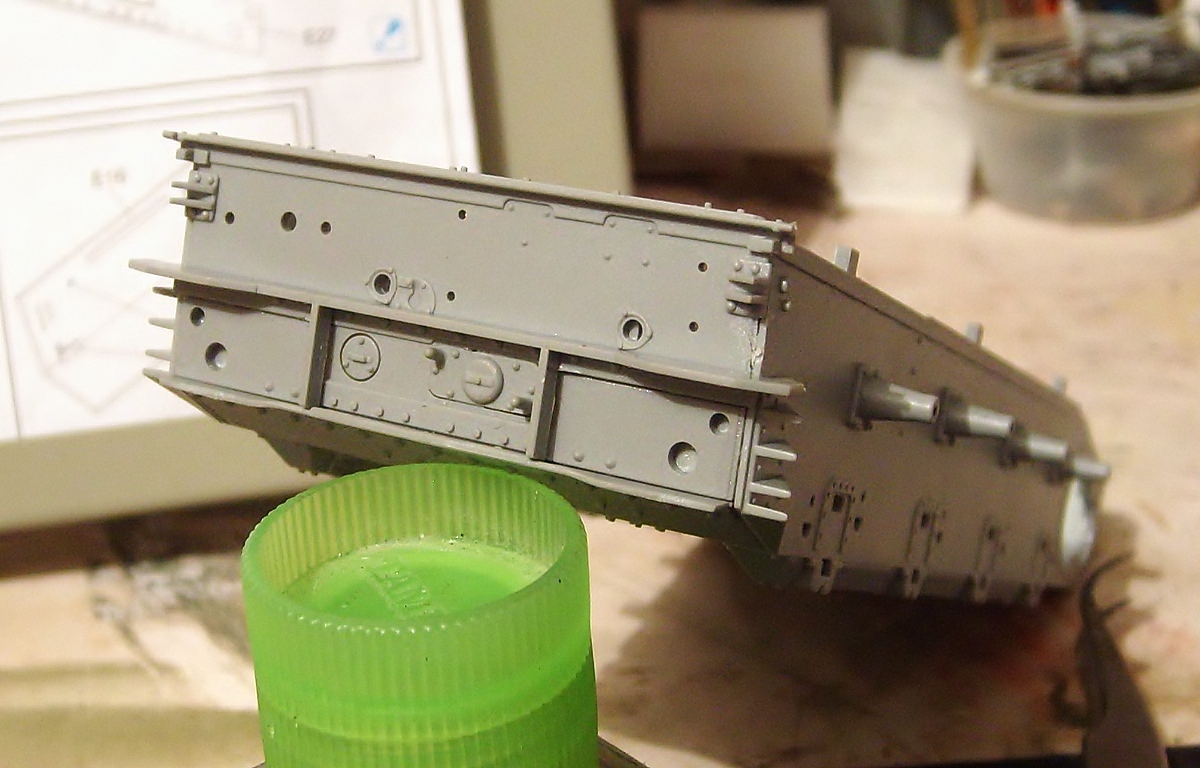
Suspension system: 20 pieces to assambling the limting stop (suspension arm damper), (many pins!) and working 8 parts of suspension base.
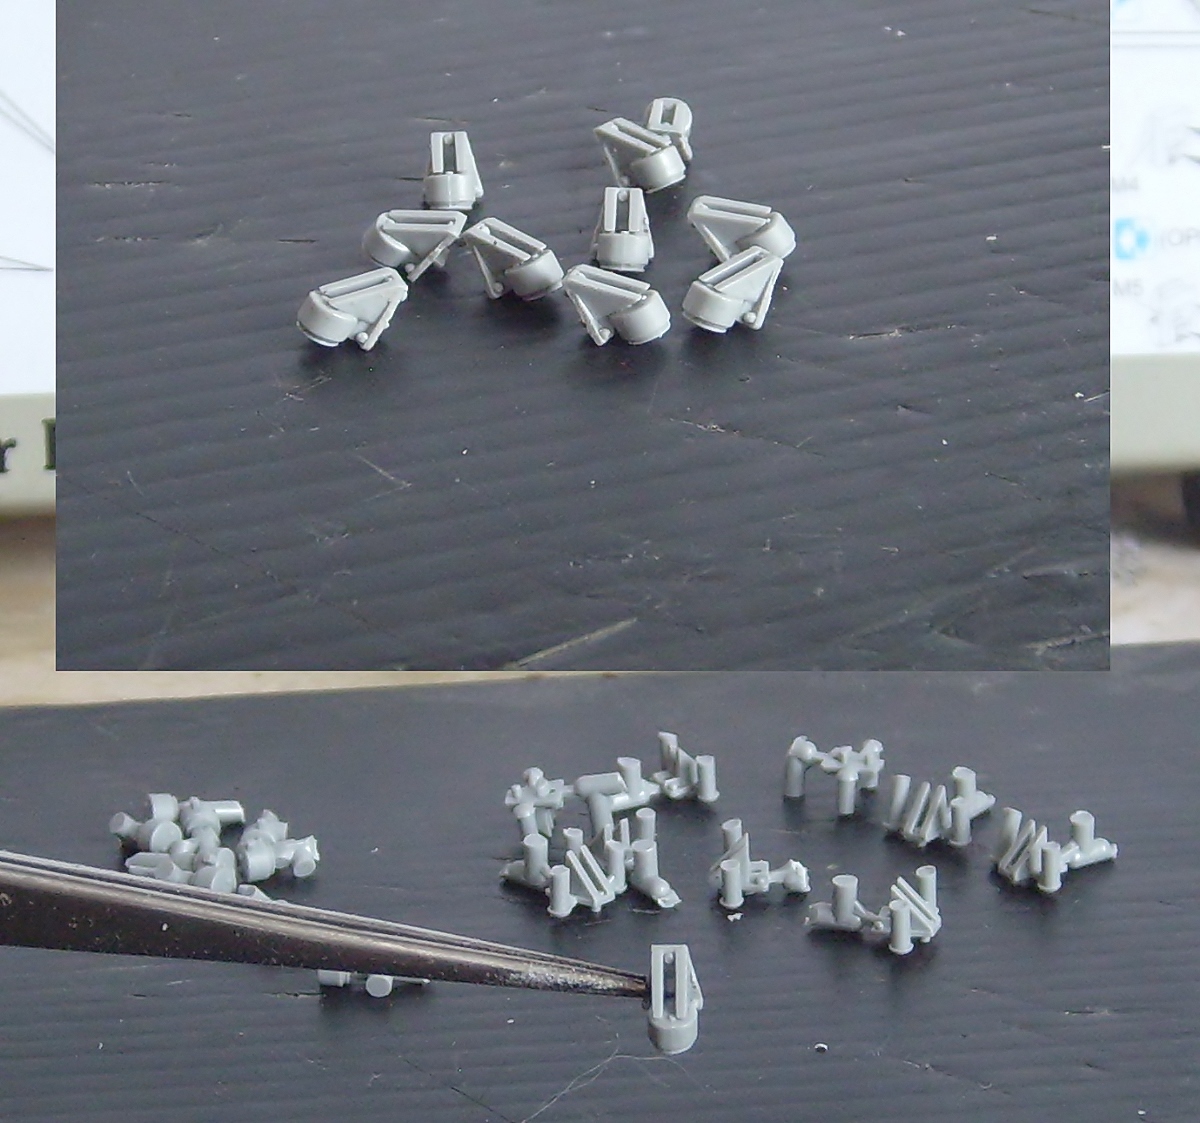
Assambling the boogie wheels and suspension mount.
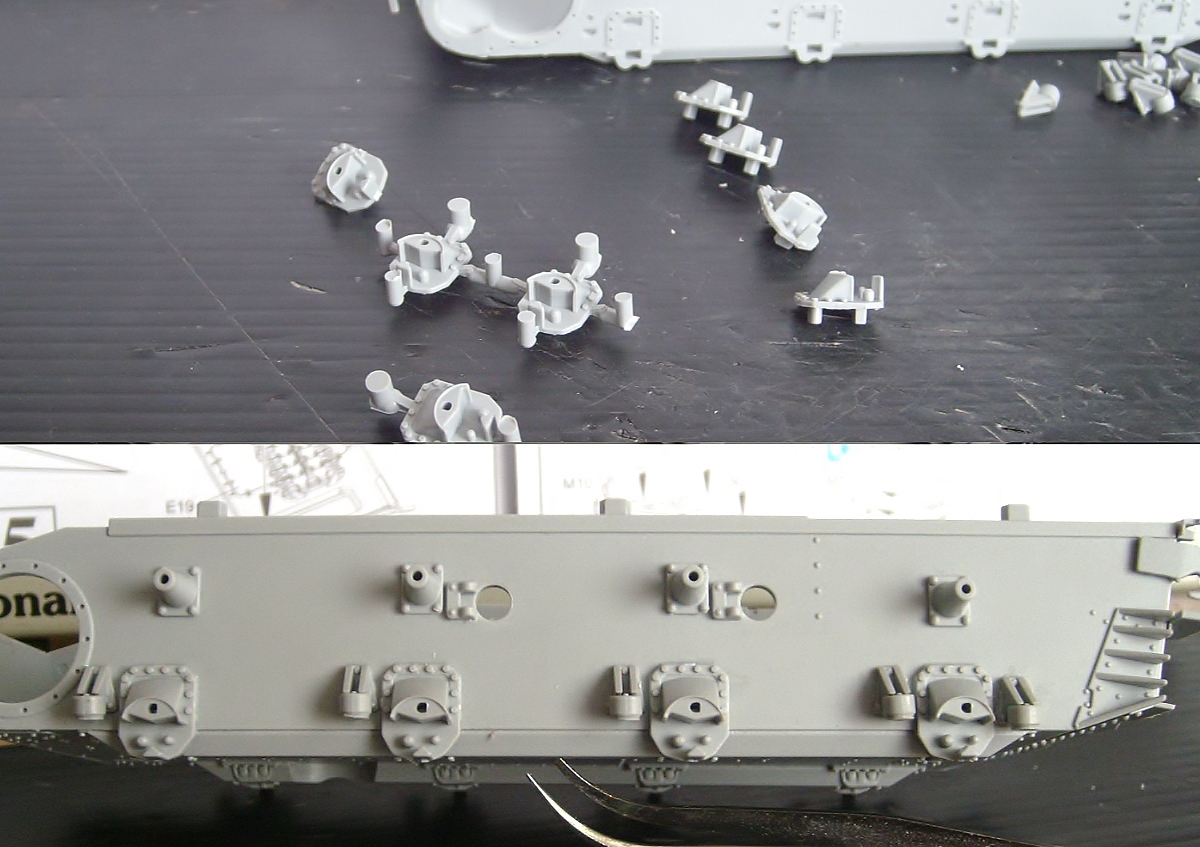
Working separated armored cover for final drive housing, 4 parts (each side) and two side fuel hatches.

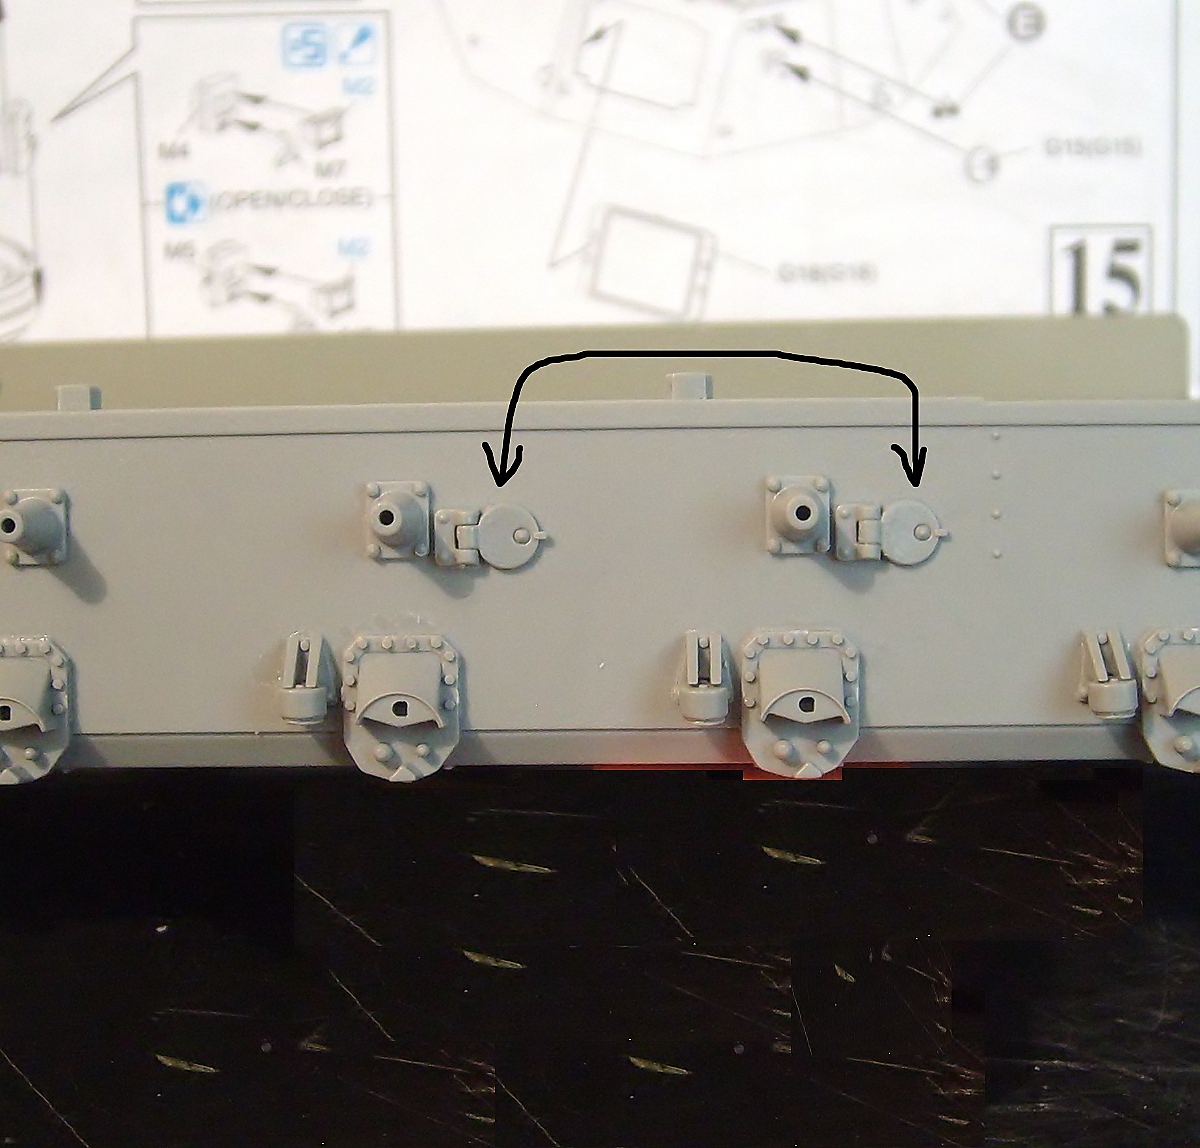
Working the suspension cover, arms and carter, 3x8= 224 pieces with many pins too.

Working the wheels and rollers
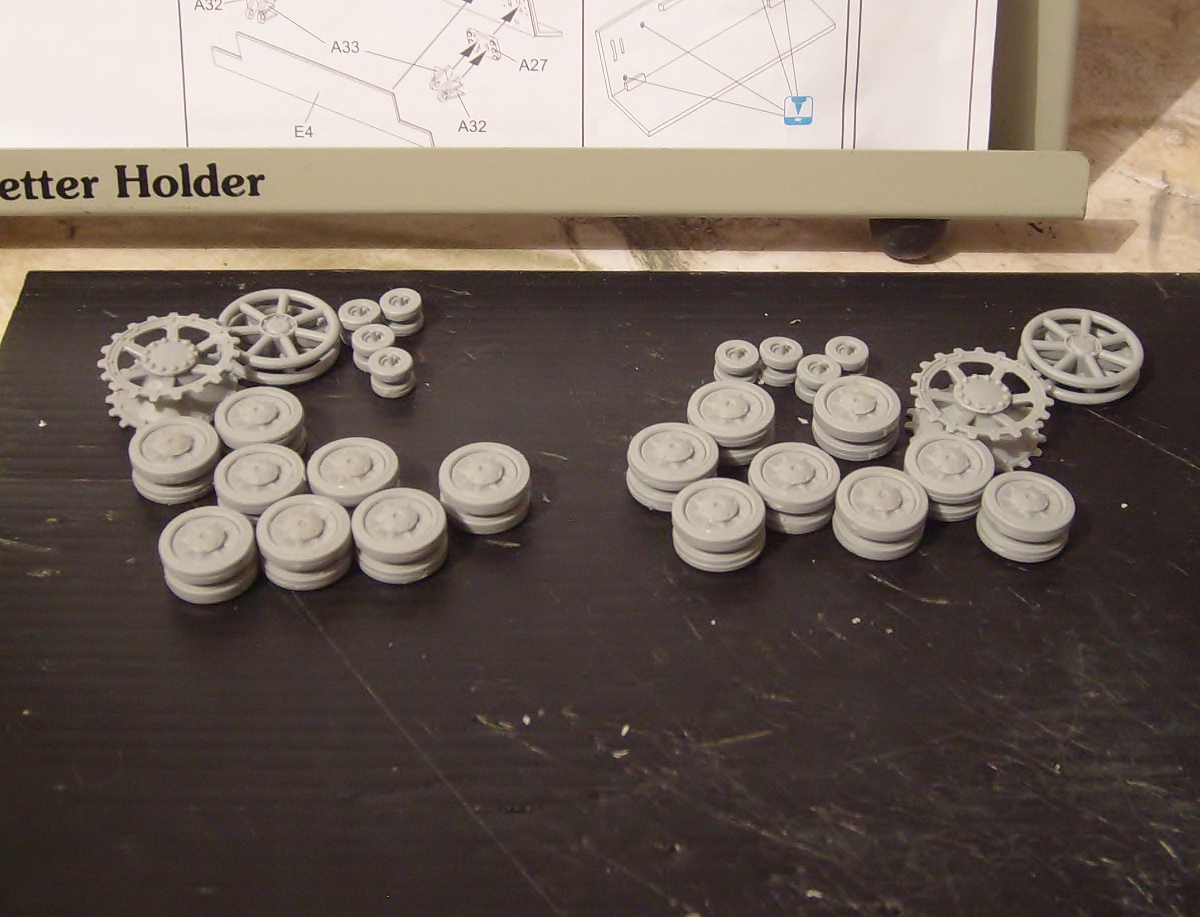
Assambling the exhaust pipe with 7 pieces and completing the rear plate.
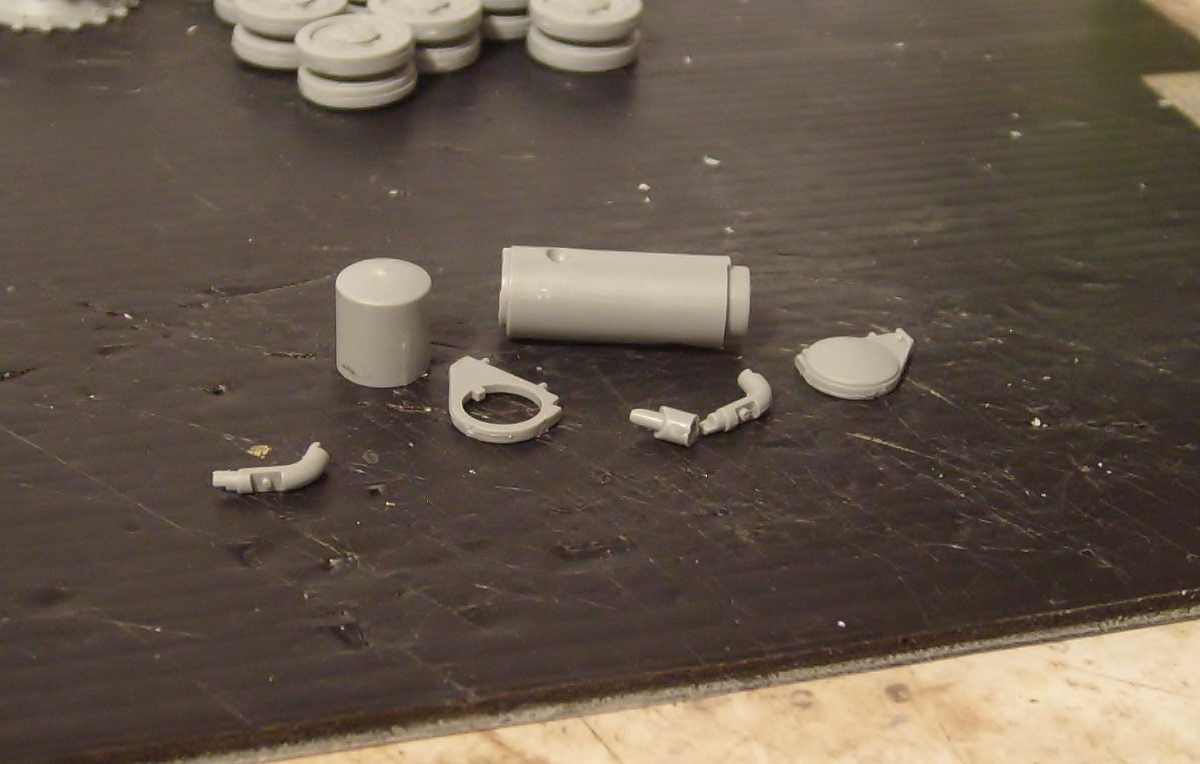
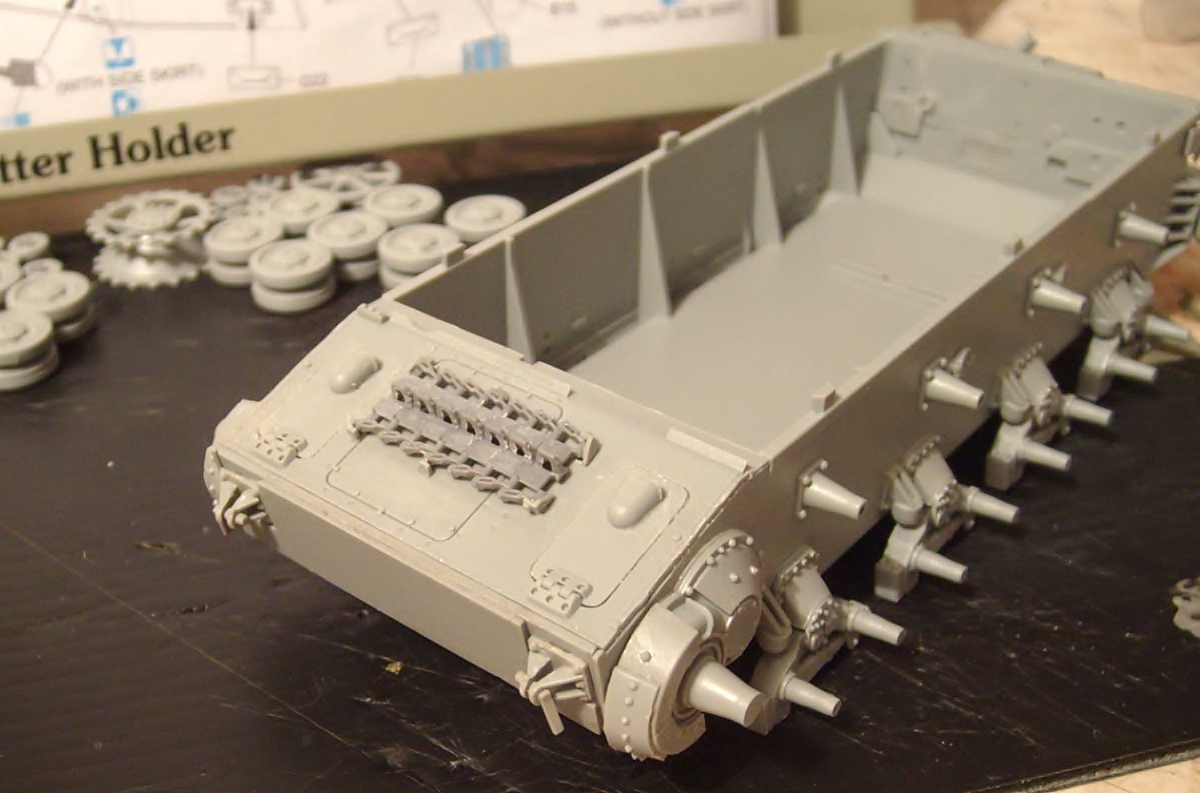
Assambling front plate with 6 brackets in spare tracks, the hatches (in this case) it was necessary to sand for fixing in the plate
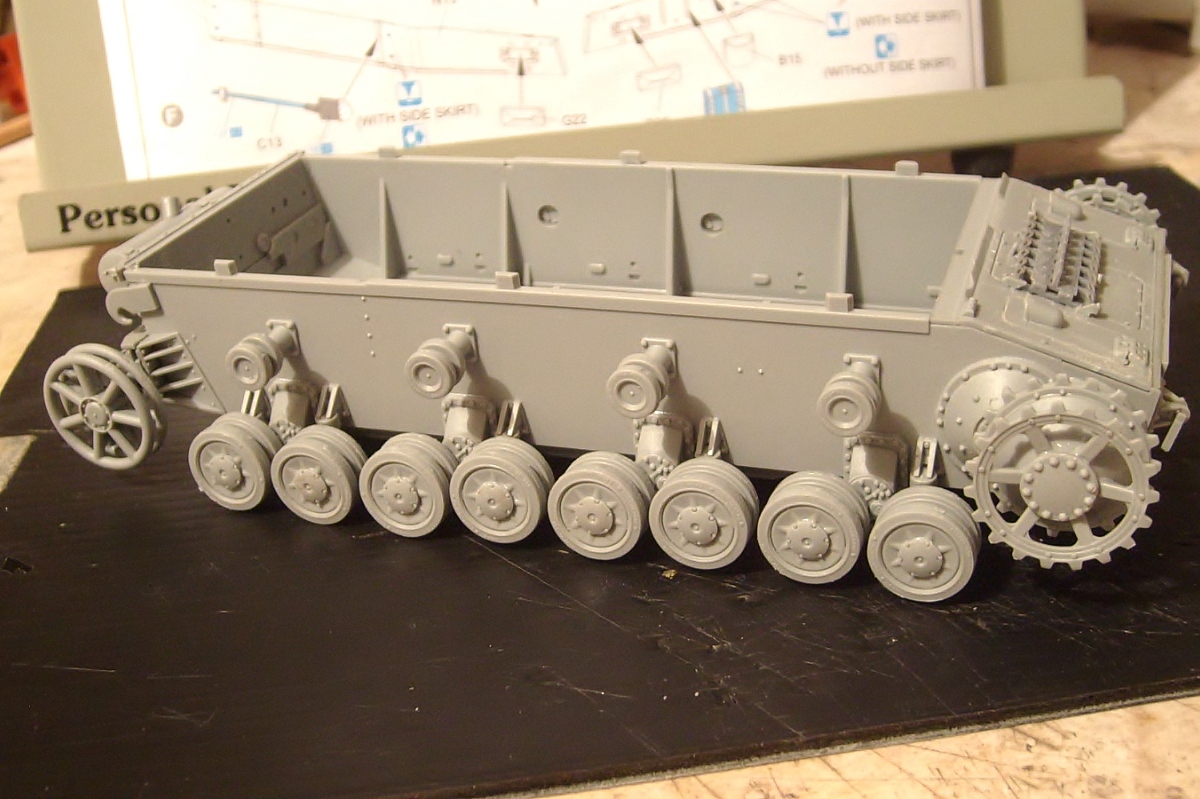
The wheels are ready, the ilder wheel feels a bit weak.
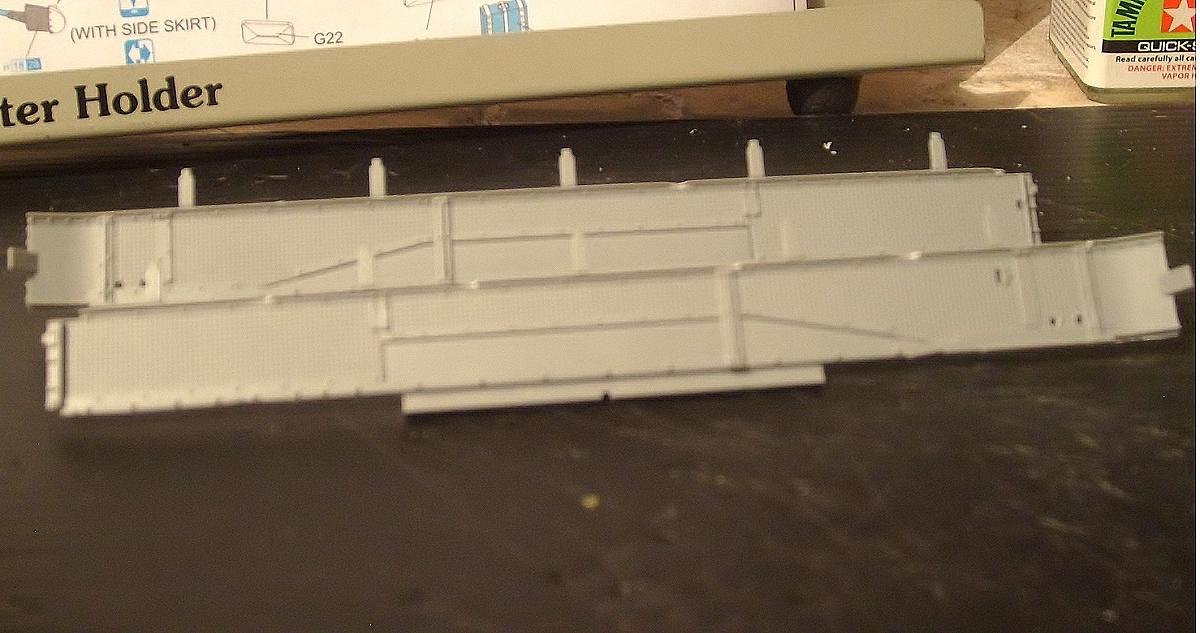
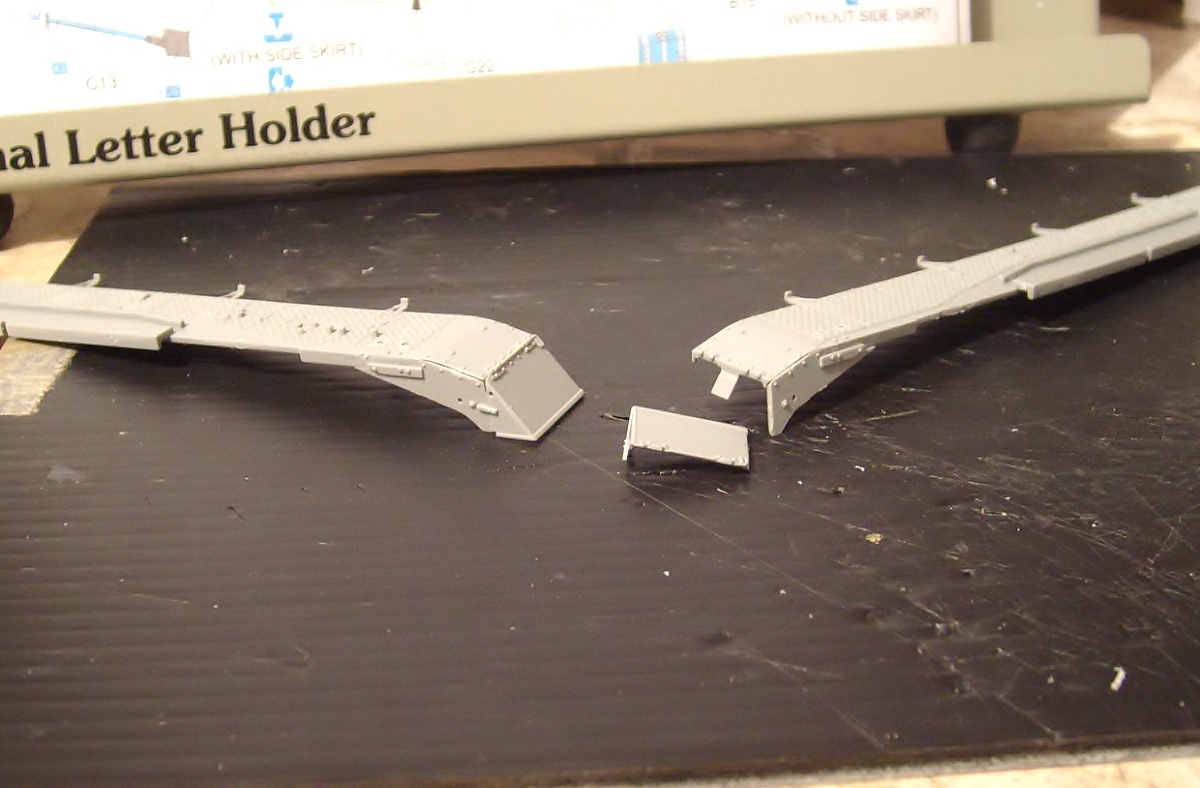
The fender extensions have a nice details in both sides. For a correct adjustment, it is necessary to mount the large plate inside the chassis (B24) and then over the fenders making some pressure from the back towards the center and finally embonates the front part; The back of the fenders have a small gap to fit the back plate properly.

It has a nice detail of the side periscopes that can be seen when the hatches remain open, otherwise it is useless to mount them.

Additional holes must be made in the side plates for the version with turret skirts. I have checked the adjustment of the side plates with the hull and it fits perfectly

The bars of the support of the tracks are 2 that stick and form in the tips some tweezers to put them in the low part of the lateral hooks and adjust well. I have seen that other modelers have not done so and place it differently since the instructions are somewhat confusing and do not explain it well.
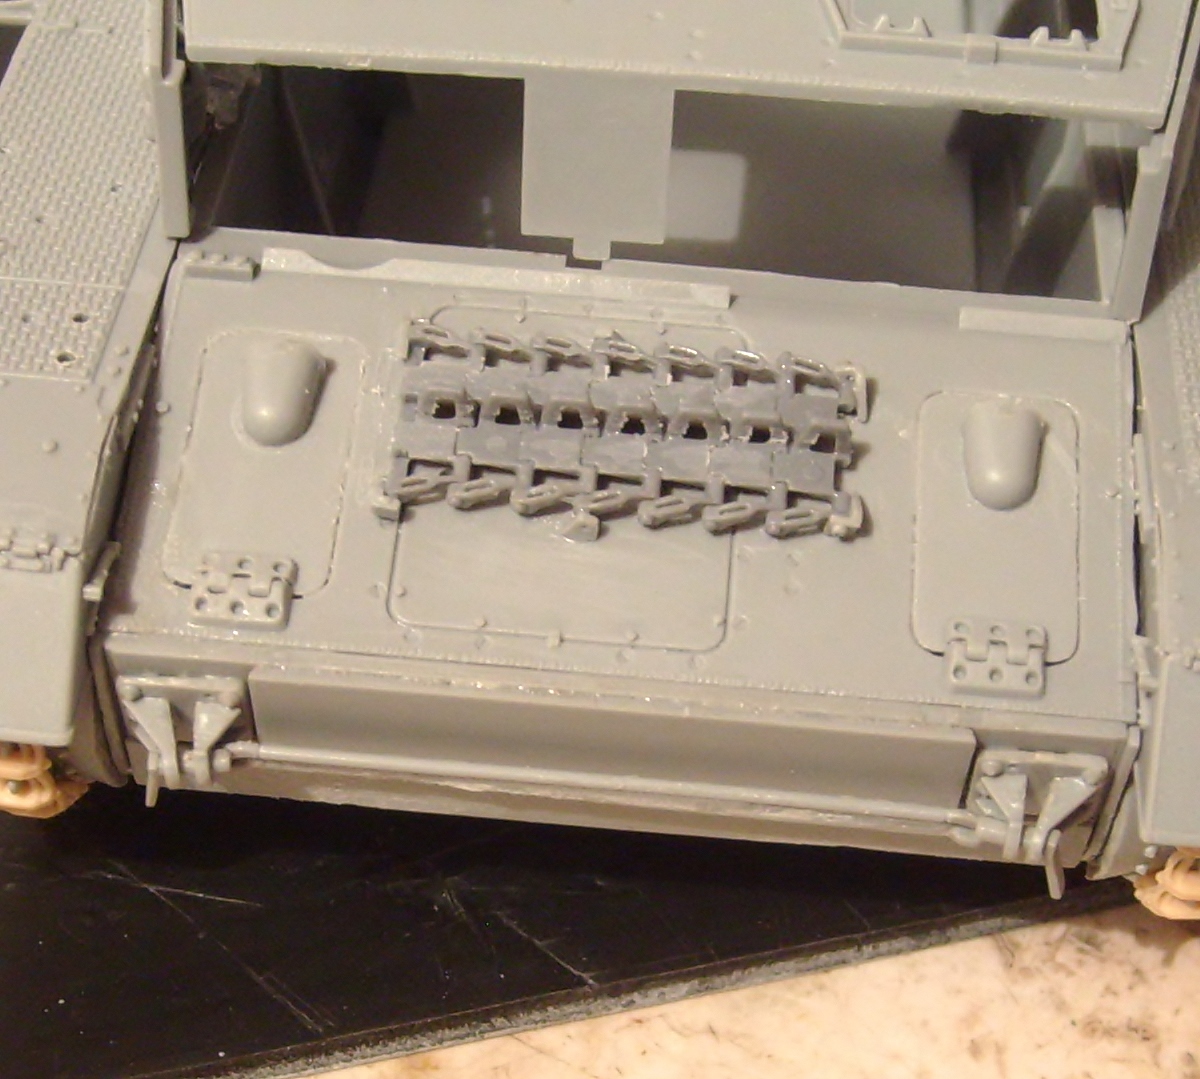
The instalation of the two alternate sets of lower air inlet and support braces were very easy, this time Dragon made the guides fit perfectly, both in both pieces and in the interior fit.


The cooling fan access hatch and radiator access hatch will need to sandering for a perfect fixing.

The side and front side plates adjusted wonderfully well, the machine gun is fixed not movable.
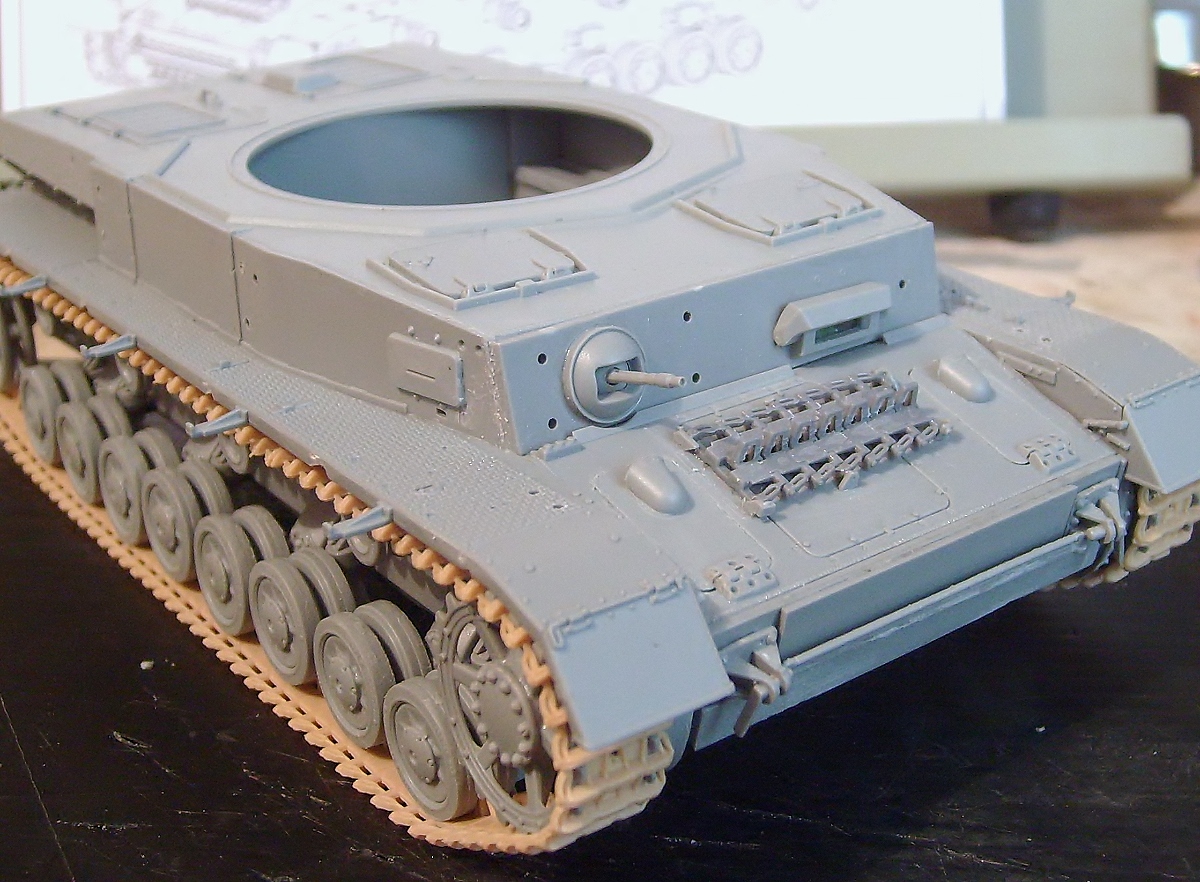
The hooks for the kit's drag cable are too weak, so I replaced them with copper.
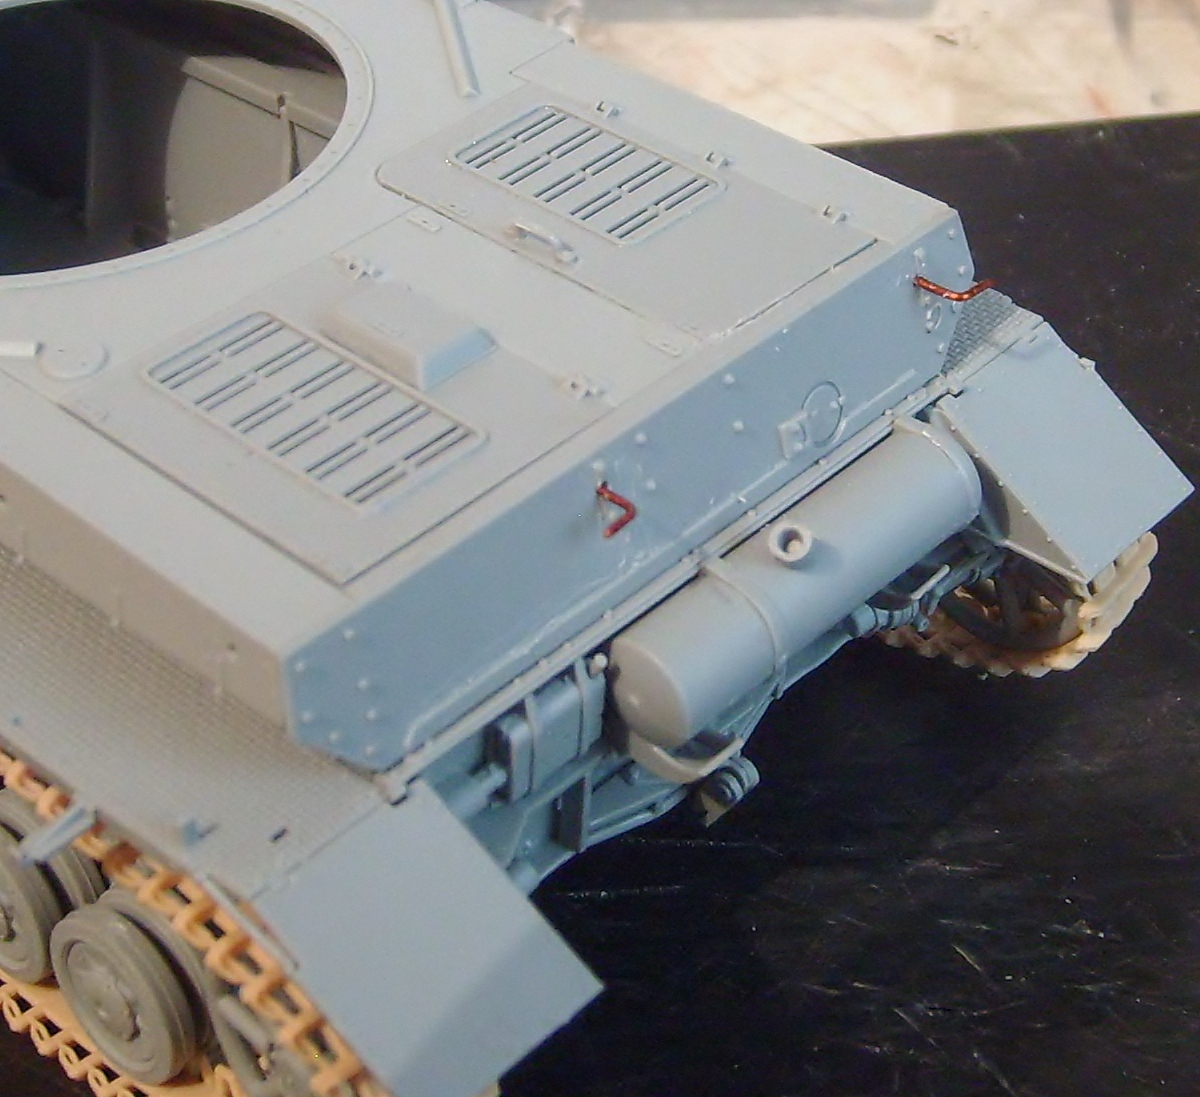
The periscope is finished. Here we see the support bars for the caterpillars that go to the front, I joined them because a handle is formed that fixes better than separated since they are weak (The second bar hardly reaches the sides)

Side left of the hull are ready with tools and lights mounted. In my opinion the front looks very pile up
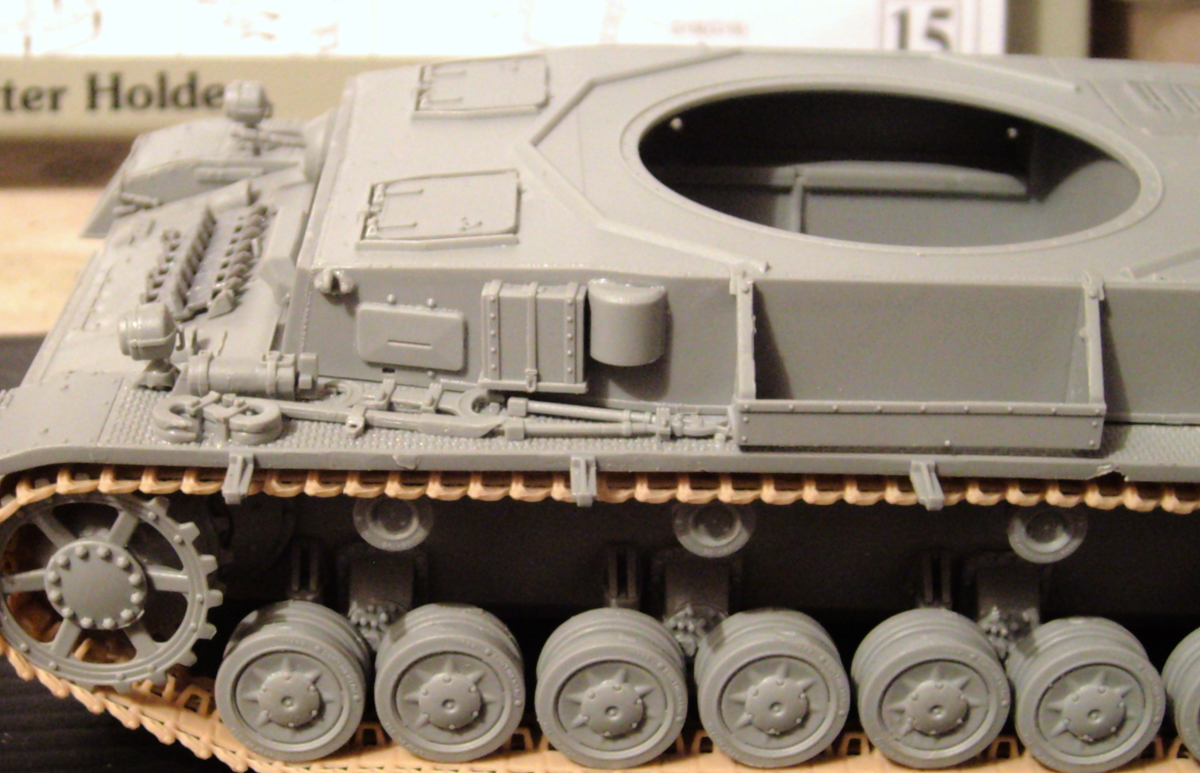
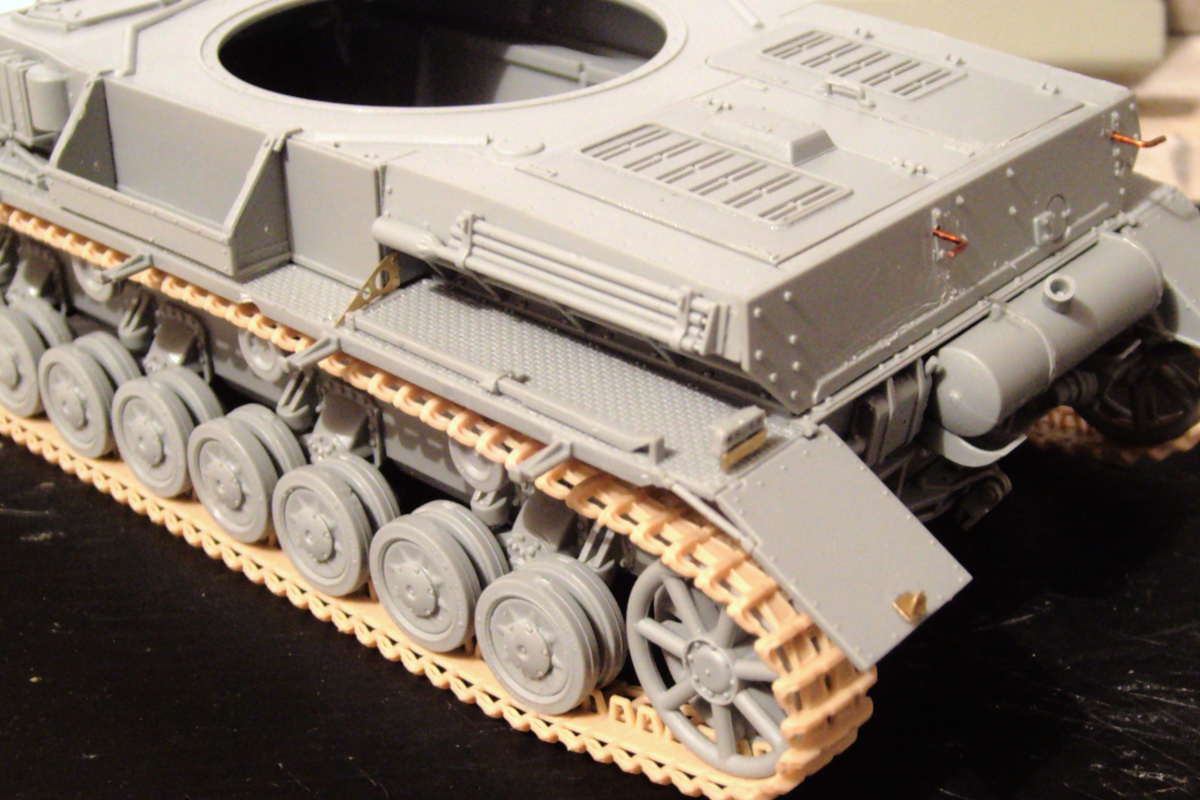
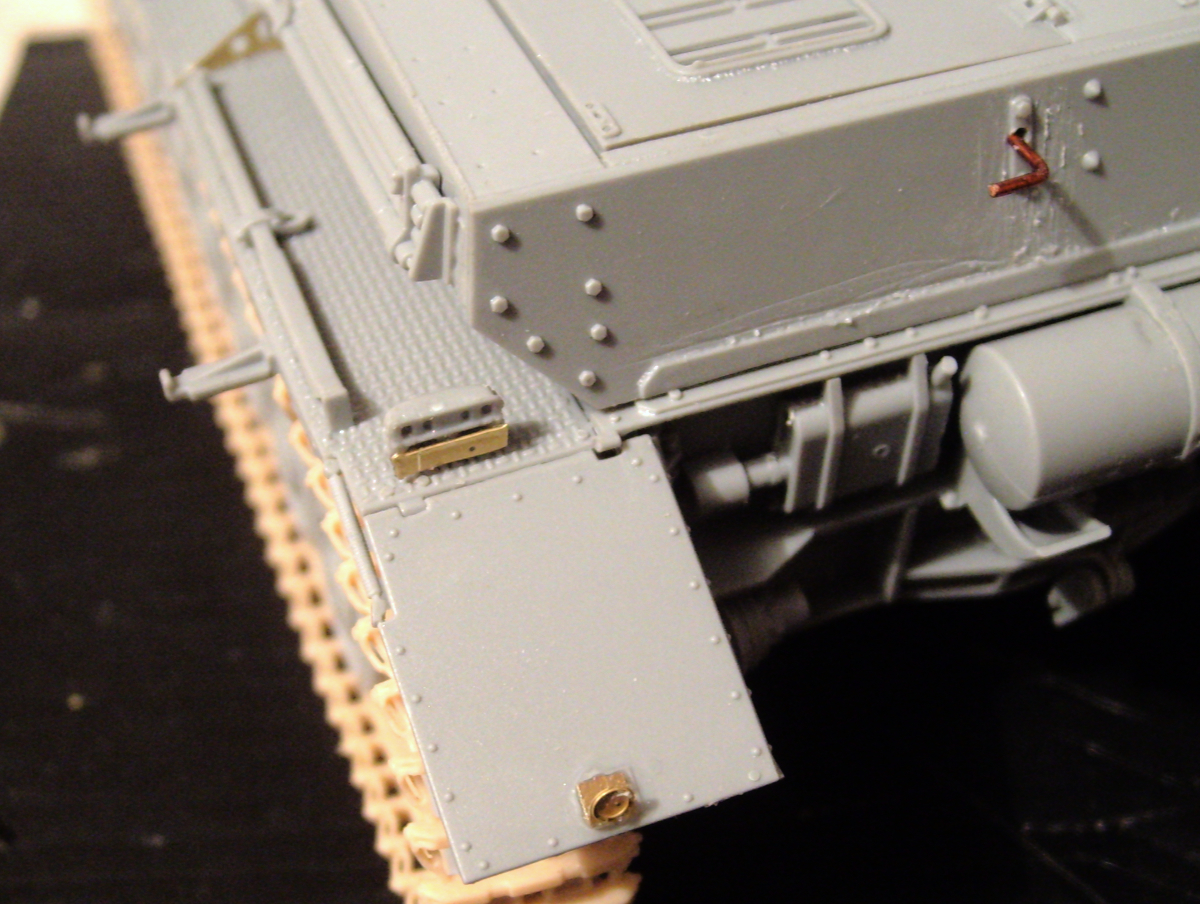
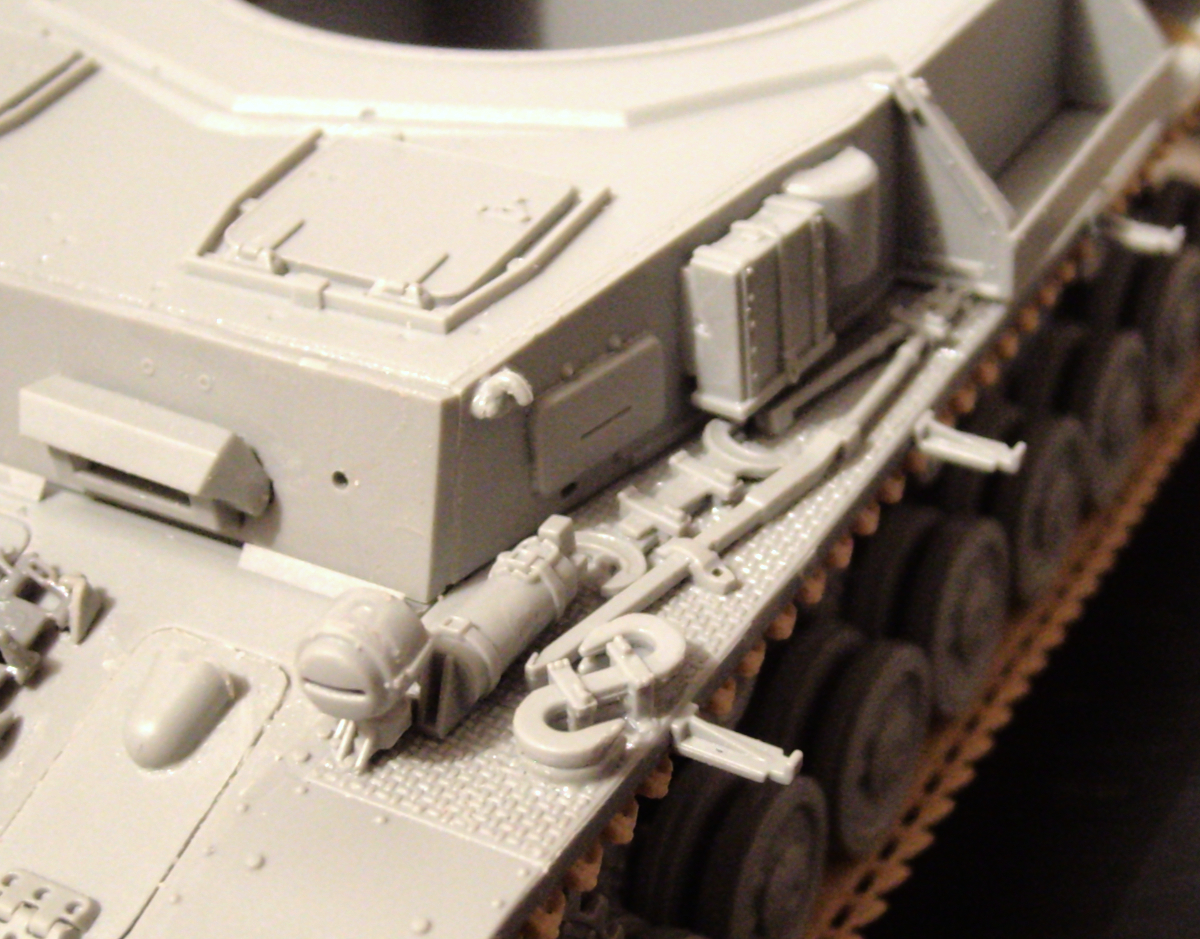
Fixing the tracks: The tracks are not too tight, so you can place some paper on top of them to hang and stick them.
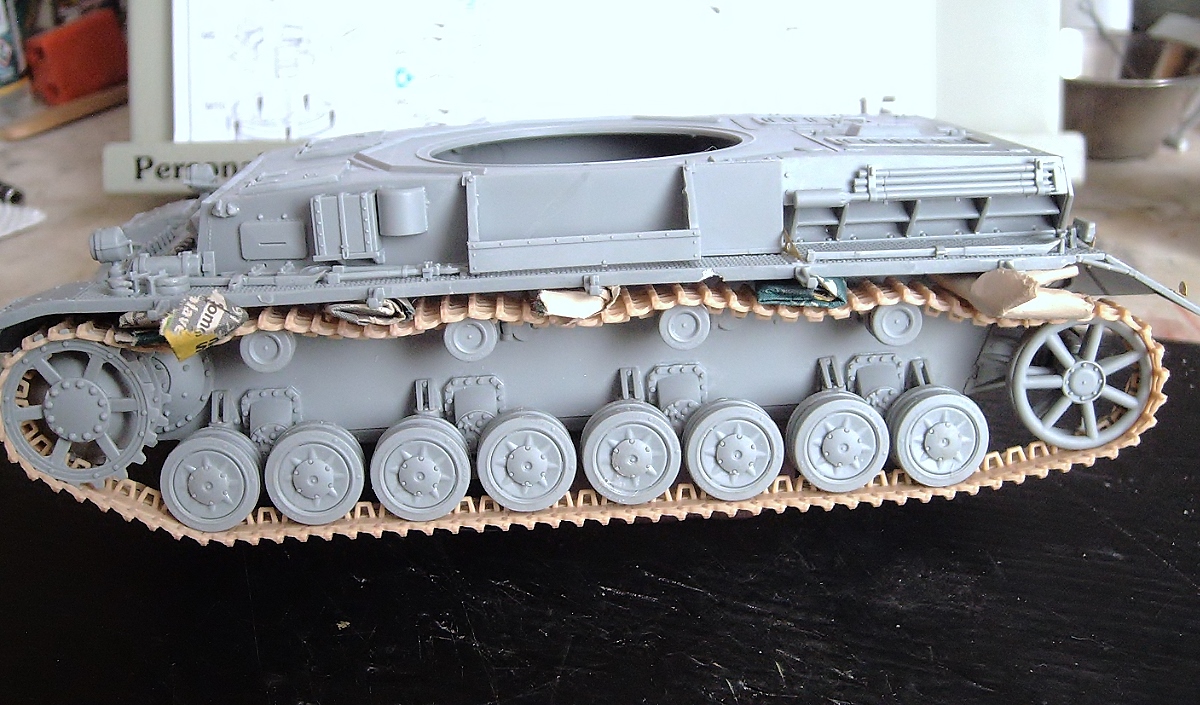


The hull are ready!, the bars for the shurzen and supports were easy fo assambling; I will add the anntenae when I finished the model

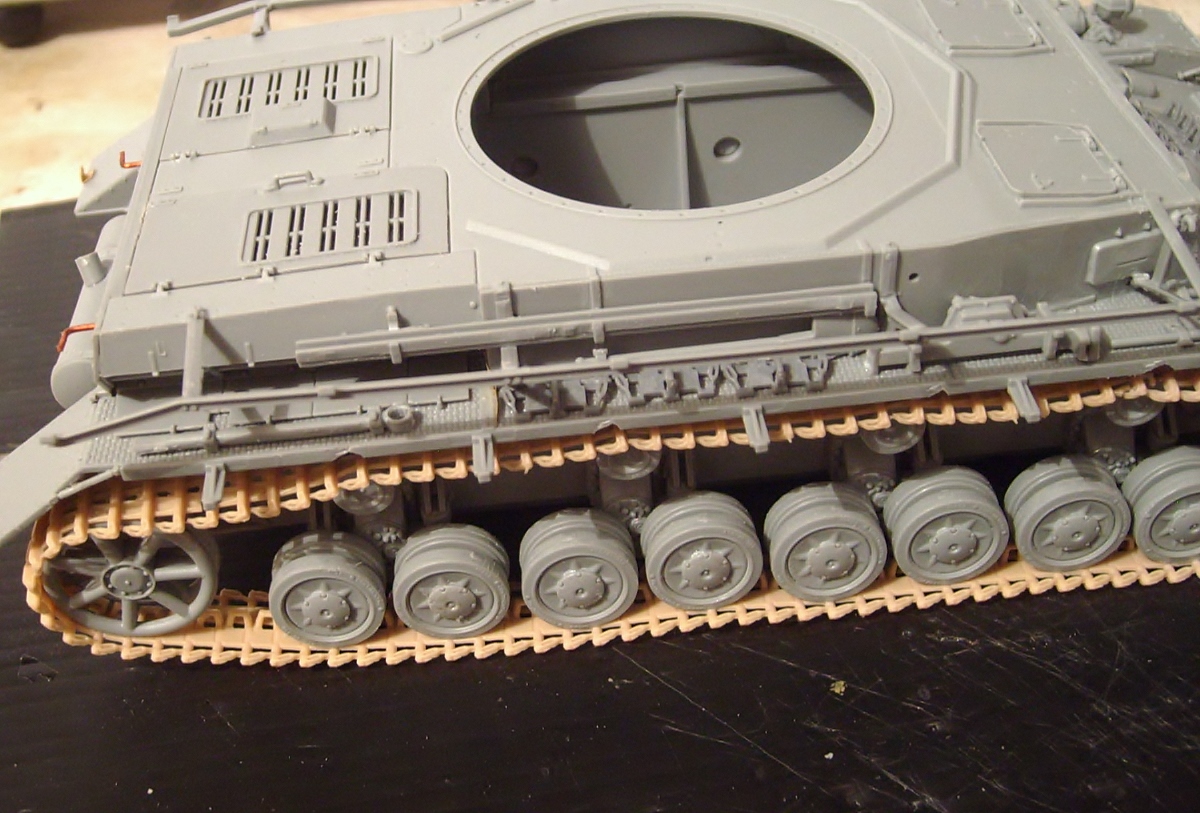

The Periscopes coming in 15 pieces (5 transparents), muy buen assambling.
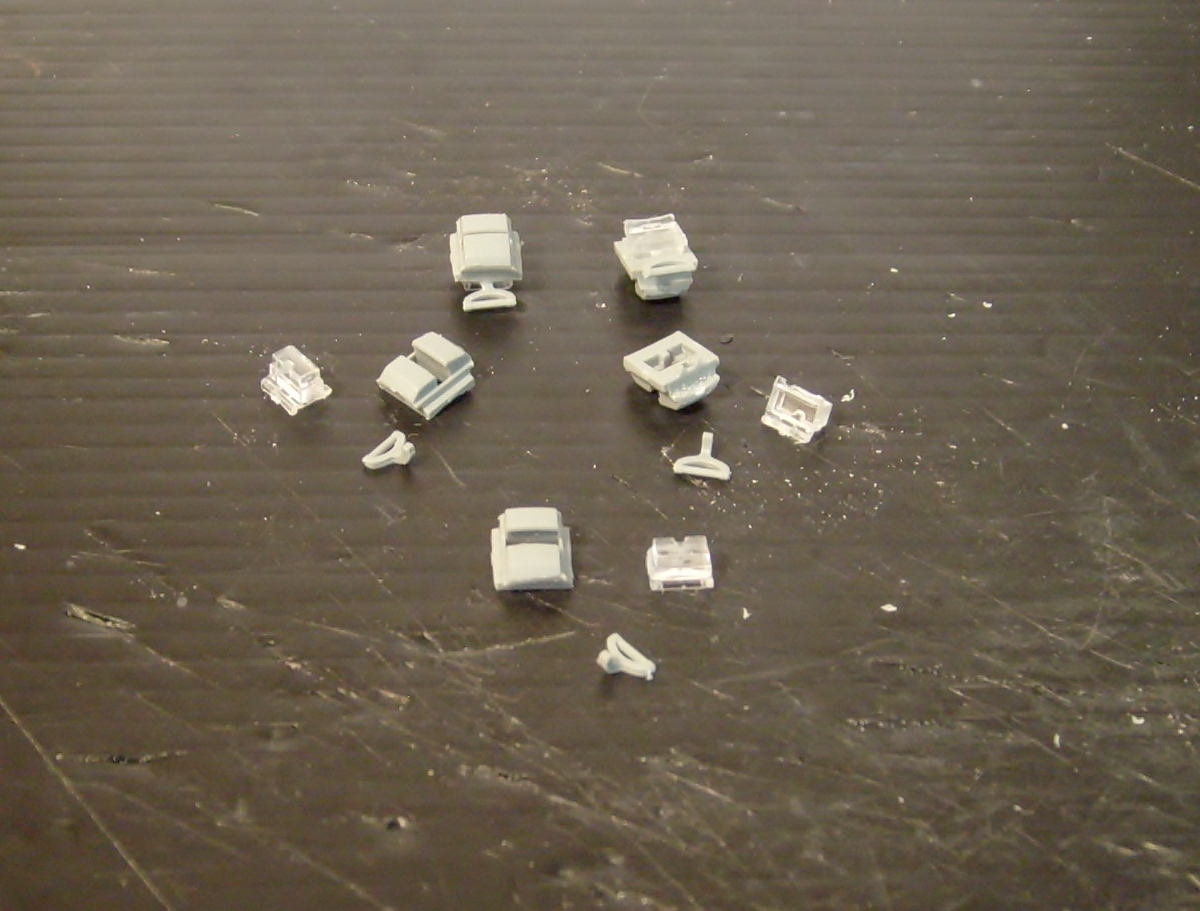
The commander's cupola has too many pins, but the plastic is something soft helps to remove them better.
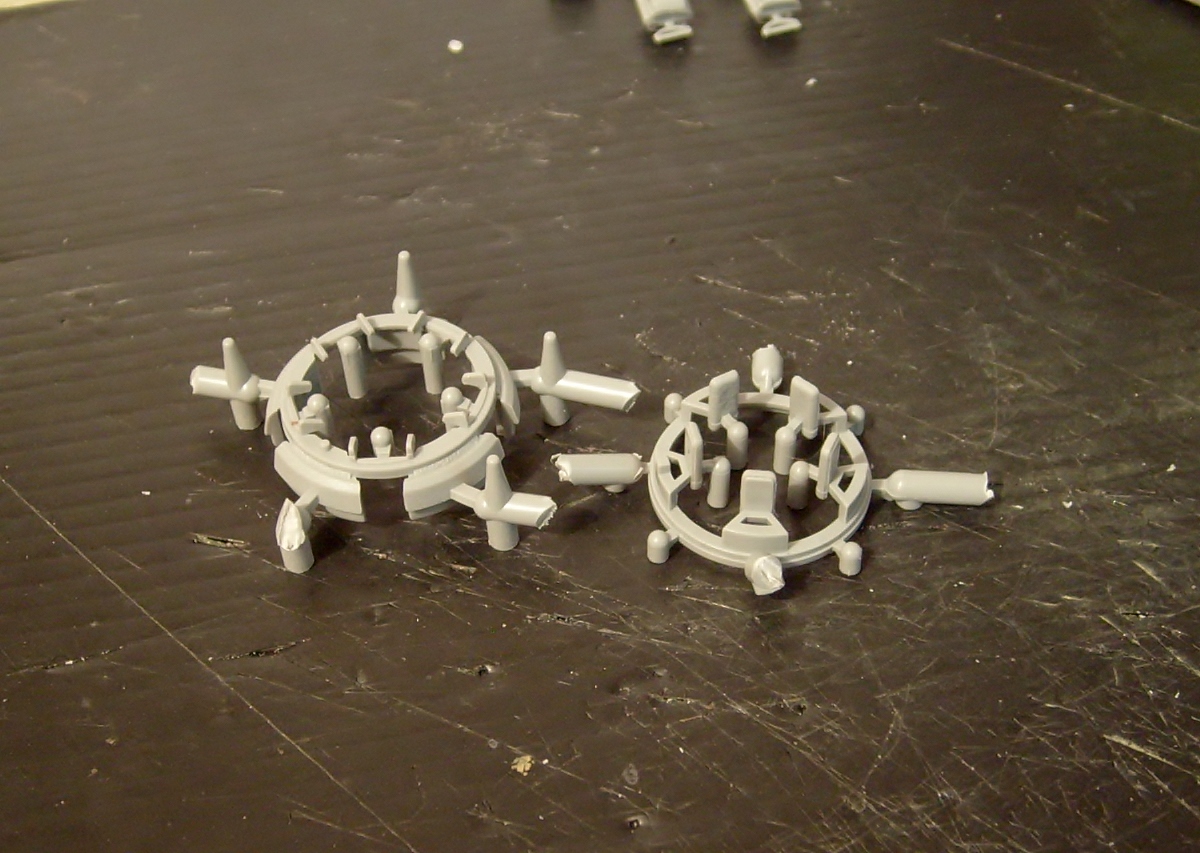
Finally the cupola is ready!, the assambling was easy and nice, I like those details inside. The hatch coming in 4 parts; hacth + 3 handles
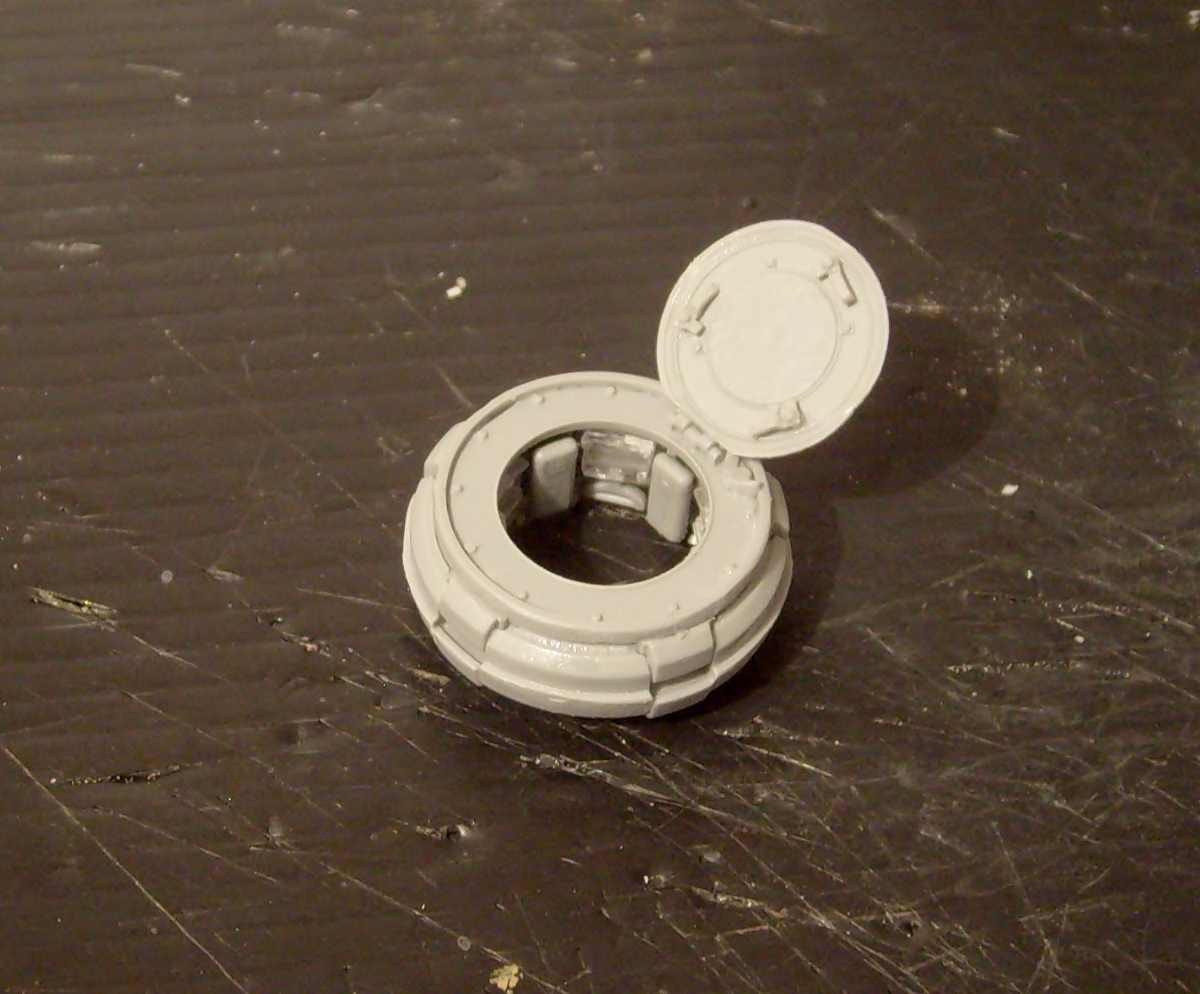
The hatches have a small problem, it does not cover the entire gap, they are somewhat short.
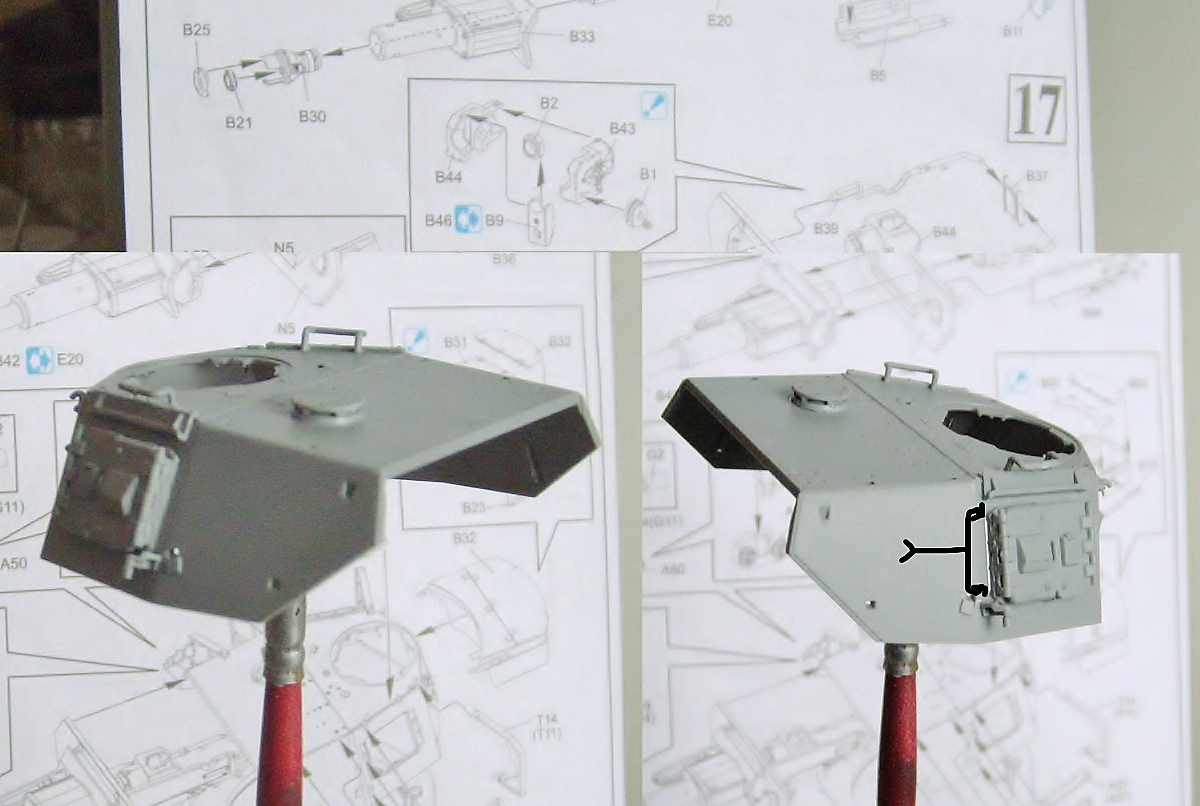
Turret almost ready, only I need add the supports for the skirts.
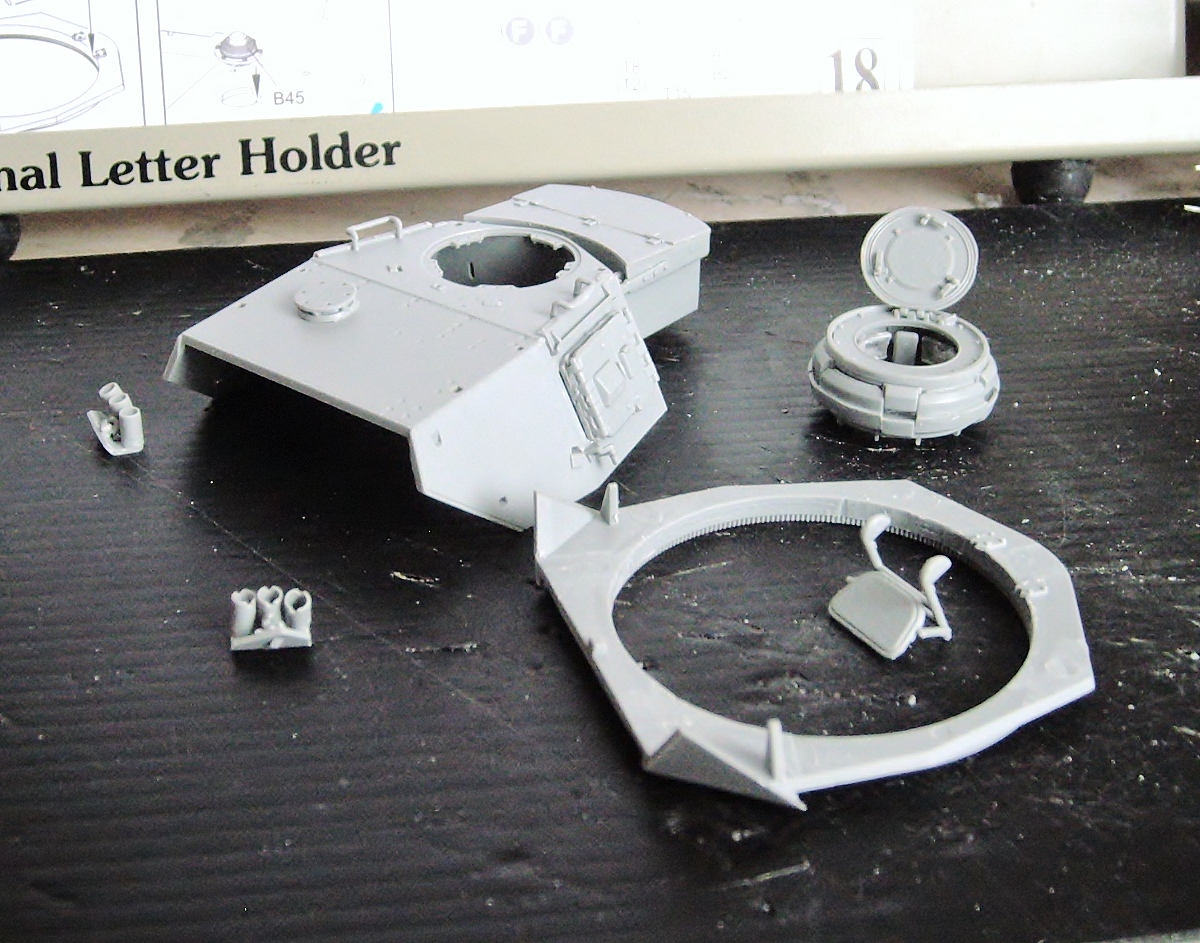
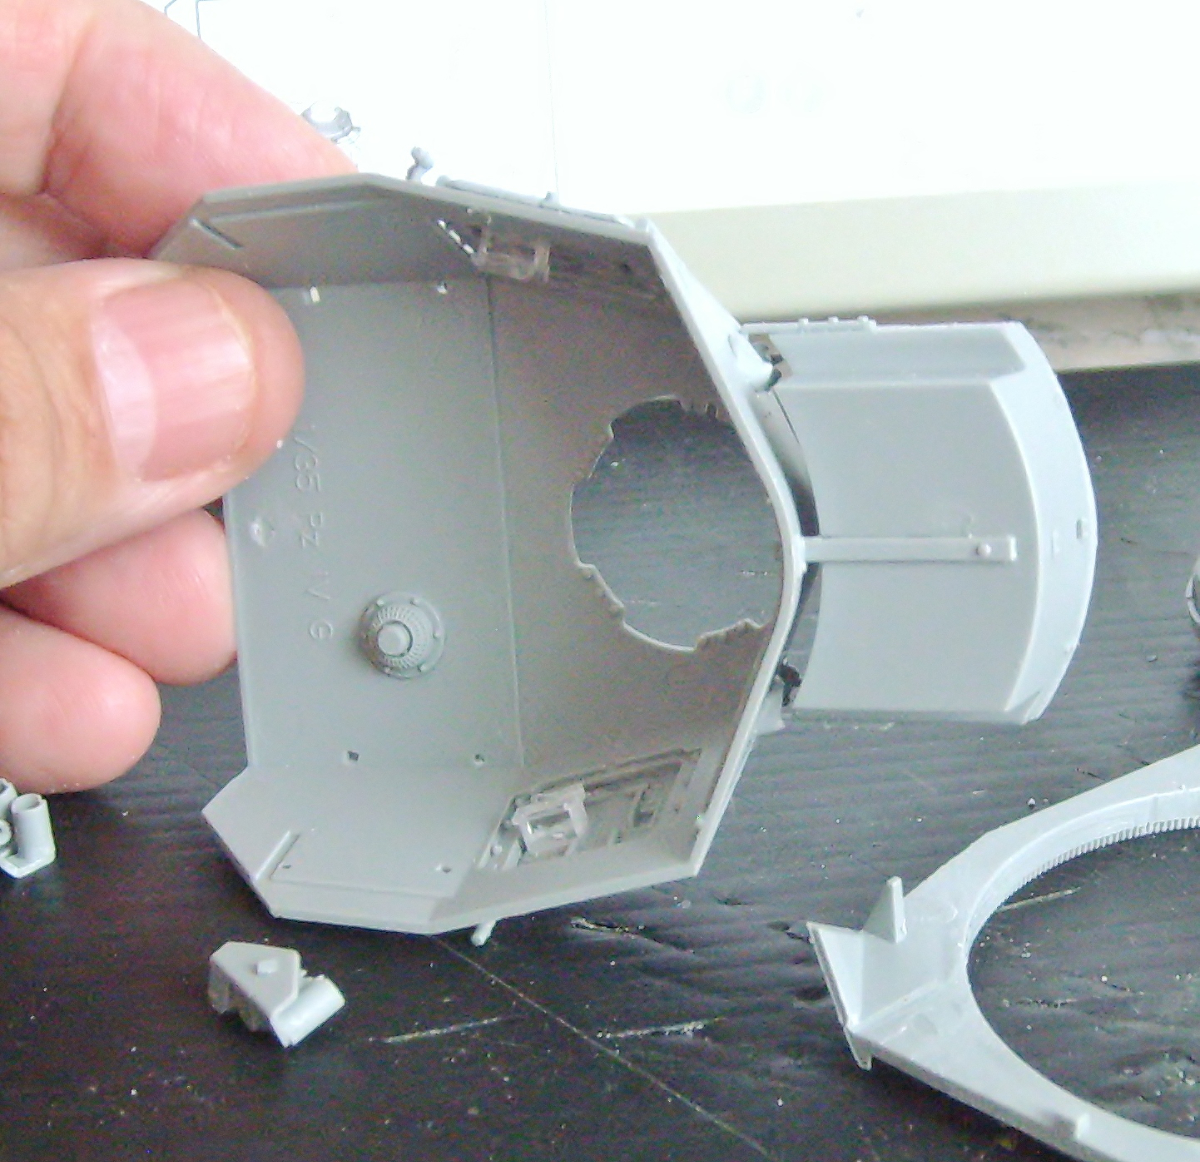
The bin has 3 mounting bars to connect to the turret. The turret has some interior detail that really makes no sense to place them especially if the turret will be remains closed.
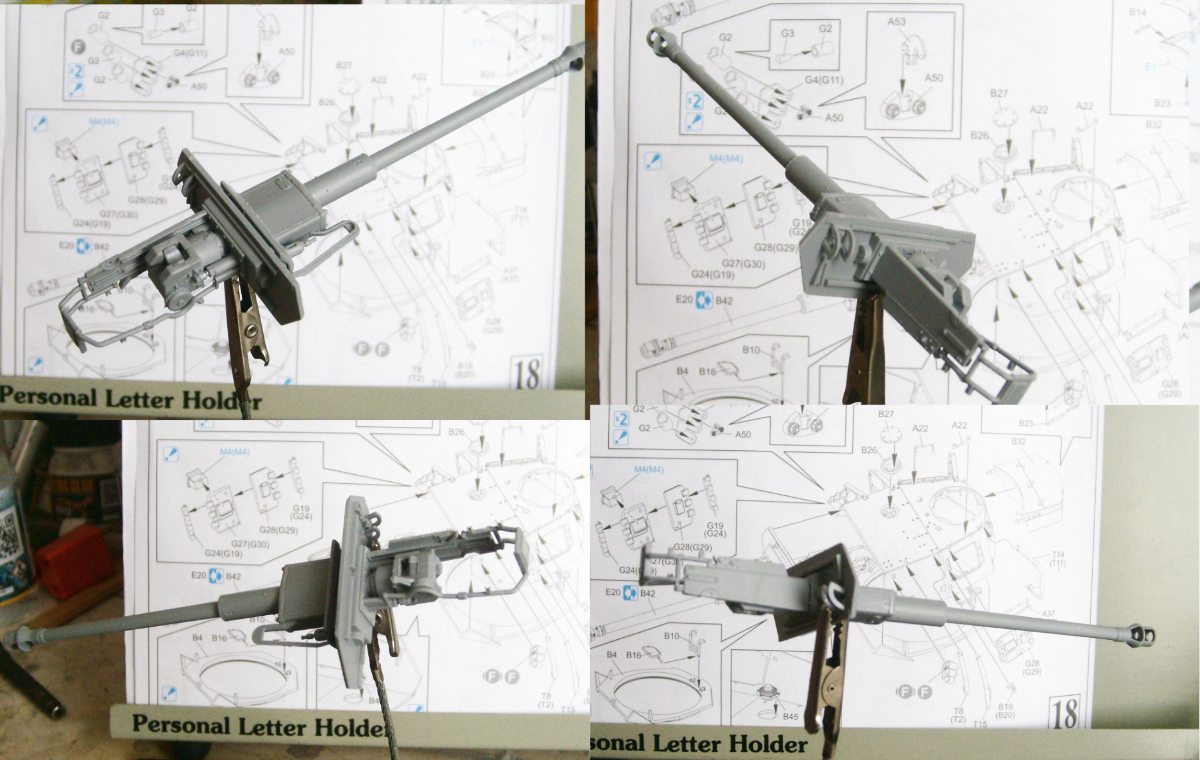
The assambling of the gun barrel was relatively easy, except for 1 missing piece (N3), here the N3 coming only with the hook, but not is complete because in the drawing appearing different with a cube below. The instructions mention two types of assambling, one for the 3./ Pz.Rgt.21, 20 DPz.Div, Kursk 1943 and the another is for the rest of the versions.
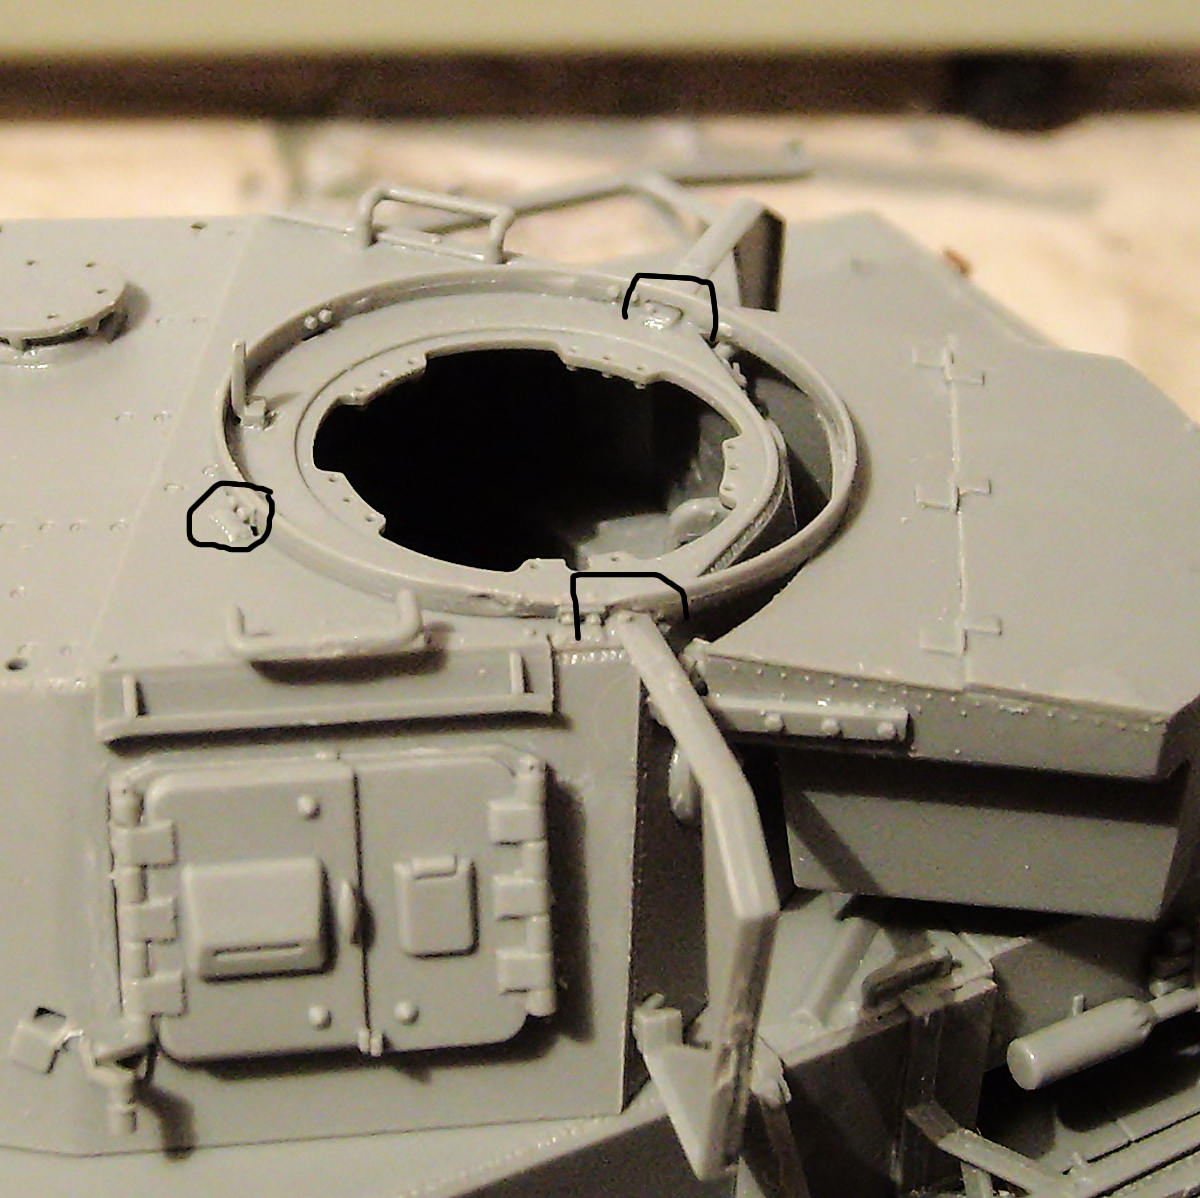
The ring to put the turret does not have the safety hooks (and the holes), it is completely smooth.
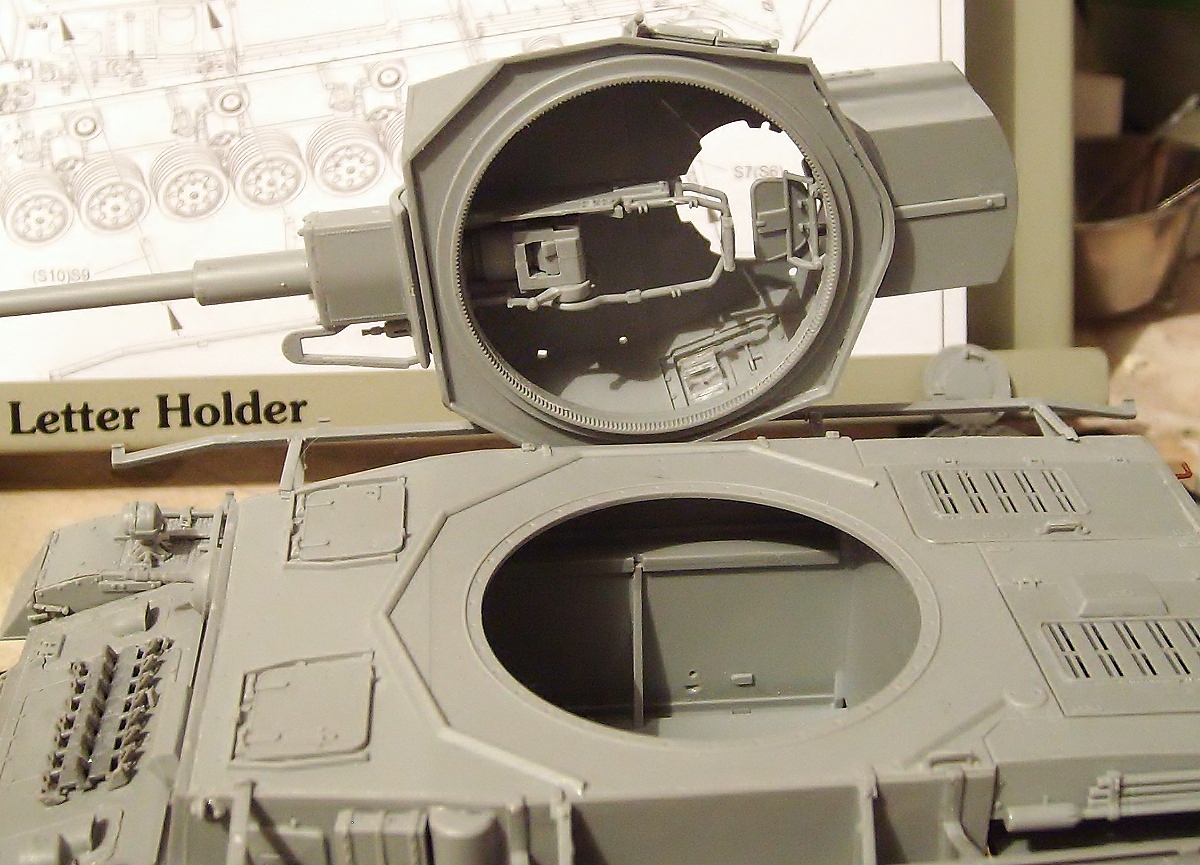
Before placing the ring for the cupola of the commander, you must first fix the rear hooks of the skirts since the ring has 2 holes to place them above them and fix them, also of reference there are 2 parts of supports in front to fix them with the ring screws.

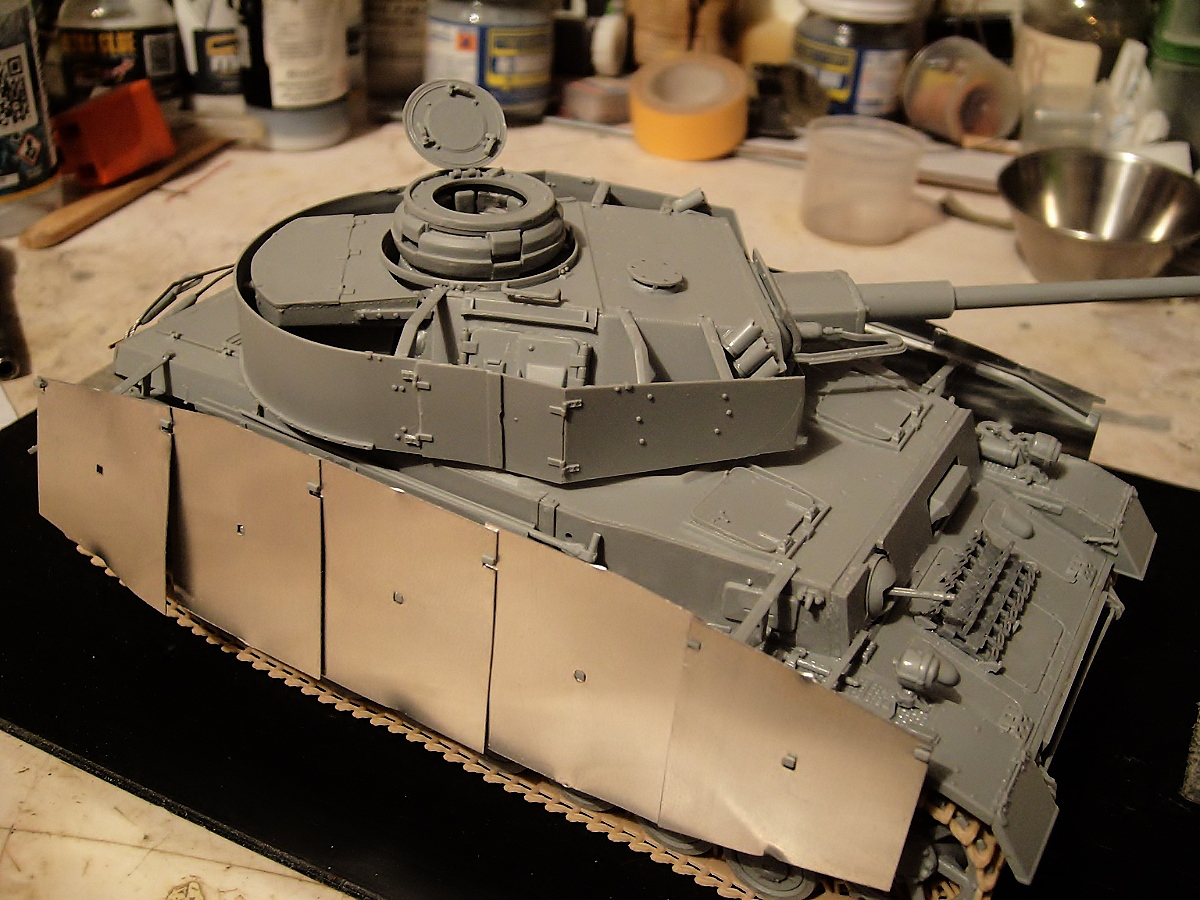
CONSTRUCTION FINISHED!
Only 3 skirts coming inaccurate; they looks as galvanized aluminum, soft and maneuverable, they will probably need a slight sanding in order to avoid any problem with the painting.



* INTRODUCTION / * CONSTRUCTION / * PAINTING / * WEATHERING